For a long time, lamps were used as the main working element of lighting systems. They survived many stages of structural and functional development, but today they are experiencing a crisis caused by fierce competition with diode crystals. Modern LED-lamps are widely used due to their operational qualities, which, however, also have negative aspects of application. In the process of repairing such a device, the user may encounter the problem of updating failed crystals. The question of how to solder the LED logically arises if one of the crystals burned out. This will be indicated by the presence of a black dot on the yellow surface of the element. And if, under the conditions of the factory layout, the restoration operation is performed mechanically in a continuous mode, then in everyday life it will be necessary to organize the conditions for manual soldering.
What are the types of LEDs?
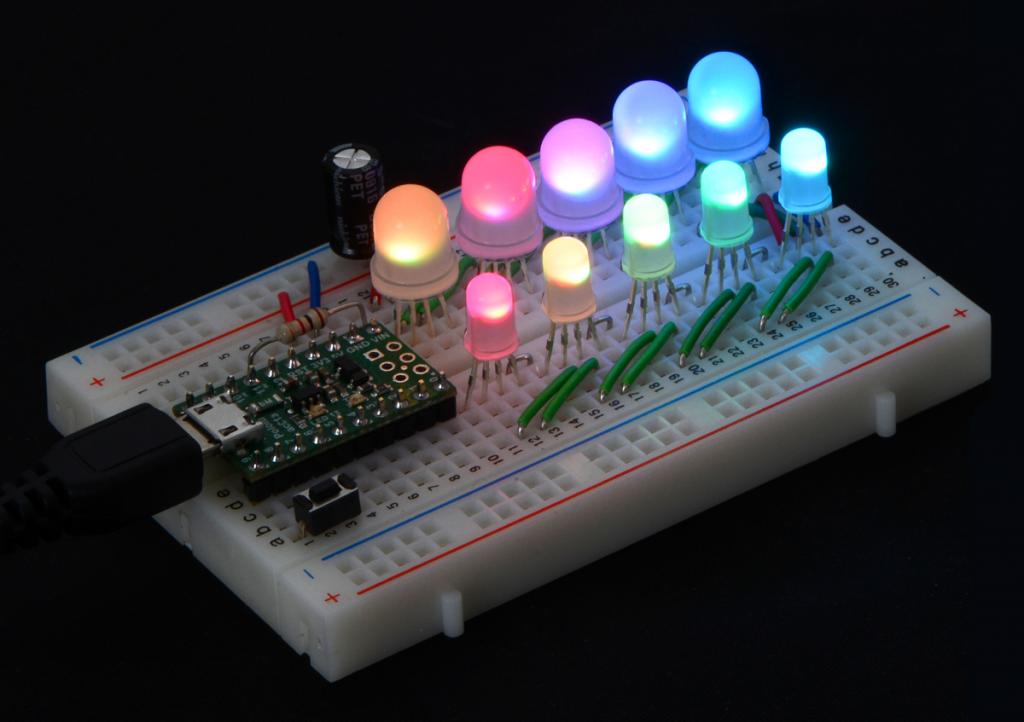
In most cases, ordinary users of lighting devices deal with output LEDs and a more developed design based on SMD crystals. The first ones are introduced into the circuit using two conductors and most often serve as a means of indicating various equipment - for example, in a car they perform the tasks of a light signaling device, working from a 12 V source. Directly in lighting and backlight systems, SMD diodes in leadless cases are more often used. Due to the fundamentally different electrical layout on the complexity board, it is this lighting device that will most likely cause. How to solder SMD LEDs? Mounting is carried out not through special holes, as is the case with the same output devices, but directly onto the surface by a cover plate. For this, special contact pads are provided, which must be sealed alternately, maintaining the correct placement of the diodes on the board. On the one hand, this approach simplifies the technology of mounting crystals, but on the other hand, it requires more attention from the performer, since you have to deal with elements of miniature sizes compactly placed in a small space.
Preparation for work
As part of the preparatory process, several tasks should be addressed. The main one is to clean the working surface and, if necessary, dismantle the burned diode. Old elements are best cleaned with low-power 25 W soldering irons after tinning the tip to the required size, which will allow convenient thermal cutting. Further, special attention is paid to the surface. Varnishes and all kinds of technical coatings must also be removed mechanically - for example, cleaned with a construction knife. Now another question - how to solder LEDs on aluminum boards? In this case, it will not be superfluous to prepare a special flux for a specific metal or use universal tin-lead solder. As for the choice of a soldering iron, there will be no need for high power. Compact models with heating up to 250 ° C can be preferred.
Angle joint technique
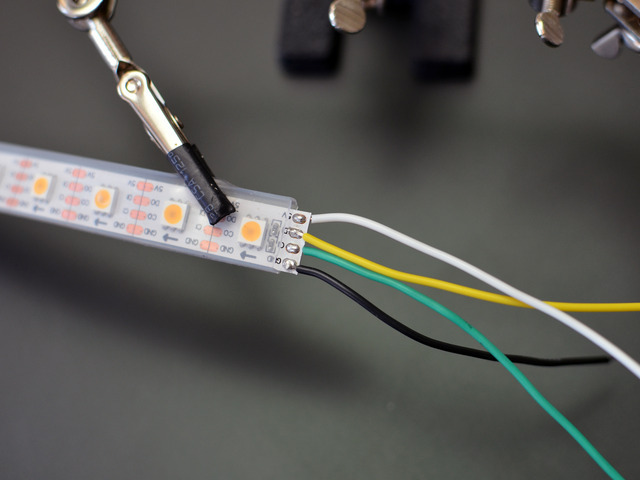
Often when creating complex backlight systems from several parallel lines, wires are connected in different areas. For the convenience of making such a connection, angle soldering with a 90-degree slope is used. Plus and minus are fixed on the contact pads of two adjacent diodes. More importantly, this method allows you to easily connect RGB-tapes, using four wires. The corner joint does not affect the quality of the backlight, but it allows you to implement a variety of configurations of splicing LED strips. Problems can only be caused by the presence of a special cover for tapes with a protection class higher than IP68. For example, how to solder LEDs filled with silicone or compound? In this case, the initial cleaning procedure is complicated. At a minimum, it will be necessary to form technical holes in the coating for live conductors. According to them, further soldering is realized.
Connector technique
Among the advantages of LED devices, one of the main places is their optimization, which is manifested in the minimum requirements for consumables during installation. Nevertheless, sometimes the inclusion of connectors in electrical circuits justifies itself. How to solder LEDs with such elements? Soldering in this case acts as an auxiliary means of ensuring a reliable connection between the wires, and the connectors form a kind of reinforcing inner frame. The optimal connector size in width is 8-10 mm. At the first stage, it is necessary to create a structural connection by completing the required number of contacts on the board, and then proceed directly to soldering.
It should be borne in mind that the connection with the connector does not always give an advantage in terms of future operation of the LED. Firstly, connection points with such fittings are more prone to burning, and also contribute to the rapid heating of the emitter. Secondly, the luminescence may be worsened, which is expressed in a decrease in brightness. How to solder LEDs on a board with a connector to eliminate such negative effects? It is advisable to refuse copper conductors, and the soldering itself should be performed in a continuous manner, which eliminates the risk of the formation of oxidation sites.
Lap joint technique
A method that does not involve the use of auxiliary conductors. This technique is recommended for strip lamps and other diode devices, the crystals of which are placed compactly on a small board. For example, how to solder SMD LEDs with an overlap soldering iron? To begin with, the ends of the LED lines are cut so that the contacts are close to each other. Current-carrying conductors are lubricated with flux, after which tin tinning can be applied until the silver coating is formed. Then the overlay of one piece with the wire part to another segment is performed with strict observance of polarity. A short soft warm-up is enough to form a strong connection.
Soldering Procedure
Whatever connection method is chosen, the general soldering technology involves the implementation of a universal set of actions, including the following:
- Solder or flux tinning of current-carrying contacts that are planned to connect.
- Terminations of live conductors that have already been tinned are applied to the junction on the board or other conductor.
- Now the main operation is the connection. How to solder LEDs manually? It is enough to direct the tip of the soldering iron to the target area of the connection and hold it for 3 to 5 seconds. As a result of rapid heating, a reliable joint is formed.
- After soldering, the docking unit is preferably kept for several hours in an isolated form without any external influences.
Features of hairdryer
Soldering by this method is usually regarded as an alternative method to classical soldering. It is chosen for various reasons, the main of which is the possibility of heat removal from the crystal with minimizing the risks of its thermal damage. But this method is only suitable for structures with a surface connection on the board. For example, how to solder SMD LEDs with a hairdryer? The heating process is organized on the back of the board. The task of the contractor is to ensure sufficient heating of the connection area so that the solder on the front side has acquired a state that allows you to reliably fix the diode. Theoretically, this action can be implemented with an iron and a low-power gas burner, but to preserve the structure and the board itself, it is still safer to use a special hot air gun.
Soldering Errors
Even if the externally created connection seems correct, the device may not work correctly if technological errors were made. Most violations are due to improper distribution of solder or melt, which results in the formation of typical defects such as lack of penetration. How to solder LEDs to avoid such a result? Both solder and melt must already be strictly controlled during thermal action. The uniformity of the layers of the bonding coating must be maintained. To detect such violations in the structure at the stage of non-destructive testing, scanning is performed with a thermal imager.
Conclusion
Soldering the crystals of the LED-lamp is a time-consuming operation, which any home master can do. However, there are a lot of technological subtleties and details, ignoring which can nullify even the efforts of a diligent master. It is necessary to take into account not only the conditions for performing soldering as such, but also the configuration of the connection itself. For example, how to solder SMD LEDs with a group arrangement of crystals? For the successful completion of such an operation at a basic level, it will be necessary to determine the electrical circuit for mounting the diodes on the board. It is necessary to carry out the calculation of the circuit and only then proceed to the element-wise connection of the crystals in accordance with the planned configuration of the lighting device.