Wooden parts are used in many products. And their connection is an important process on which the strength of the entire structure depends.
Dozens of different compounds are used to make furniture and other wood products. The choice of the method of joining parts made of wood depends on what product should be in the end and what kind of load should carry.
Types of connection
When connecting wooden parts, you need to remember an important point - always a thin part is attached to a thick one, but not vice versa.
According to the mutual arrangement of the elements, there are distinguished such methods of connecting parts from wood:
- building - increasing the part in height;
- splicing - elongation of the workpiece;
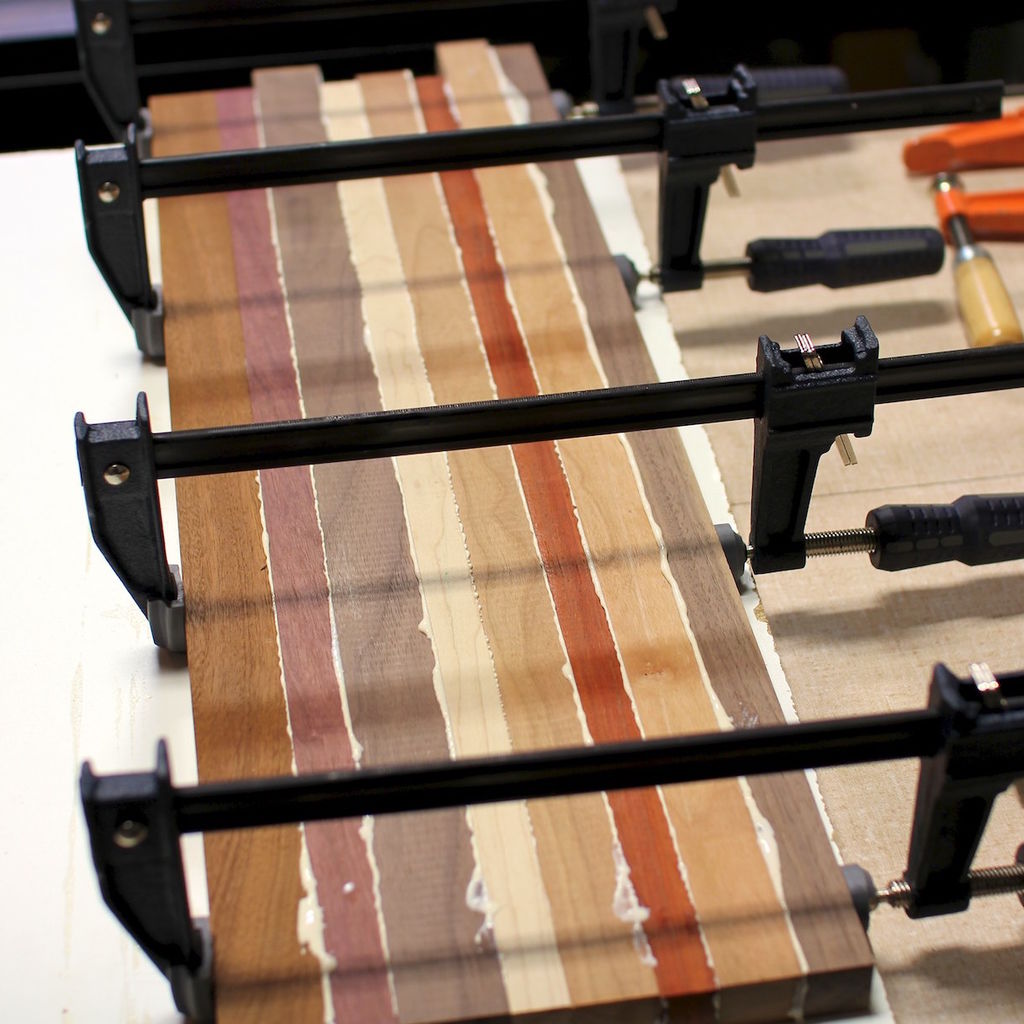
- rallying - increasing the element in width;
- knitting - connection at an angle.
The methods of joining wooden parts in the manufacture of furniture most often use the following:
- gluing;
- "dovetail";
- butt
- groove;
- overlap;
- deaf on spikes;
- end-to-end spike.
Consider the technology of some compounds in more detail.
Length splicing
This type of connection of wooden parts has some nuances. At its core, it is the elongation of elements in the horizontal direction. Splicing can be:
- End-to-end sections of the ends are made at right angles and are combined with each other. In both beams (logs), the bracket is hammered.
- Oblique butt - the sections are made at an angle, and the ends are fastened with a pin or a nail.
- End butt with a comb.
- Direct overlay - cutting length is 1.5-2 times longer than the thickness of the beam (logs).
- Oblique pad - the ends are cut at an angle and fixed with bolts.
- Cover with a slanting cut - at the ends of the parts, end ridges are made having a width and a length of one third of the thickness of the beam.
Height increase
From the name it is clear that the essence is to extend the bars or logs in the vertical direction. The axes of the elements are on one vertical line. Types of building are:
- End-to-end growth. For perception of random loads, a barbed pin is inserted on the sides.
- Extension with one or two spikes. The width and height of one tenon should be at least one third of the thickness of the timber. The depth of the nest is slightly more than the height of the spike.
- Half-tree extension. The ends of both logs need to be cut to half their thickness by 3-3.5 diameters in length.
- Tongue extension. In one bar, you need to cut a fork, into which you need to insert the correspondingly cut end of another workpiece. The connection itself must be wrapped with tin.
Rallying width
It is used to increase the product in width. Using methods of rallying, it is important to pay attention to the location of the annual rings of the tree. It is important to alternate the boards depending on their direction. Cohesion options are as follows:
- End-to-end - you need to trim the parts and grind on the square.
- In the tongue - the height and width of the ridge is equal to 1/3 of the thickness of the board.
- In a hacksaw - the edges need to be trimmed at an acute angle to the wide plane of the board.
- Comb with a height of 1/3 to half of the board.
- A quarter with a ledge equal to half the thickness of the board.
- In the tongue and groove in the slats - in each board, select the grooves in which you want to insert the rail having a width twice as large as the depth of the groove.
Knitting
Knitting is used when there is a need to connect parts at an angle. Types of knitting are:
- knitting in half a tree using a countersunk spike;
- knitting in the half-leg;
- single and double slotted spikes;
- slotted paw.
Angle to end connection
The easiest way to bring two parts together. The joining of wooden parts at right angles is performed using this method. The surfaces of the two parts are carefully adjusted to each other and pressed tightly. There is a connection of wooden parts with nails or screws. Their length should be such as to pass through the first part and go deep into the second somewhere 1/3 of the length.
For fastening to be reliable, it is necessary to drive in at least two nails. They need to be located on the sides of the center line. The thickness of the nail should not cause cracking of the wood. Therefore, it is recommended to make holes in diameter of 0.7 of the thickness of the nail used in advance.
To strengthen the fixation, grease the surfaces that are joined with glue. For rooms that will not be influenced by moisture, you can use carpentry, casein or glue. In the case of using the product in conditions of high humidity, it is better to use a moisture-resistant adhesive, for example, epoxy.
T-joint overlay
To make such a connection of wooden parts, you need to impose one blank on another and fasten them together, using bolts, screws or nails. You can arrange wooden workpieces both at a certain angle to each other, and in one line.
To ensure that the connection angle of the parts does not change, at least 4 nails are used. If there are only two nails, then they are driven in diagonally. To make the fixation stronger, nails must pass through both parts, and the protruding ends must be bent and deepened into the tree.
Half tree connection
To perform such a combination of two wooden parts, certain skills and experience are required. It is carried out as follows. In both blanks, samples are taken with a depth that corresponds to half their thickness. The width of the selection must be equal to the width of the part.
The method of joining wooden parts in half-wood can be performed at different angles. In this case, it is important to ensure that the angle is the same on both wooden blanks, and the width matches the width of the part. Due to this, the parts are pressed tightly against one another, and their edges are located in the same plane.
In addition, such a connection may be complete or partial. In the case of partial joining, the end of one preform is cut at a certain angle, and at the end of the other, a corresponding selection is made. These compounds include angular in the whiskers of the tree. The bottom line is to trim both spikes at an angle of 45 °, as a result of which the seam between them is located diagonally. When using this method, you need to be especially careful, and corner cuts should be performed with a special tool - a miter box.
Cleat
This type of joining of wooden parts is used for fixing planks or for flooring. The edge of one board has a spike, and the edge of the other has a groove. Accordingly, fastening occurs when the spike enters the groove. Such a connection looks very neat, since there are no gaps between the boards.
Performing spikes and grooves requires some experience. And in addition, a special machine will be required for the manufacture. Therefore, it is easier to purchase ready-made parts.
Socket-thorn connection
The most commonly used method of joining wooden parts. This joint is strong, tough and looks as neat as possible. To make such a connection, you need to have some skills and experience, as well as be careful. An incorrectly made socket-thorn connection is weak and looks ugly.
Its essence is as follows. At the end of one workpiece, a groove is drilled or hollowed out, and at the end of the other, a spike. Better when the elements have the same width. If the thickness is different, then the spike is made in a thin part, and the groove, respectively, in a thick one.
Threaded connection sequence:
- Using a thicknesser, draw two parallel risks to each other on the side of one workpiece. The distance should be the width of the future spike. For its evenness, markup should be done on both sides.
- The most optimal tool for making spikes is a hacksaw with a narrow blade and small teeth, or a bow saw. In the process, the teeth of the tool should pass along the inner edge of the marking line. For convenience, the item is best clamped in a vice. It is best to make the spike slightly larger than the required size. Then, if necessary, you can remove the excess. But if the spike is shorter, then the whole process will need to be repeated again.
- Using a chisel or chisel, a nest (groove) is made in the second part. Naturally, the dimensions of the groove should correspond to the dimensions of the tenon. It is best to drill holes along the entire perimeter of the groove before you start chiselling. The edges are neatly processed with a chisel.
If the connection of the wooden parts is done correctly, then the surface of the edges of the studs fit snugly against the walls of the socket. This gives good adhesion to bonding. To fit the spikes more tightly, their size should be 0.2-0.3 mm larger than the size of the socket. If this value is exceeded, the bowstring may split, if the tolerance is less, the fastener will lose its strength during operation.
In addition, this connection also involves gluing and fastening with screws, nails or wooden pins. To simplify the operation, drill holes before screwing in the screws. The heads of the screws are hidden in the pot (made using a countersink). The guide hole should be equal to 2/3 of the diameter of the screw and be less than 6 mm (approximately) of its length.
Gluing
Bonding of wooden parts is carried out as follows:
- The surfaces to be glued are cleaned with a lint-free cloth, and the roughness is cleaned with fine emery.
- Using a cardboard stick, carpentry glue is applied with an even thin layer on all necessary surfaces.
- The surfaces greased with glue need to be rubbed against each other. This will ensure even contact and strong bonding.
- Parts must be pulled together to ensure reliable retention at the joints. Make sure the straightness of the angles will allow the measurement of diagonals. They must be equal. If this is not the case, the position of the elements must be corrected.
- The connection is strengthened by drilling guide holes into which the finishing nails are driven or screws are screwed. The screw heads must be recessed, for this hole must be bored. Nails deepen using a punch.
- Holes with nails are covered with wood putty. Holes bore under the screws are closed with wooden plugs made of hardwood, greased with glue. When the glue or putty is dry, the surface is cleaned with an emery so that it is smooth, and then varnished.
Necessary tools and accessories
Tools for execution are very diverse. Choose them depending on the type of work. Since in the carpentry, the elements to be processed are larger than in the carpentry, respectively, and the tool should be suitable.
To connect wooden parts, use the following:
- ax;
- a planer, straight and curved plows, a bear, a sherbel - more thorough surface treatment;
- chisel - chiselling of holes and nests;
- Chisel - to clean the notches;
- drills with various tips - for through holes;
- various saws - for sawing up and down;
- hammer, hammer, sledgehammer, mallet;
- square, pair of compasses, level and other auxiliary tools;
- nails, metal staples, bolts with nuts, screws and other fasteners.
Conclusion
In fact, there are many more ways to connect wooden furniture parts or other structures. The article describes the most popular methods and technologies of execution. It is important to remember that the connection of wooden parts for painting or varnishing must be carefully prepared, and all fasteners must be durable and made in good faith.