Thinking about how to make a model of the railway with your own hands? To implement such an idea, you will need to stock up on a huge amount of patience, since such work does not endure in a hurry. In addition, before construction, you will have to study a lot of theoretical information and draw up competent drawings. Read more about all these nuances in our article. Be sure that very soon you will be able to build your own railway to decorate your apartment.
The main types and features of modeling
A miniature railway is an interior item that will delight the eyes of not only children but also adults. If you are interested in a model for making railroads with your own hands, then most likely you had a similar toy in your childhood and you decided to bring your memories to life. Well, or you just want to please your household with an unusual handmade jewelry. Be that as it may, in the following sections you will find detailed instructions that describe each stage of work on the layout in full detail.
To make a real beautiful layout, you will need to work hard, because even the smallest detail of the composition requires close attention. If you have ever studied the design of real railways, then it will be much easier for you to realize your idea. However, do not be upset if you do not have the necessary skills, since all the necessary information can be easily found on the Internet. For example, in our article several original ideas will be presented that will make it possible to make a high-quality and unusual layout for the home.
As for the main types of layouts, it is rather difficult to classify them. If we talk about the scale, then you can find small medium and huge layouts that fill almost the entire space of the room. Some compositions are used to make a toy train ride on them. Others are part of the interior. Quite often, various elements of nature can be found on mock-ups: rivers, mountains, forests and fields, and sometimes they can simply be absent, and the railway itself is located on an ordinary plane. In general, there are a lot of options for making the layout, especially for the person who will do this for the first time.
What materials will be required to work?
We decided to make a model of the railway at home with our own hands? First you need to decide on the materials that you will use in the construction process. This can only be done if you carefully study the options for ready-made layouts, photographs of which are presented in our article. In this list you can find the most commonly used materials during construction and their purpose:
- plywood sheet - suitable as the main plane for the layout;
- construction foam - ideal for creating mountains with a tunnel;
- boards and cardboard - suitable for creating decorative objects.
It is worth noting that the ability to use various materials is limited only by the skill and imagination of the master himself. For example, if you handle gypsum well, you can make several objects for the layout from it. Know how to design bridges? Why not add this design to your composition. What about real water in the layout, which will symbolize the river?
Also, do not forget that some items can be purchased in stores, and not made manually. For example, it will be quite difficult for a novice designer to make a human figure from improvised materials, but on the Internet such an element can be ordered at a very modest price. Or you can place your collection of sports cars on a mockup so that it no longer gathers dust on a shelf, but pleases the eye of your guests and family members.
List of required tools
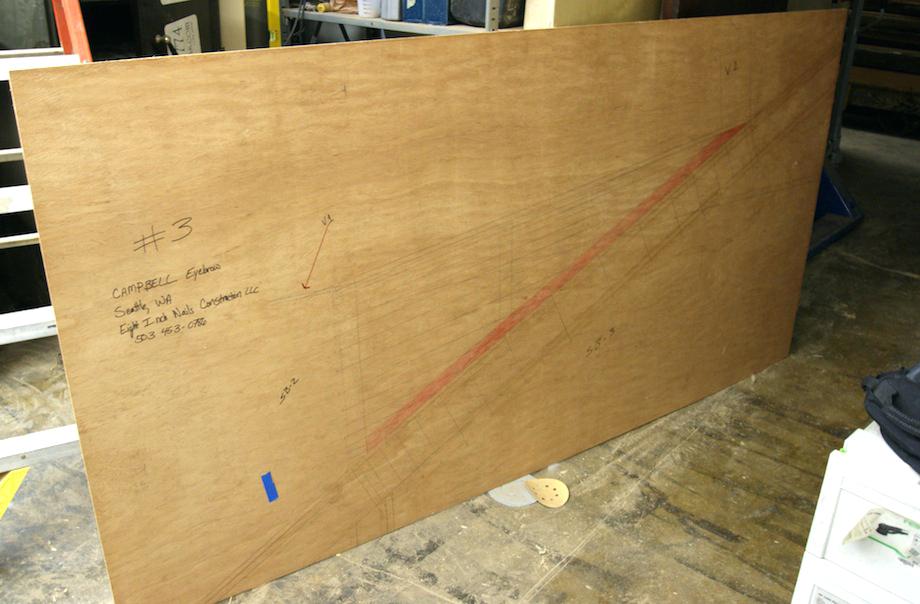
We have already said that it is easiest to make the basis for a model of the railway with your own hands from a large sheet of plywood. You can buy such material in a furniture store or remove it from an old unnecessary bed. However, what tools may a designer need while working? As a rule, they directly depend on the materials that you decide to use. Although in the list below you will find the most commonly used tools, as well as their "scope".
- Electric jigsaw - indispensable for working with plywood sheets and wood.
- Construction glue is ideal for attaching small parts.
- Sandpaper - Suitable for uneven surfaces.
In the process, you will need quite a lot of different tools that are associated with the materials for the job. For example, if you want to paint the layout with different colors, then you need brushes of different fineness. Have you decided to add a couple of metal parts? Do not forget to get a grinder with disks and a welding machine with electrodes.
As you can see, the list of tools for work can be quite extensive, so it is recommended to find everything you need in advance so that you do not have to be distracted by anything in the process. If you don’t have any tool at home, you can ask your friends, but in no case do not resort to alternative options (instead of nails, screws). Making a layout is a very delicate job that requires compliance with certain rules.
Design or drawing
How to make a step by step and do-it-yourselfer model of the railway at home? In the following sections, you will find detailed information about this. However, before embarking on the construction of something with your own hands, it is necessary to correctly draw up drawings of the future product, which would take into account all the features of the composition.
First of all, you need to decide on the size of the layout. It should be understood that the larger the area of the product, the more small parts you will have to add to it. A novice designer should first learn how to make small layouts, and only then move on to large compositions. Although if you are confident in your abilities or work under the guidance of a true professional, you can forget about this rule.
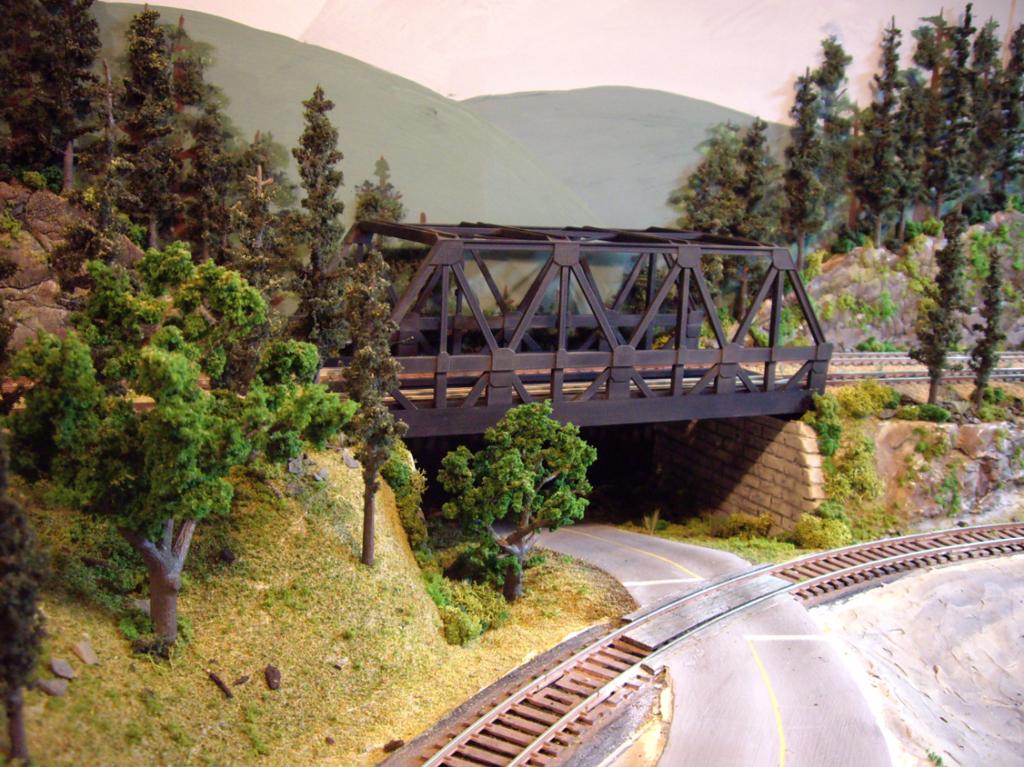
However, do not forget that not only the quality of the future design, but also its decorative appearance depends on a correctly drawn drawing. As a rule, people start making layouts when they already have a certain idea. For example, the master wants to include several mountains with a tunnel, a river, a bridge, as well as a small village in the middle. Such a layout may require quite a lot of details, however, it will look quite decent.
We make a mock up
We make the layout of the railway with our own hands. The first step will be the manufacture of a sub-layout, on which all the basic elements will be placed. It is strongly recommended that you use a plywood sheet as a building material, since it has a fairly good strength and light weight, which will allow you to drag the layout even alone. You can buy such a product in any furniture store, but if you want to save money, then go to the construction base, where a sheet of plywood of the right size will be sawn off right at the customer’s place.
As soon as the plywood sheet is ready, it must be carefully processed so as not to be damaged by sharp edges during operation. For this purpose, you can use an electric jigsaw with a special nozzle or sandpaper of medium grain size. Try to process the plywood as thoroughly as possible, since then this possibility may not exist. In addition, it is much easier to apply paint and glue small parts onto a smooth surface. And if you want to cover the model with a water-repellent coating, then processing the plywood sheet with sandpaper is simply a must.
Work with the landscape
The next step in making a DIY railroad mock-up of plywood is to work on the landscape. This stage can be called the most difficult, since the quality of the future design depends on its proper implementation. If you can not realize the idea the first time, then do not despair. At any time, you can throw away the plywood sheet and purchase another. Fortunately, they are quite inexpensive.
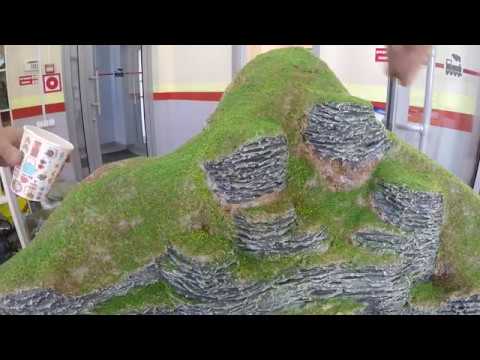
You can use a variety of methods to work on the landscape. For example, mountains can be made from ordinary construction foam by releasing it from the spray can in the right amount. If you mean that a tunnel will pass through such a natural element, then this should be taken into account in advance by putting a plastic or cardboard pipe on the model. After using the foam, you don’t even need to pull it out. Let it lie to itself inside the mountains, and the seams can be disguised with almost anything.
Another indispensable material for landscaping is gypsum or construction putty. Unlike foam, such a material is much easier to modify to the desired shape, but it is most often used as a decorative element, rather than the main one. Firstly, gypsum weighs quite a lot, so you should not make large objects out of it. Secondly, over time, putty can crack, especially if you do not use a water-repellent mixture during construction. In general, there are a lot of options for working on the landscape, so you should approach your choice wisely.
Grinding and painting work
The next step in the construction of a model railroad with your own hands is grinding and painting work. If you used wood for construction, then you can eliminate all the bumps with ordinary sandpaper. Dried construction foam is most easily trimmed with putty, applying it to all uneven areas. After that, the mountains will become quite smooth. If this does not suit you, do not be afraid to break off a couple of pieces of putty to give the natural formation a more natural look.
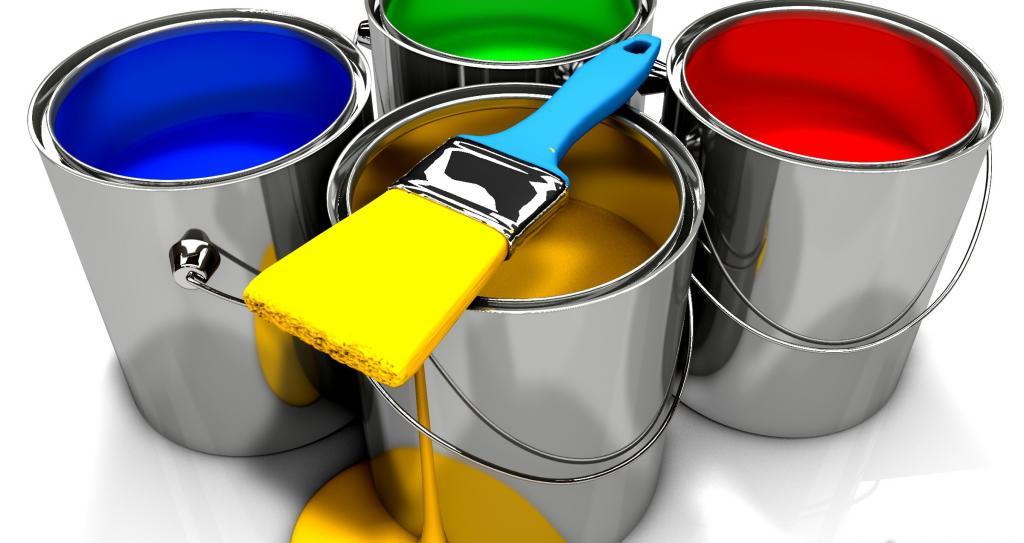
As soon as the landscape acquires the desired shape, open several cans of acrylic paints, take brushes in our hands and begin to create. It is best to have an image of real mountains with vegetation in front of your eyes in order to better understand which colors from the palette should be used in the first place. Do not be afraid to apply several layers of paint, as this will only give the future composition a natural look. For example, you can paint the stones gray, and then add a little white paint on top, thereby depicting snow on top.
Paving the railway
We are still doing the mock-up of the railway with our own hands and are gradually approaching the longest stage of construction - the laying of the railway railroad. As a rule, most masters prefer to buy ready-made material in stores with toys, since it can take a lot of time to make a railway with their own hands. In addition, plastic parts are cheap enough and will not be a pity to break them in case of careless use. This is especially true for those people who have children in the family.
The railroad is fixed to the model using ordinary building glue. Do not use too long parts during operation, as this can give the road unnatural straightness. It is best to make sure that it has more turns and elevations. Remember that you should not use too much glue to fasten parts to the surface. Also on any tube you will find information that for good fixation a huge role is played by the force of pressing the part to the surface, and not by the long pressing time.
Create Scenery
As soon as the main element of our layout is done, you can begin to create various decorative elements. You can buy such parts in stores with toys or make them yourself from building materials, if you have a talent for this. For example, on some mock-ups you can see the usual medical cotton wool, which plays the role of snow, although most professional designers still prefer to use a special mixture, which is sold in small cans in Christmas stores.
The same goes for the rest of the composition. You can make do-it-yourself lanterns for the layout of the railway from ordinary plasticine or buy a finished decoration in the store. By the way, if you plan to make a layout for Christmas, it will be a very good idea to replace the standard street lighting with Christmas lights, however, such a solution should be foreseen by cutting several dozen holes for bulbs in plywood - this way the wires will be at the bottom, attached with electrical tape.
Video and conclusion
We hope that now you better understand what makes a mini-model of the railway with your own hands. If the information from our article seemed to you a little, or you still have some questions, we recommend watching a short video in which the wizard demonstrates the whole process of making the landscape with his own hands. Such video material will be useful for both a novice designer and a true master of his craft. If you watch it in its entirety, you will certainly learn to craft beautiful mountains and other natural objects using improvised materials.
As you can see, to make a model of the railway (12 mm) with your own hands it is not at all necessary to have any special knowledge and skills. It is enough to approach this process with great responsibility, freeing out all the stock of your creative potential. If you are constantly interested in how other masters make compositions, then sooner or later create a real work of art. Well, if you have your own ideas about what you can use when creating a layout of the railway, then you can share them in the comments.