Assembling a shower cabin is not the hardest thing. Here it is much more important to first determine the type of structure that needs to be assembled. You will also have to have certain tools on hand. If you follow the instructions clearly, then you can carry out all the work without any problems, even if you had no experience in such matters before.
Types of devices
There are many different models of cabs, which can be divided into several groups, depending on what material was used for assembly, what shape the structure has. However, these parameters are considered secondary. The main characteristic of the classification is how exactly the assembly of the shower cabin is carried out relative to the remaining space in the bathroom.
The first variety is closed models. This type has limited space, the dimensions of which are determined by its own walls of the structure. In addition, there are certainly such elements as a pallet, lid, doors, shower head. These elements are basic. However, additional equipment can be installed, for example, water heating, built-in radio, etc.
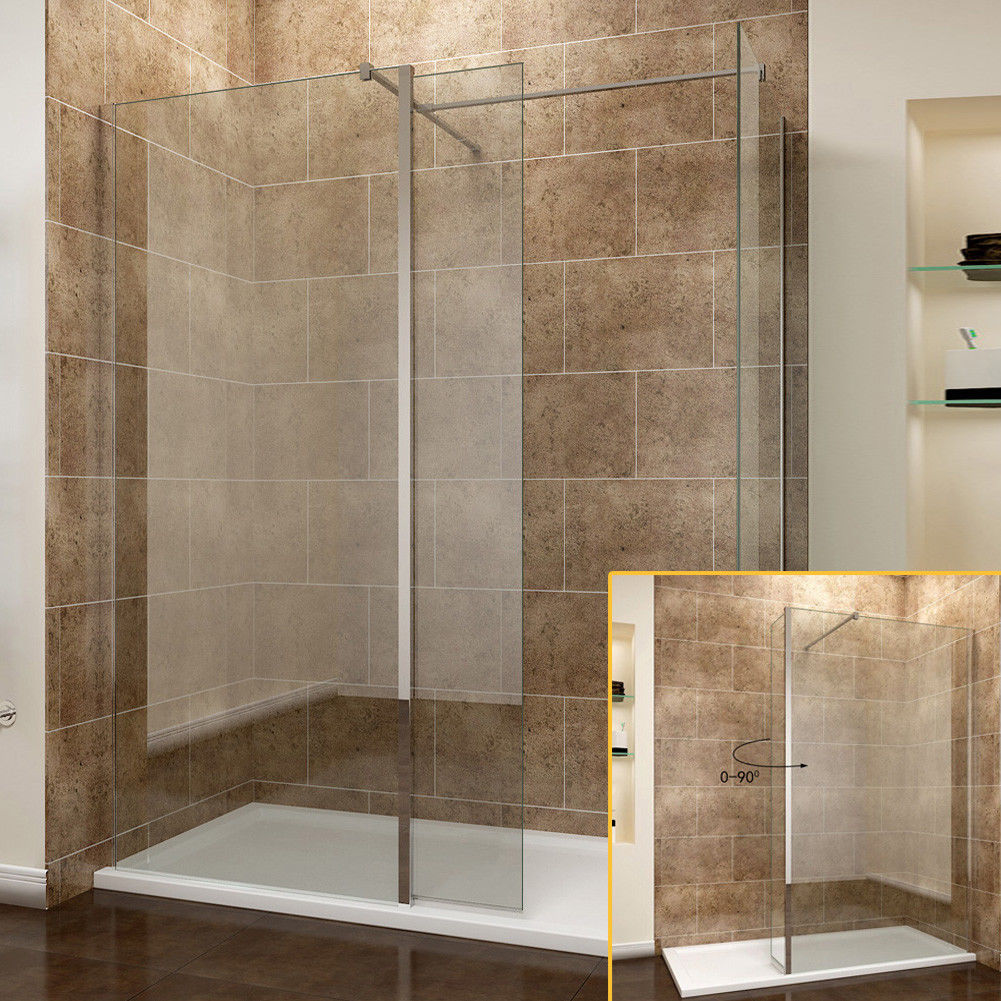
The second type is open models. In this case, the walls of the bathtub itself will be partitions in the booth. Assembling a shower cabin of this type consists in installing doors, a tray, a shower head. Most often they are installed in the corner of the bathroom.
Cabin Options
The main structural element is the pallet. It can be rectangular or angular. When choosing this element, you need to pay attention to its depth.
- Assembling a shower with a high tray will ultimately form a mini-bath into which you can draw water.
- The lowest pallets are called flat, and their design requires a special installation scheme, but at the same time they are the most compact.
- Pallets with medium depth are considered universal.
In addition, they differ in the material from which they are made. Most often, acrylic products are used, however, it is quite possible to meet cast-iron, steel and ceramic pallets.
What is needed for assembly
To successfully complete the assembly of the shower, of course, you will need the right tools.
- all types of screwdrivers are required, as well as a gas wrench;
- electric drill and drill for metal with a diameter of 3 and 6 mm;
- flexible water hoses;
- siphon and silicone sealant;
- if a low pallet is used, then foam will be required, approximately 2-3 standard bottles.
The instructions for assembling a shower cabin include several successive steps. It is worth noting that on each of them it is necessary to carry out marking to ensure the geometric accuracy of the arrangement of all the necessary elements.
Another important step is to check the evenness of the floor. If it is uneven at the installation location, you need to fix it. Mounting should only be on a level surface.
Work with a pallet
The whole process of work begins with the installation of this particular element. It can be mounted on the frame or without it. The whole installation process depends on this.
Deep pallets are mounted on a metal frame. As a supporting structure, a frame metal frame will act. Depending on the project, it can be connected either crosswise or in parallel.
To assemble the shower tray, follow these steps:
- There are special holes on the pallet into which the studs are screwed all the way.
- For each of them it is necessary to screw on two nuts. One should be fixed at the very bottom, and the second approximately in the middle.
- The frame support should be put on the stud with nuts so that the metal plate is at the top.
- Particular attention should be paid to the central hairpin. It is mounted in the middle of the structure, and a washer, locknut, and an additional nut are used for fixing.
- Next, the mounting beams of the structure must be fixed on wooden beams. Self-tapping screws are usually used for fixing, and the wooden blocks themselves are initially mounted in the fiberglass pallet.
- All fasteners that still remain are tightened, and another nut is screwed onto the studs to fix the structure on both sides.
- Brackets are placed under the legs, which will serve as a support.
- After that, the finished pallet can be placed at its installation site. The main thing is to check its position with a level.
Drain organization
If until this moment the siphon has not yet been mounted, then right now it needs to be installed. After it is connected to the pallet, it is necessary to check the tightness of this joint. To do this, twist everything and pour water, if there is a leak, then it will immediately be visible. If a leak does appear, then in the assembly of the shower cabin with your own hands you will need to make a little sealant. The last thing to do is check the slope and length of the drain hose. The optimal slope is considered to be: 2 cm per meter of length.
Installation of doors and walls
It is worth noting that if the work has already reached this stage, then all the main difficulties are behind. Despite the fact that the material and shape of these parts can be completely different, the installation process always begins with the wall on which the automation will be mounted. It is also worth adding that all elements installed at this stage should be coated with sealant. However, this should be done only after all the elements are installed in draft form. Until then, the craftsmen recommend not completely tightening the fasteners so that there is the possibility of adjustment if necessary. The assembly of a shower cabin 90x90 cm, for example, includes the following steps at this stage:
- Before installing the glasses, it is necessary to lubricate all the grooves of the guides with sealant.
- All racks are attached to the arch. For this, self-tapping screws are used.
- Before installing them, rubber seals must be attached to the glass inserts so that water does not get out.
- Lower guides should also be greased with sealant, as well as upper ones.
- Glass is being installed.
- To fix the side panels, it is necessary to use small screws and washers.
- All joints must also be treated with sealant.
- It is also necessary to check the electrical equipment.
- A fully finished and assembled construction is left to allow the sealant to dry.
Roof installation and some installation features
Installation of the roof is carried out without any problems, since the design is almost ready. The roof is mounted on top of it, and is attached using hardware.
You also need to know some nuances. The process of assembling a shower enclosure of a closed type is characterized in that elements such as walls, racks, doors and a roof are attached to each other.
Advantages of a shower cabin
It is worth mentioning what are the advantages of a cabin with a deep pallet. An excellent superiority is that such a cabin retains heat better. Thanks to this, being inside is much more comfortable and more pleasant. The second advantage is, of course, that it can be adapted for a small bath. All that is needed is to close the drain and draw water. Of course, one square meter is not enough to spend time in comfort, but it is quite possible to relax. In addition, such a small bath is perfect for bathing in her children.