Do-it-yourself bedside tables are often made, but this concept is very diverse. As this piece of furniture can be a product that will stand by the bed, another possible option is a place for a tea mug and newspapers in the living room. However, making this design yourself is quite simple. To do this, you must first prepare certain tools and materials, as well as familiarize yourself with the process technology. Only in this way will you be able to successfully complete the work, and the product will delight the eye of the household and will be convenient to use. The only thing that you may not have to do yourself is to cut the material.
Preparatory work
If you will do the table yourself, then you need to prepare the following tools: a drill screwdriver, a set of bits, a cutter, a tape measure, an iron, a pencil, sandpaper, a carpentry tool, a set of drills. The best solution would be to use a cordless screwdriver, which is true if the farm also has a hammer drill. Drills should be selected on the tree, but as for the set of bits, then it should have a hexagon for confirmations. Be sure to prepare a right angle with a measuring ruler. A dry rag should be at hand. For the reason that the sawing of chipboard will be carried out in the workshop, you should expect that you will have to transport sheets, whose dimensions are 1830x2448 mm, yourself or with outside help. These dimensions are the smallest. That is why experts recommend saving on gluing edges.
Recommendations
Today its melamine variety is sold, the thickness of which is 0.5 mm. For the reason that this element has an adhesive base, it will be quite simple to install it. To do this, attach it to the desired end and iron it with a heated iron. A dry rag will help strengthen the hotter edge for maximum traction. The excess should be disposed of with a blunt knife, treating the face with sandpaper.
Detail
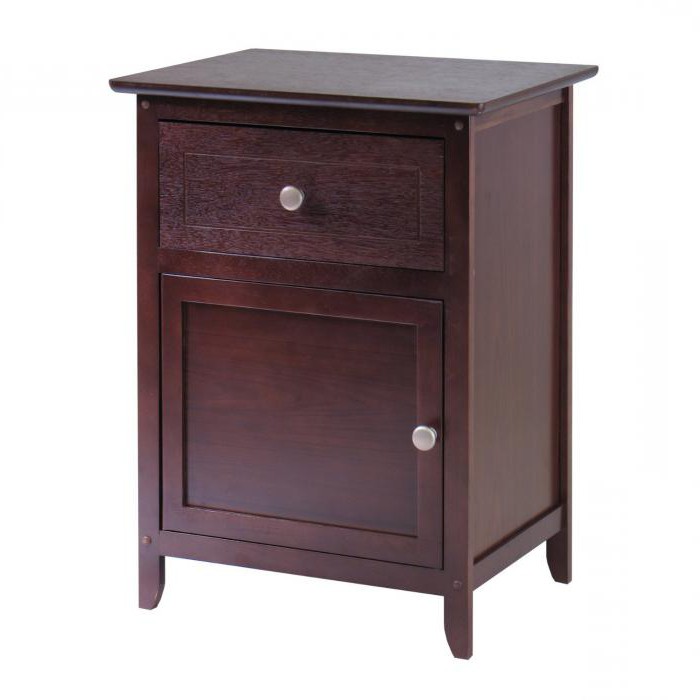
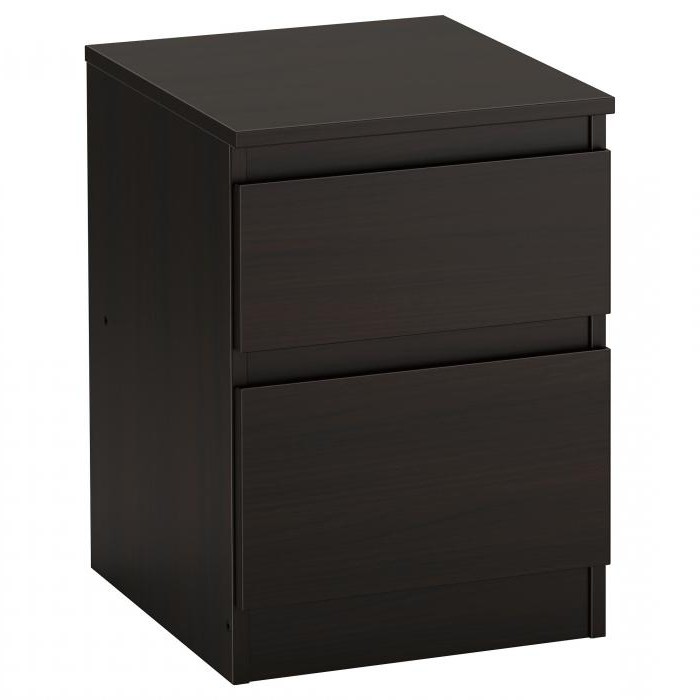
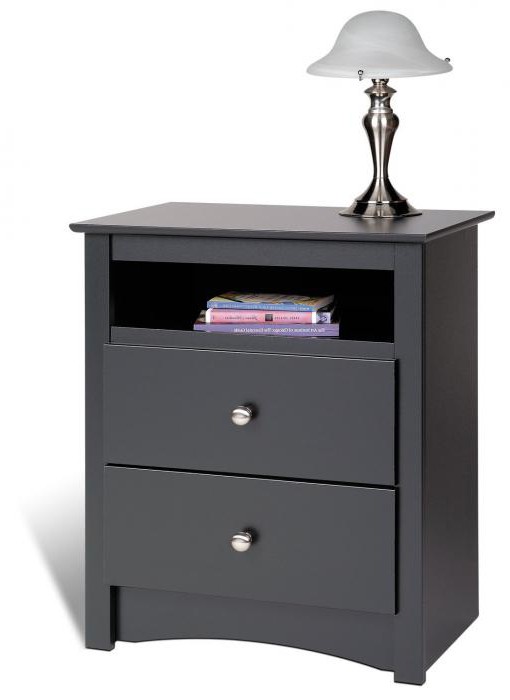
When doing a do-it-yourself bedside table, it is important to familiarize yourself with the details. However, the internal content may vary. Everything will depend on the desired appearance and functionality, as well as the budget that you plan to spend on hardware. Below will be described the details of the simplest and cheapest piece of furniture, but the runners and facades will be made of chipboard. As for the side parts, then they will need two pieces. In the first case, the size of the element will be 772x500 mm, while the bottom and the shelf should have dimensions equal to 368x502 m. There should be two upper slats, but there is only one base, the dimensions of these components are 368x100 mm. It is important not to forget about the side parts of the box, there should be two of these elements, and their sizes are equal to 480x110. It will not be possible to create a structure without back and front walls, there should also be two of them, and the dimensions are 334x110 mm. The facade is limited to 150x395 mm, and the cabinet door has dimensions equal to 515x395 mm. The above dimensions are for chipboard with a thickness of 16 mm. The countertop should be kitchen, and its thickness is 28 mm, while the length and width are 525x400 mm. When doing a do-it-yourself table, it is important to know not only how to glue the edge, but also how to prepare the parts for assembly.
Preparation of consumables
The fixture can be a fixture, for which it will be necessary to drill holes. Their diameter should be 8 mm, while when arranging the holes in the end, the diameter must be reduced to 5 mm.
Hardware preparation
Even if you plan to purchase an inexpensive option for fasteners, then this should be taken seriously. Confirmats should be purchased in the amount of 22 pieces, their sizes - 5x70 mm. The base and the tie rods will be installed on one confirm, each of which should be located on one side. Self-tapping screws must be purchased in the volume of one package, dimensions - 4x30 mm. They will then be needed for other household chores, but in the case of a curbstone they are used to screw the countertops to the slats. As for the facade, the self-tapping screw in this case is installed to the front wall of the box. At the same time, the fasteners should be located inside so that it is not visible. Need more screws with dimensions of 4x16 mm, they must also be purchased in the amount of 1 package. With their help, you will strengthen the hardboard and loops, it is important to purchase fasteners with a secret hat. Find 2 matching furniture hinges. The cutter has a diameter of 35 mm, loops, respectively, should be suitable. If desired, you should purchase decorative furniture handles that are installed on the facade. Additionally, you can get screws for handles, the length of which is 35 mm.
Manufacturing process
When creating a do-it-yourself bedside table, the photo of which is presented in the article, you can use one sheet of chipboard, it will make 2.5 products. The assembly is very simple, in addition to the bottom sides, you can screw the furniture legs, which are simply called "hooves". They help to establish a curbstone on an uneven floor. If you will make a bedside table of wood with your own hands , then you can purchase adjustable legs that can be found in a furniture hardware store. First, the wizard makes a selection for the loop. It should be remembered that the step from the edge of the facade to the central part of the hole should be equal to 22 mm. For hinges with a landing dimension of 35 mm, markings should be made on the top and bottom of the door. This is usually done at a level of 80 mm, but this parameter cannot be called critical. The next step will be the installation of the facade with twisted loops, then everything is fixed to the body. When you make a nightstand for a TV with your own hands, you can use the same sizes, since they are great, it is important to remember that when assembling the box and box, you need to check the geometry of the resulting box. Otherwise, the product will turn out to be crooked, and the facades will be impossible to open or close.
Making a bedside table or cabinet for shoes
In order to make the construction for the bed or for shoes more stable, you can make it in the form of a trapezoid, the product is assembled on the keys. One of the side ends of the bottom must be sawed, this applies to covers and sticks. In this case, use an angle of 10 °. An electric saw and guides are perfect for this. At the next stage, on the cut ends, you need to select the grooves for the dowels, while under the cutter, an even board is laid. The latter, including the workpiece and workbench, should be compressed with a clamp. Before starting the assembly of the cabinet, all accessories should be temporarily fixed, this will allow you to determine its exact location.
Work sequence
When a do-it-yourself shoe table is made , first you need to attach the top cover to the left side wall using the keys. At the next stage, the right side panel is strengthened, and the structure must be in a lying position. Once the glue has set, the back wall can be fixed to the body. The surface must be sanded, before painting the edges are varnished. After the cabinet is turned upside down, you can screw the rollers to the corners, each of them must be fixed with two washers and nuts. When making a bedside table with your own hands, you can be guided by the same technology, while on the door you have to mark out places for installing furniture hinges. 50 mm should be measured from the lower and upper ends. As for the lateral edge, it is necessary to deviate from it 22 mm. To install the loops, you need to drill holes at the intersections of the lines. From the top cover, the master retreats about 3 mm, this will further ensure easy closing and opening of the door.
Final work
If you are thinking about how to make a nightstand with your own hands, then at the next stage you need to assemble a drawer, for this, grooves should be provided in the lower part of the three sides. The ends of the rear and front walls are cut at an angle of 10 °. It is important to remember that the sides of the box must be connected to each other end to end. The mechanisms for rolling out should be installed at the same stage, it is best to use roller guides, since they are simple to install and durable in operation.