Many photography lovers dream of increasing their level of professionalism, they want to learn how to shoot beautiful landscapes or original still lifes. However, the most common genre in photography is portraiture. This article will discuss how to shoot a portrait correctly. Consider its different types, analyze the equipment necessary for this genre, and determine the lighting conditions necessary for a proper portrait.
Technical part
What lenses to shoot a portrait of? We begin our analysis with a review of the photographer’s technique for portraiture. Of course, there may be various versions of the kits needed or suitable for this genre. The simplest and most affordable kit for portrait photography is a “whale” 50 mm lens with a 1.8 aperture. Each company has such a lens, and this is a wonderful option for creating a portrait. This is a fast lens that allows you to shoot even in low light conditions at fairly small ISO settings. This is very important, since for a good portrait one of the main criteria is the sharpness of the picture, and with lower values of photosensitivity we get less noise.
In addition, this glass allows us to blur the background well, helping us to use the method of highlighting the main thing in the frame using the depth of field. Such lenses are in different price categories. Prices range from 4 thousand rubles to 20 thousand rubles, depending on the manufacturer. The 50 mm lens is mainly intended for shooting a waist portrait.
The next option is 85 mm with the same aperture value, designed for close-up portraits. Thanks to its aperture, it helps to shoot in low light conditions, to create a beautiful “bokeh" effect. This glass is also "whale", so almost all manufacturers have it, but its cost is no longer as attractive as on the previous lens. Prices start at 20 thousand rubles and can reach 100 thousand.
These were the budget versions of each manufacturer in portraiture. Let's move on to more expensive options. Each brand of photographic equipment has its own line of professional equipment. For example, Canon has L-series lenses, Sony has G-master lenses. These lines of technology are positioned as professional, with a better, sharper, three-dimensional image, brighter color reproduction. In addition, the lenses of these series have even larger aperture values, such as 1.4 and 1.2. They allow you to further blur the background and shoot in even lower light conditions. Of course, a high-quality portrait can be shot with a "whale" lens, but more on that later.
Street Portrait Technique
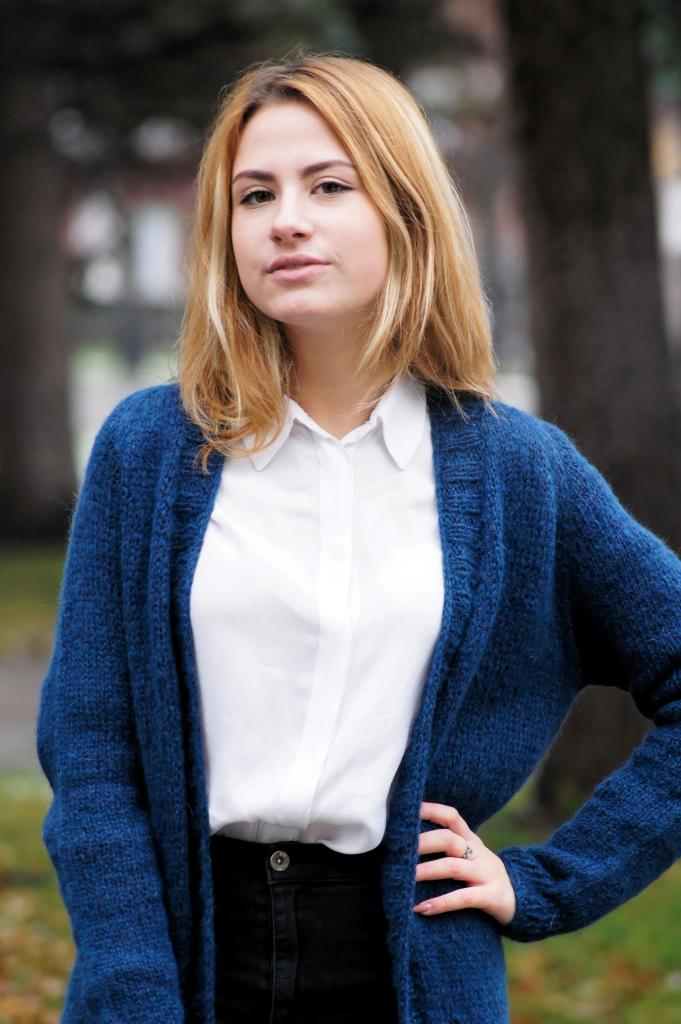
So, let's begin to understand how to take a portrait on the street. The most important and important thing you need to know about shooting this genre is time. It should be understood that the most important criterion for you should be light. Therefore, you should not take pictures in the light of day, it is best to plan the time of shooting in the morning or evening hours, at a time when the sun is at the stage of dawn or sunset. The question arises: why exactly? Everything is very simple: in the daytime, the light is at its zenith, so the sun gives a hard light, giving very sharp shadows. During sunset or sunrise, the light becomes softer and more favorable in order to take a good portrait. But still, if you can’t set the time for shooting at sunset or dawn, there are some secrets for taking pictures in the daytime.
How to shoot a portrait with one flashlight "Zamorin" or some other? In fact, everything is simple, the principle is the same: you take a flashlight and light up your face. The aperture is maximally open, the exposure value is adjustable exposure.
The border of light and shadow
Use the border of light and shadow. What it is? On a sunny day, you should look for a place where there is a shadow cast by a building, a tree, or some other large object. You should put the model in shadow so that 1-2 steps are left to the border. How it works? Asphalt is a large reflector, the sun's rays fall to the ground, bounce off the floor and thereby scatter light on the model, smoothing the vertical shadows on her face. That is, asphalt in this case is a large reflector and diffuser. You can use diffusers in the light. Most often they are sold complete with silver and gold reflectors, but this requires additional costs.
Diaphragm
Shoot with an open aperture. This is especially important in street portraits, since with an open aperture we get a blurry background. Thus, we seem to remove all unnecessary information from the background of our photo, for example, passers-by, cars or some kind of flaws in the location on which you are shooting. In addition to the bokeh effect, the advantage of an open diaphragm is that it reduces the amount of noise in the photo, since more light enters the camera’s matrix. And in order to reduce this amount, you either reduce the value of photosensitivity, or decrease the shutter speed. Shorter shutter speeds in turn reduce the chance of a blurry photo. There is such a theory that to reduce the “movement”, you need to set the aperture no more than the focal length of the lens, that is, if the lens has a focal length of 50 mm, the shutter speed should be no more than 1/50. In fact, you should decide which shutter speed to set, since this parameter is purely individual and depends on the person.
How to take a portrait on a whale lens
And now it's time to find out about that very secret. How to shoot a portrait on "whale" lenses. First, set its maximum focal length on your lens, on a model 18-55 mm, select a focal length of 55 mm. Open the iris completely. Set its minimum value for such a focal length, most often for a “whale” this is the diaphragm with a value of 5.6. Shoot as close as possible to your type of portrait, but this effect works best when shooting a half-length or front-facing portrait.
But it is worth remembering that the open aperture makes the picture softer and you will not get the so-called “ringing” sharpness at these values. Therefore, during processing, add clarity photos using the Alien Skin Exposure 6 plug-in. Its algorithms do the best to improve clarity.
How to shoot a group portrait
In general, the technique is almost no different from shooting a street portrait, except that you need a lens with a smaller focal length. A 35 mm lens is ideal for these purposes, but 50 mm can be dispensed with. On which aperture to shoot portraits? In a group portrait, it is recommended to hold down the aperture value a bit to get more sharpness at the edges of the frame, since it is important that everyone is in focus and sharpness. This is all the differences in the camera part.

The light will depend on what you want to get as a result. If you need a reportable group portrait, then you don’t really need to highlight the background. Let it be what it really is. Agree that it would be better to look at a portrait in a dark key, if the event will be quite warm, chamber lighting. But if you need to take off, for example, a school class, you will need to highlight the background, create the so-called fill light. To do this, you can use two flashes with umbrellas to the lumen, which will paint the faces of children with soft light, while the background will be quite dark. You can use one flash with a reflector "burst", which must be directed up. When it is triggered, the light will be reflected from the ceiling, filling the background with light, while the reflector will draw faces. It is worth remembering that in this case the light falling on the faces will be hard, there will be no smoothness of the picture. Light schemes can be set in different ways, so experiment and try different schemes.
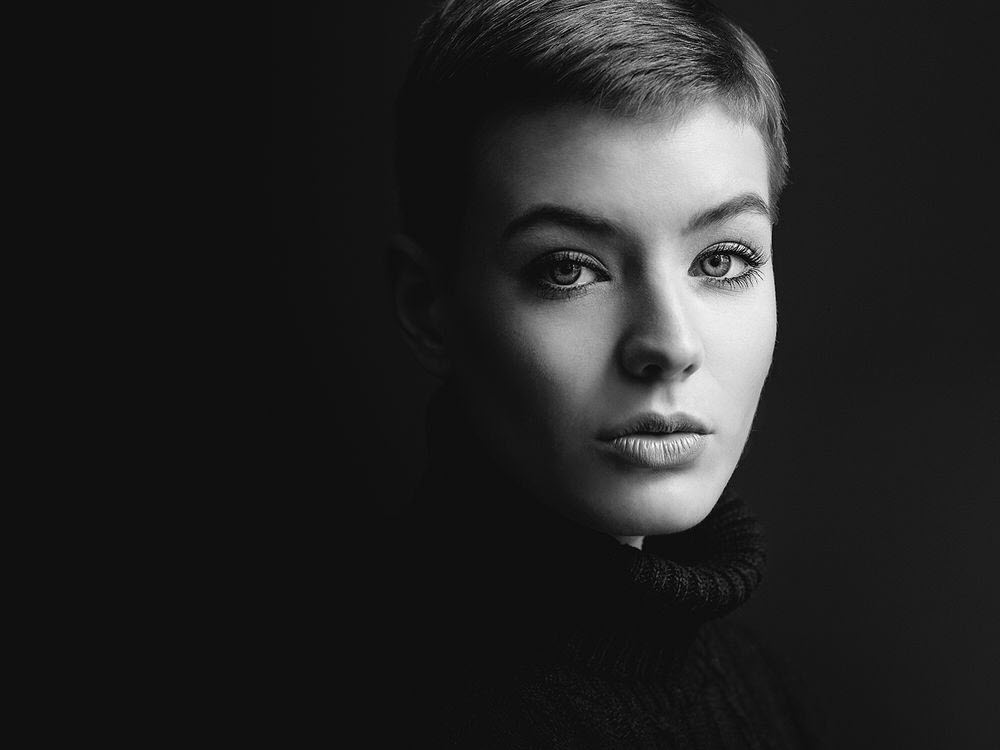
Studio
And the last aspect that remains to be disassembled is how to shoot a portrait in the studio. Studio shooting is a very difficult and complicated process. She needs a huge amount of various equipment: synchronizers, flashes, pulsed light sources. Most often, studios have in their arsenal some stock of pulsed light sources, various nozzles for them, synchronizers, and paper backgrounds. But here's how to arrange light circuits, many are interested. But we will start with the device and configuration of pulsed sources.
Pulse device and camera setup
Firstly, you need to find the average value of the pulse power, for this we find its minimum value. Let it be somewhere around 1.0. And we find the maximum value, for example 8.0. Then the average power of this source will be 3.5. Next, you need to set this value, now it has become our starting point. Subsequent brightness adjustments will need to be made from this value. Pulse light has two lighting elements: pilot light and the flash itself. The pilot light shows you how roughly the light will lie on your model to set the right light.
Let's quickly go through the camera settings. Most often, photographers use a shutter speed of 1/125 and a photosensitivity of 100 units for shooting in studios. Why such an exposure? Everything is very simple. If you set the shutter speed to shorter than 1/125, we see that part of the shutter is visible in the picture, since it just manages to close before the flash fires.
Light circuits
The main light source should be located above the model at an angle of about 45 degrees, because this is how the sunlight shines. That is, we imitate a natural source of illumination, directing light from above in a natural way. Moreover, if you put it farther from the model, we get a harder light, similar to sunlight.
This light scheme is not very suitable for shooting portraits; it can be modernized by using a diffuse oktoboks on the main light source. Then the light falling on the model will be softer and more pleasant. It can be placed both on the side and in front of the model. Positioning the light in front of the model, we get more extensive work, since in this light you can direct the face of the model in any direction. With lateral lighting, the model’s face is best directed to the source, and the look into the camera, so we get rid of the shadows that appear on the face. If we put a light in front of the model and direct its face, for example, to the right, then vertical shadows will form on the left side of the face. These shadows can be minimized by adding another light source, which will be located on the side where the shadows appear. The second light source should be weaker than the main one. Because if their values are the same, you will get a very flat picture without shadows at all, which will look unnatural. Remember that you can always adjust exposure by moving the model or changing aperture values.
How to shoot a male portrait in the studio? Most often, for shooting a male portrait, hard light of small power is used. In order to emphasize the facial features of men, they use a lighting scheme with one pulse source on the side of the model.
How to shoot a portrait on iPhone
How to photograph a portrait on the iPhone? First of all, wipe the camera lens of your smartphone. To take a portrait on iPhone, you can use either a standard camera application or a third-party one, for example, the ProCam application. In this application, you can manually change the parameters of photosensitivity, shutter speed and white balance. A plus of the standard application, starting with the seventh model, is the presence of a portrait mode that can create an artificial “bokeh”, thereby simulating a portrait lens of a SLR camera. If you have a reflector in your arsenal, then you can take an assistant with you who will hold it so that the light falls on the model softer.
Do not forget about the rules of the border of light and shadow. They also work for shooting on a smartphone. In low light conditions, use a tripod to reduce vibration. Use a grid, this grid by the rule of "thirds" shows where it is better to place the main objects in the frame. To place the model is best at the intersection of the straight lines of the grid. Pay attention to the facades of buildings, parks, alleys, all this will help to decorate the composition of your picture.
A few words in conclusion
The article provided information on shooting portraits. Now it’s clear how to take a portrait beautifully. You just have to master this knowledge and test your strength yourself. Do not sit at home, exercise, experiment, consolidate knowledge. It doesn't matter what lens or camera you have. You can take a beautiful portrait on the phone. Nothing is impossible. Without practice and the desire to take pictures, you will not achieve the desired result.