Android x86 is an unofficial attempt to transfer the Android OS from Google from smartphones to a personal computer. This project is in no way associated with the official supplier of the mobile platform, despite its similar name. Despite the fact that there are many ways to use this shell on laptops and PCs, this option does not contain any forms of spam emulators and / or advertisements that fall into the native environment.
How it works?
Like regular Linux distributions, the project releases pre-created ISO images that you can run in real time or install on the hard drives of target devices. Starting with 4.4-r2, the project also releases efi_img, which can be used to create Live USB bootable from UEFI devices. Starting with 4.4-r4, UEFI support was introduced in ISO images, and efi_img was flagged as deprecated. All versions of this system are available on the official website, where you can download them for free.
Newest version
The project is provided entirely open source and is designed to work on computers with x86 architecture. These are mainly devices with Intel chips. "Android-x86" has now received an update, development has been upgraded to version 8.1-rc1, which provides Android 8.1 Oreo to users. This distribution has changed significantly in functionality.
The project now includes the following functions:
- Added support for both 64-bit and 32-bit kernels and user spaces.
- This release supports OpenGL ES 3.x hardware acceleration for Intel / AMD / Nvidia, VMWare, and QEMU (virgl) in Mesa 18.1.2.
- For devices with an OpenGL ES 2.0 GPU, the OS is now supported through SwiftShader for software rendering.
- For computers with Intel HD and the G45 graphics family, hardware accelerated codecs are now supported.
- A text-based GUI Installer has also been added.
- Secure boot from UEFI and installation to UEFI disk are now supported.
- Added support for GRUB-EFI themes.
- Multi-touch, audio, WiFi, Bluetooth, sensors, camera and Ethernet (DHCP only) are also supported.
- An external USB drive and SDCard support were also added to this release.
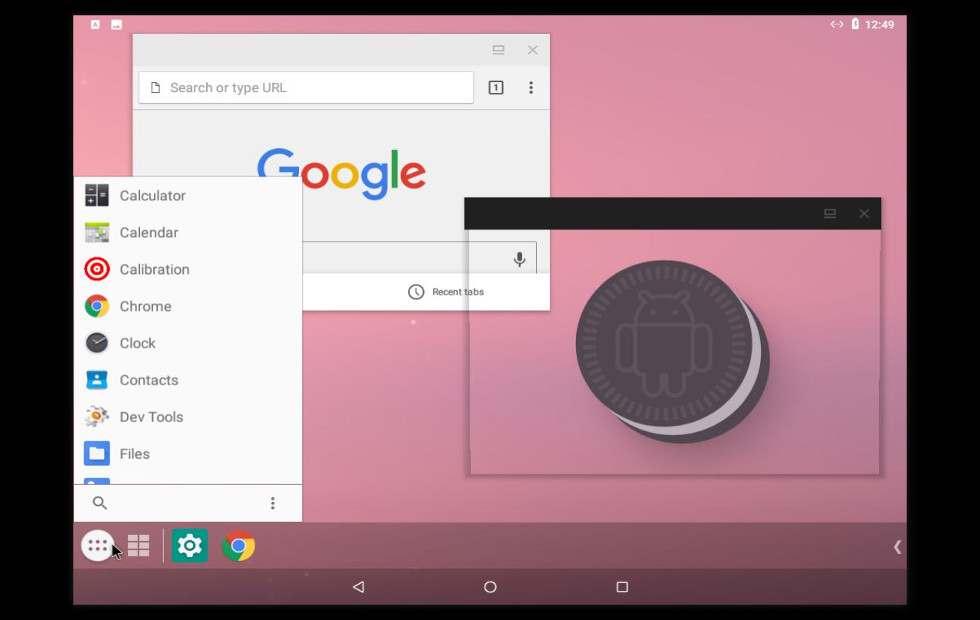
- There is a taskbar and an alternative launcher (which places the Start menu and a panel with recent applications at the top of the user's screen).
- For computers that do not have known sensors, the Force Default Orientation option was enabled, which allows portrait applications to run on devices with a horizontal orientation without rotating the screen by the user.
- ARM Arch applications are now supported using the built-in bridge mechanism. The functionality is available in the "Android-x86 Options" menu in the "Settings".
Are there any problems with the platform?
Although this release is fairly stable, it has two known issues:
- Google Play services can sometimes freeze on 32-bit images.
- For some devices, the “pause” and “resume” functions do not work.
Currently, a simple installer for installing “Android-x86” on the hard drive has been introduced. The file systems that the platform supports include:
You can install "Android-x86" in the NTFS file system so that it can work in parallel with Windows.
How can I try?
There are many methods to try Android-x86 on your PC. Probably the simplest, but also the most resource-intensive, is to download the ISO and run it on a virtual machine, of which there are several. More advanced users who really need a full-fledged Android PC can record the image to a USB drive and first check it before installing it directly on a computer.
How to download and prepare?
All Android-X86.org installations are in the format of an ISO file that contains an exact copy of the disk. Downloads are divided into outdated, stable, and unstable releases. It’s best to choose a stable version that matches your computer. ISO files are usually written to CDs, but they are about 70 MB in size and take up only about 10 percent of the disk. An easier way is to create a bootable USB drive. For "Android-X86" it is recommended to use the UNetbootin application. If you want to create a bootable CD, Windows offers its own disc image burning program.
What are the system requirements?
The absolute minimum requirements for the system were initially the following: 200 MHz processor, 32 MB of RAM and 32 MB of memory. Currently, these parameters are no longer relevant.
Today, the project does not have traditional system requirements, as is the case with a standard OS, but is a list of tested systems. When installing "Android-x86" on a PC, select the version that best suits your computer.
The platform has been tested with six different systems and manufacturers. It contains installation files configured for ASUS EeePC laptops and netbooks, as well as for the Dell Inspiron Mini Duo tablet. The rest of the tested computers are actually tablets, including the Lenovo ThinkPad x61, ViewSonic ViewPad 10, Samsung Q1U and Viliv S5.
Even if your computer has not been tested, you can still try Android X86. Developers recommend choosing the version closest to your system, or creating your distribution based on the instructions on the Android X86 website. W3bsit3-dns.com (a resource specializing in computer technology) also offers such a guide.
How to install?
Burn the ISO image to a CD-rom or create a bootable USB drive (this is the best way). Run the prepared CD / USB from the appropriate drive, select the option “Install Android on the hard drive”.
After a few seconds, you will see a section selection dialog. You can select an existing “Android-x86” to install or create or modify them. To do this, proceed to the menu item "Create / Change Partitions". In addition, you can install Android-x86 on an external drive, for example, a USB drive. If the target disk is not immediately visible, try to use the "Detect devices".
"Android-x86" can be downloaded in parallel with another operating system or data in your selected section. If it is formatted, you can select the "Do not format" option to save existing data. Otherwise, select the file system type to format. Do not forget that its correspondence to the section identifier is necessary, otherwise the bootloader will not work.
In addition, if you decide to format it in fat32, you will see a warning that Android cannot save data in this format. You can still continue the installation, but the installed system will function as a Live CD. That is, all data will be lost after a power outage. Therefore, it is not recommended to install Android-x86 in the fat32 partition.
The next question is whether to install the Grub bootloader. You should usually answer yes if you do not want to install the bootloader yourself. Please note that the installer only creates download elements for Android-x86. If you are hoping to load other operating systems, you need to add the item to /grub/menu.lst manually.
If everything is done correctly, installation will begin, and you will see a progress bar. When the process is complete, you can start Andrond-x86 directly or restart the computer and select a new OS.
Potential errors
Due to the large number of non-tested devices, you may find that Android X86 is not a stable operating system. The release notes for the stable version of the OS indicate that when the Android-X86 is uploaded to the netbook, the camera will not work anyway. You will also not be able to access Wi-Fi and Ethernet at the same time. Your computer may not be able to handle the pause option while running Android X86. However, these errors should not affect the use of the platform on your computer.
Using a virtual device
If necessary, you can install the emulator "Android-X86". At first glance, this may seem like a slow, unintuitive way to use Android on a computer, but using a virtual device has many advantages. If you are a developer and you need to test applications, this is the best way to make sure that everything works without failures. Currently, two main virtual device emulators are used: Genymotion and Google Android Virtual Device Manager, which comes with Android Studio.
These services have evolved quite a bit since their first release. If you select x86_64 as the architecture, you will be able to launch the Android virtual device in fast virtual access mode, which uses Intel's Hardware Acceleration Manager (HAXM) to speed up work. But this only works for x86_64 and will not speed up x86_32, ARM or MIPS.
Genymotion runs on x86 architecture, and also does not provide high speed. One of the biggest disadvantages of using this method is the lack of a Google Play Store. For this reason, you will not be able to install third-party applications on a virtual device without additional downloads. In addition, if you do not plan to develop, downloading Android Studio and wasting space on your computer can be inconvenient. In addition, Genymotion requires the VirtualBox virtual machine manager to be installed to work. This method will work on OS X, Windows and Linux without any problems.