Working with wet hair is a craft with a long history. The first mention of this textile manufacturing technique is found in the Bible. The story of Noah's Ark tells of a carpet of felted wool, which appeared due to lack of space. According to the text of the scripture, the wool of the sheep fell on the floor and got wet, and the animals killed it with their hooves. So there was the first product from felt created by a method of wet felting.
The emergence and development of technology
The skill of creating woolen textiles is associated with the domestication of sheep, since it was too difficult to get material from a wild animal. Nomadic peoples in various regions independently came to understand how to get felt and use for their needs. From this material, craftsmen create all kinds of products: from small jewelry to clothing.
Now wet felting has become a passion for lovers of handmade products. This happened due to the appearance of available material in various shades. Now the craftswomen do not have to look for wool of suitable thickness, independently process it and paint it manually. Ready-made sets have become available, with the help of which you can create not only famous felt boots or gloves from coarse fibers, but also detailed, naturalistic toys in the form of people, animals and plants.
Where to start in wet felting: tools and materials
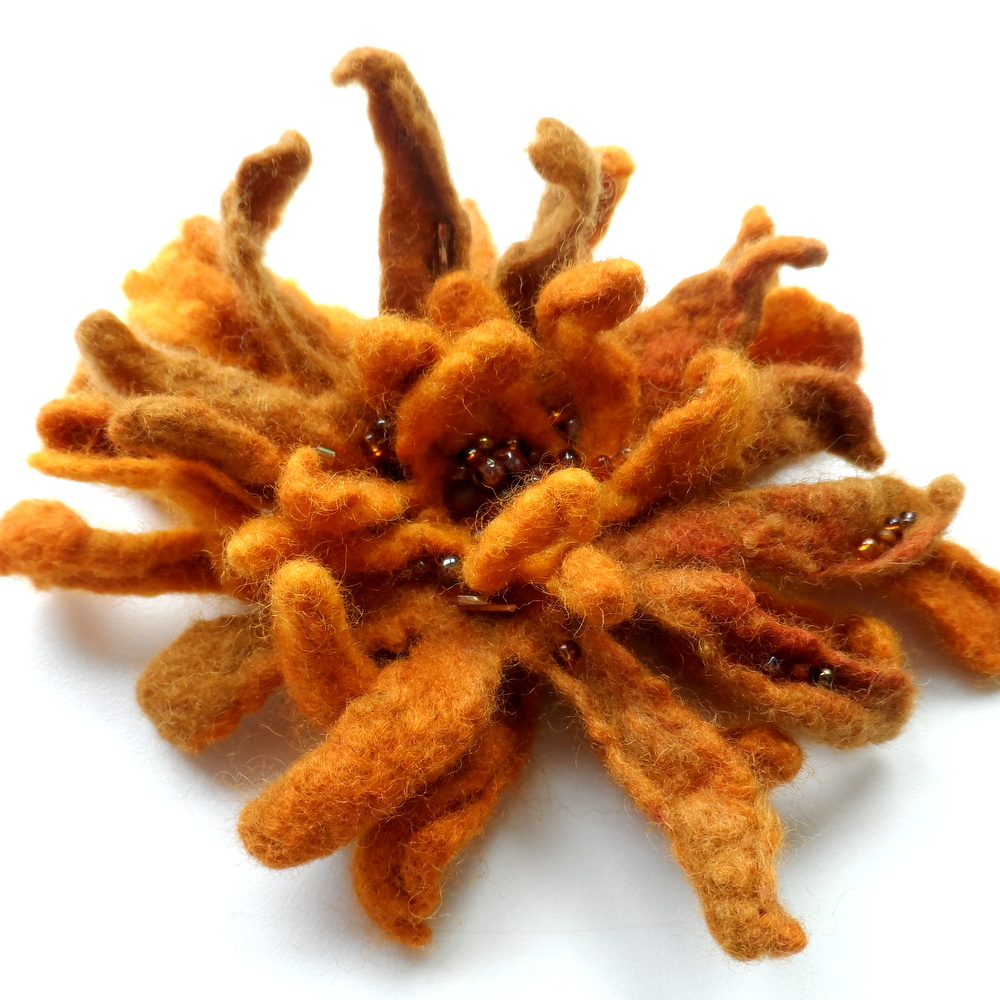
Before you begin, it’s important to decide which product you want to receive. Beginners are encouraged to start with small accessories such as hair ornaments or brooches. For example, make a flower and attach it to a hairpin or pin. Felting wool flowers for beginners is an easy way to familiarize yourself with this type of needlework. To do this, you can buy ready-made kits with instructions or pick up the material yourself. On the flower you will not need as much wool as on a bag or stole, because it is convenient to use it for training beginners. The technique itself is simple to execute. In addition, to create original gizmos from felt, you will not need expensive tools and materials. It will be enough to get the necessary shades of wool, a bamboo rug, a mosquito net and a soap solution.
How to get started with wool
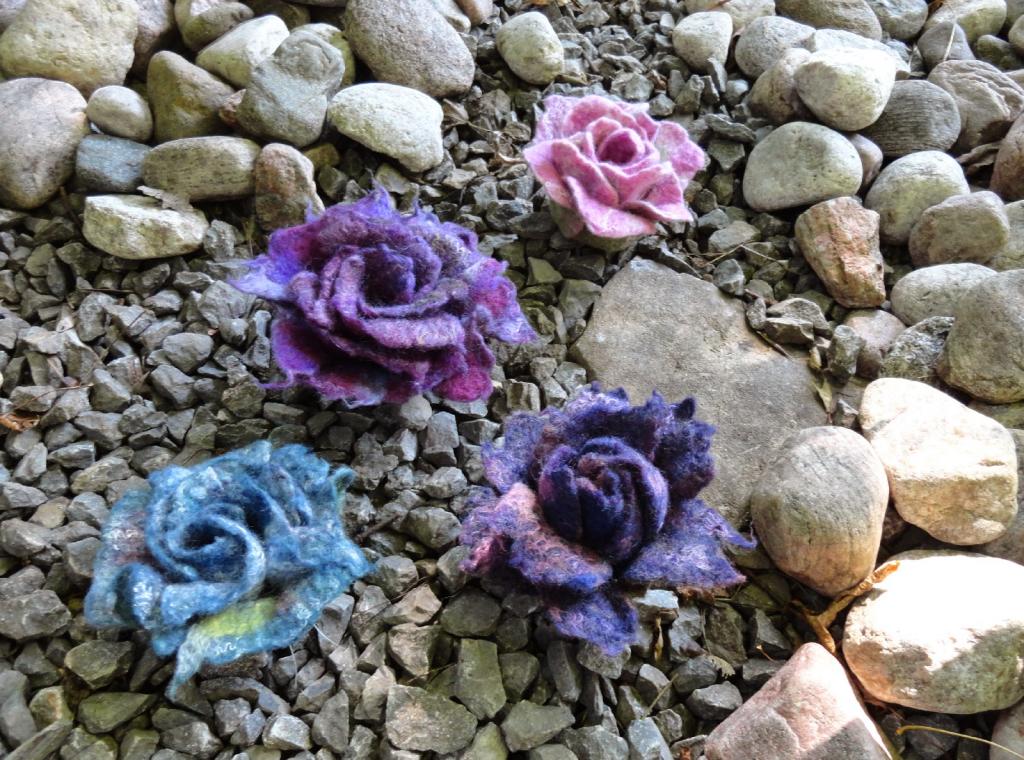
First prepare everything you need. Before knocking down a flower from wool with a wet felting, select the shades suitable for it. Then, in a needlework store or elsewhere, buy merino wool in the form of a combed ribbon of the desired colors - this is the best option for beginners. To create smooth transitions on the petals, it is advisable to take at least 2-3 colors. Another one will be needed for the central part of the flower, if you want the center to stand out. Additionally, but not necessarily, you can buy stamens and green material to make foliage. But the main thing you need to felting wool flowers for beginners is water, a bar of soap and a mosquito net. Sometimes a bubble wrap or bamboo mat is placed under the product. Thanks to the convex parts on the substrate, the wool falls off faster. When creating blanks, it is important to know that wool is reduced in size by up to 50%. This should be taken into account when creating a pattern for bulk products, such as bags or shoes. Therefore, before work, it is advisable to find out the shrinkage coefficient by conducting an experiment on a small piece of material. The result will show how big the buds will be.
How to make flower petals
Using the technique of wet felting from wool, delicate brooches with flowers, hairpins and other jewelry can be created. In order to make the same flower petals, the fur is divided into equal parts. The fibers are plucked off the tape so that a lush edge is formed on one side and thin and translucent on the other. If you fold each part in half, you can make a rounded petal. When adding wool of a different shade, a smooth and pleasant color transition is obtained.
Another option is to try to make a whole flower, without separate petals. For example, a bindweed or a bell. In this case, you will need a blank in the form of a drawn circle, which is placed under the film. With the help of such a device it will be easier to lay out an even bud. A similar option for wet felting flowers from wool for beginners is even easier than assembling from individual petals. It is only necessary to evenly distribute the fibers in a circle.
Wet felting a flower made of wool
After dry wool is spread on the surface of the film, the main stage of felting begins. A mosquito net or organza is placed on top of the product. Then a warm soapy solution is prepared to create a lush foam. Professionals sometimes use a special mixture for felting. But for beginners, ordinary household soap diluted in water in a ratio of 1:10 is enough. But a lot depends on its quality and composition. Therefore, in the process, if the solution turns out to be too liquid, and the hairs of the hair stick out and do not adhere well to each other, soap should be added. If the product is poorly rinsed, then it must be diluted with water.
How to make leaves and stamens
Wet felting of a flower made of wool is exactly the same as for other products. First, the blank covered with a net is slightly moistened to a wet state using a spray gun or just by hand. Then the wool is left for several minutes to soak. This is the time to prepare stamens, leaves and stems for the flower. For the green parts of the plant, you can also take several shades of wool, and the stamens can be made independently of the yellow material by plucking off thin strips and dumping them separately. To do this, pieces of wool are rolled with a palm moistened in solution along the net, forming flagella. They do the same with the stem, but its tip is left dry, so that it can then be held together with a flower.
Felting process
When the material is saturated with moisture, hands moistened with a solution, you must first drive the air out of the wool, smoothing the workpiece in different directions. After this, the process of felting begins. Constantly wetting the hands, with smoothing movements, the fibers are rubbed together. Sometimes the workpiece should be turned over. It is important not to press on it too much. At first it is better to move carefully and slowly, gradually increasing speed and pressure. Otherwise, the material may move - and the finished product will turn out to be uneven. If you immediately press the wool too hard, the mosquito net also rests on the product. Therefore, it must be periodically lifted, and the flower should be turned over to the other side. Thanks to this, the product will be respected evenly. When the hairs are easily separated from the net, it can be removed and work can continue right on the surface by rubbing the hair with a hand dipped in soapy water and moving from the center to the edges. Leaves roll in the same way.
How to connect the details of the product with a solid bud
Dry felted flowers are created using special needles and a felting brush or sponge. These tools are useful for the wet method, if you created a solid bud. When the flower’s blank is good at falling, and the hairs adhere to each other, a stalk is attached to the flower. Just for this and it was necessary to leave a dry edge. It is applied to the wrong side and rests with a needle to the center of the flower. A wet method is also suitable for joining parts, but it will take longer. To insert the stamens into the whole flower, an incision is made in the center through which the workpieces are passed. When all the parts are connected, they must additionally be tied to each other in a wet way. Then the product is placed on a rug or towel and rubbed in various directions, already without soap. Only occasionally can it be moistened to smooth out protruding villi.
Final processing of the product
When the flower is reduced in size and the coat is sufficiently compacted, it must be rinsed in clean warm water and squeezed. High temperatures can cause severe shrinkage of the coat, so it is best avoided. Checking the degree of flower stalling is simple: just try to raise the fibers. If they are easily separated, then the work needs to be continued. You can give a wet flower any shape, bend the petals or leaves, make the bud closed. Then the parts are straightened and dried at room temperature. Even a whole flower can be made into petals by cutting them with ordinary scissors. If the product needs to be assembled from separate parts, this can also be done using a felting needle. It’s easy to turn the finished flower into a hairpin or brooch by adding a clip or a pin - and the decoration is ready!