If you decide to use facade panels for cladding the exterior walls of your house, then you made the right choice.
Main advantages
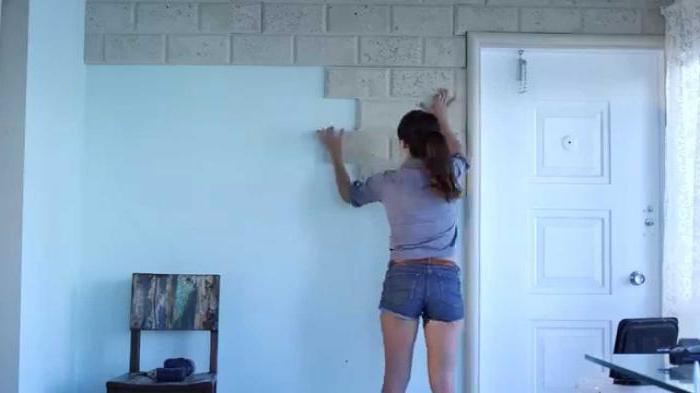
Before you do the installation of facade panels with your own hands, you need to familiarize yourself with the features of the work. It is important to take into account the characteristics of this finishing material, which is created on the basis of polymers using casting technology. During the manufacturing process, the panels are subjected to pressure. They are able to imitate a variety of textures, natural materials that successfully fit into any exterior. Among the additional advantages, expert reviews highlight longevity: the lifetime of such a finish is 50 years or more. Products do not bend, because they have a stiffener. This ensures geometric stability of the entire surface during installation and during further operation. The finish is resistant to wind loads and mechanical deformation. It is impossible not to highlight the environmental friendliness, which involves the use of insulation material in tandem with decoration. In the process of installation work, it is necessary to use the technology of a ventilated facade. At the same time, the outer walls breathe, which creates a comfortable microclimate inside the building. Judging by customer reviews, you can count on a simple installation, because the material is quite lightweight and does not put additional stress on the foundation. On sale you can find a wide assortment, which will allow you to choose your preferred color scheme. In the process of leaving the finish is not demanding at all, and upon purchase you will be pleasantly surprised by the affordable cost.
Technology of work
Installation instructions for facade panels were made taking into account the need for sawing products, for which you need a hacksaw for metal, instead you can use a saw that has small teeth. An electric jigsaw, angle grinder, knife, and scissors designed for working with metal may be needed. During the layout, you will use a plumb line, tape measure, pencil, level, coated cord and square. For installation work, a screwdriver and a screwdriver are useful.
Facade preparation
Installation instructions for facade panels require preparatory work. It is possible to carry out these manipulations completely at any time of the year, however, the ambient temperature should not be lower than -15 degrees. As the material for the crate, you can use galvanization or wood. The distance between the elements is determined by the dimensions of the panels. The crate should be mounted vertically if the panels will be installed horizontally, and vice versa.
Basic rules for installation
Installation instructions for facade panels provide for the use of self-tapping screws that are installed in the central part of the technological hole, and you need to monitor the horizontal position of the element. There should be a small distance between the fastener head and the panel surface, the width of which is 1 millimeter. It is important to install the products in each other, leaving a gap. This will provide a thermal gap.
Installation of starting strips

During the work you must comply with the installation instructions for facade panels. Using the water level, you need to measure the basement of the building along the perimeter. If the foundation is perfectly smooth, then starting corners need to be mounted at the corners. Between them, the level is set starting strips. If the foundation is not even, then with a slight slope, it is important to make a blind area, which should be parallel to the horizontal line. At the next stage, start profiles are installed, they should be abandoned if the slope is too large. In this case, the height of the next row of products is determined. It is important to postpone the required size from this level, and adjust the bottom of the profile so that it has certain dimensions. Facade panels should be installed by fixation in the vertical horizontal and lateral upper holes of the fasteners. You can make additional holes, which are most often located in the seam. Screwing fasteners outside the holes is not worth it, you can’t do this directly in the panel, since this can cause irreversible deformation.
Setting a universal j-profile
How is it carried out if, for example, FineBer facade panels are used, installation? You should be aware of the installation instructions before starting work. Panels are used in a tadema with j-profiles for finishing the joint of walls located inside. To do this, use the two mentioned elements of the desired length, they are installed in the inner corner. In the hole, which is located on top, the screw must be screwed into the top. The remaining screws are installed in the central part. The distance should be 200 millimeters. J-profiles are used as edging of the upper part of the profiles. At the same time, it is mounted on the crate, at the top point, or under the roof overhang, which is done to complete the finish. In order to bring such a profile into the plate, it needs to be bent.
Installation Recommendations
Installation instructions for facade panels "Deck" provides for work from the bottom up, as well as from left to right. The lower part of the plate must be installed on the starting profile, and then fixed using self-tapping screws. The next element is installed on the start profile, and after it winds up in the previous panel. The old plate is fixed to the crate, the device of all subsequent profiles is carried out according to the technology described above. Installation instructions for facade panels "Alta-Profile" is made taking into account generally accepted technology. The introduction of the last plate is made after its preliminary cutting to the required size. After the first row is ready, you can proceed to the second.