Many lovers of beautiful home plants eventually become eager to plant an orchid. This is truly an amazing inhabitant of the tropics, which will become the decoration of the apartment. True, the orchid is quite whimsical. Even relatively small errors in cultivation can lead to the most unpleasant consequences. Therefore, every florist - beginner and experienced - must know how to plant an orchid in a pot so as not to harm it.
In which cases you need to transplant an orchid
There are several signs by which an experienced florist will instantly understand that you will have to get your hands dirty when transplanting. For example, the question of how to transplant an orchid into another pot should be asked if the smell of decay, dampness and mold spreads from the plant - this is a very alarming signal. If the work is not completed on time, then the orchid may well die.
Also a bad sign is a compressed substrate. Keep an eye on the level of soil in the pot - if it is crumpled and donkey a few centimeters, then the root system is in danger. At the same time, the appearance of the orchid changes - it takes on a wilted look, indicating that something is clearly wrong with it. Finally, you need to keep track of the roots. It is no coincidence that special transparent pots for orchids can often be seen on sale - we will talk about them a little later. The roots are healthy if they remain green. But gray or brown colors are a very alarming sign. Having noticed this, be sure to transplant the orchid.
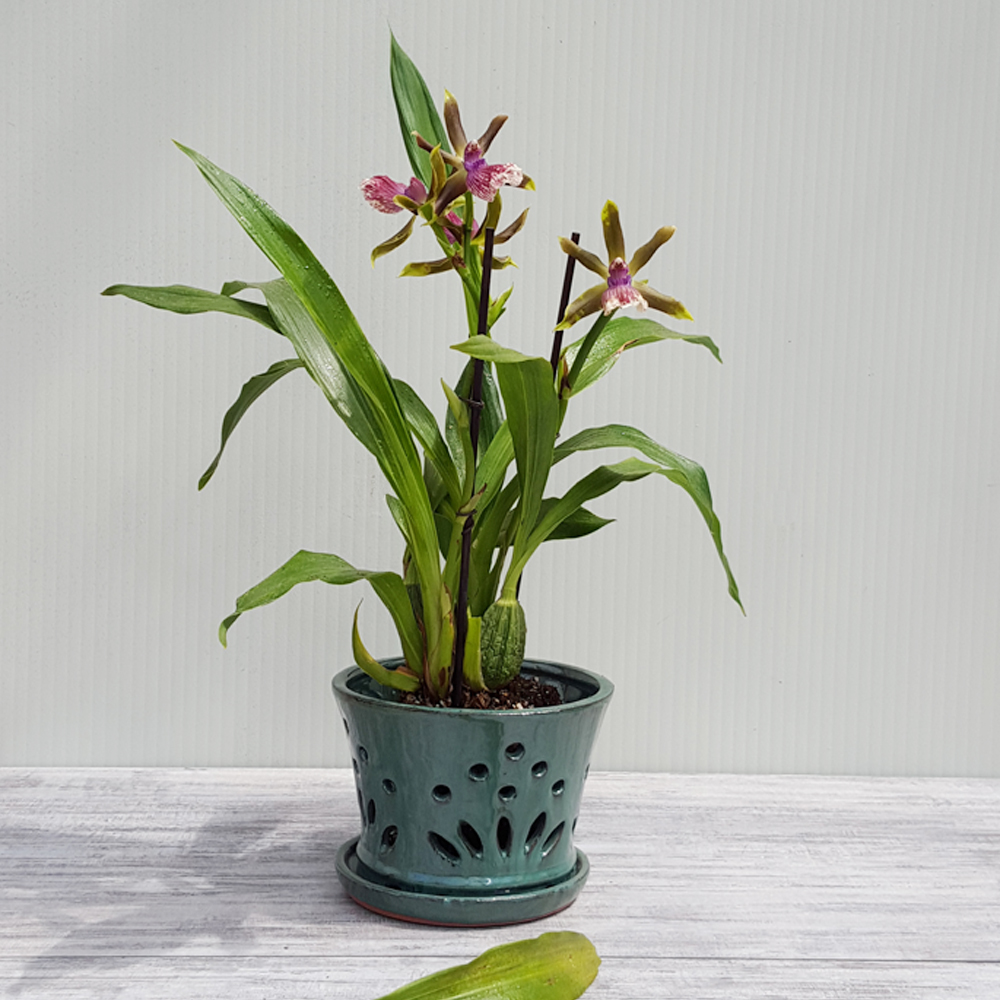
Which pot to use?
Now we move on to the next question that needs to be studied in order to learn how to plant an orchid in a pot. Namely - the choice of the pot itself.
Of course, the simplest option is a plastic pot with special openings for drainage - removal of excess moisture. It is really very important - how to water an orchid in a pot without holes? After all, water will accumulate and this will inevitably lead to rotting of the roots, and, therefore, the death of the plant. Still, excess moisture accumulates at the bottom and you need to allow it to flow freely.
Special glass pots are also available. On the one hand, a very successful option is attractive and allows you to monitor the condition of the roots (this is really important when growing orchids). On the other hand, among plant lovers there is an opinion that the sun's rays are refracted by glass, because of which the roots can get burns. And the accidental blow, which easily splits glass into dozens of sharp debris, cannot be undone.
That is why transparent orchid pots made of plastic are very popular. They retain all the advantages of glass, but at the same time they are not so afraid of impacts, they refract sunlight less. Some even have special openings not only in the bottom, but also in the walls to accelerate the removal of excess moisture. They will be the best choice for growing orchids.
The best soil
Another important question that needs to be addressed in order to understand how to plant an orchid in a pot is the selection of suitable soil.
Orchid, although it is a tropical plant, does not like very high humidity. Therefore, the substrate must absorb relatively little moisture. Some florists even put foam in the pot - a lightweight, non-absorbent material. But it does not look too elegant, especially if you grow an orchid in a transparent pot.
In stores, a special substrate is sold for orchids, but, according to some experts, it is not the best choice. A completely different thing is self-made filling.
To do this, you need activated carbon, sphagnum moss and tree bark. Problems with the search for raw materials will definitely not arise. Coal is sold in pharmacies, but you can also take firebrands from the fire - the main thing is that it is clean wood, without the admixture of plastic and other waste that is often burned at the stake. Sphagnum moss can be collected in the forest or purchased at a store that sells everything you need for plants. Finally, bark can easily be taken in any forest. Pine is best suited. It can be taken from fallen trees or living trees, the main thing - do not take too much so as not to harm the plants. It is advisable to boil the bark for 10-15 minutes - this will destroy the parasites and their eggs, after which they should be thoroughly dried and crushed into small pieces. Then it is mixed with moss and coal in a ratio of 5: 1: 1. The perfect substrate for the orchid is ready!
In this case, it is undesirable to use compost, peat and other popular types of substrates. They allow many other plants to grow perfectly, but they are absolutely not suitable for orchids.
Preparing a new place for an orchid
Now you need to do everything so that the new place becomes a really good choice for growing a beautiful plant. Which pot is better to choose for an orchid has already been described above, as well as about the soil.
Now take the selected container and fill it with drainage about one third or even half. Natural materials that do not absorb moisture at all, such as rolled-in, smooth pebbles, are best suited.
From above, the drainage is filled up with the prepared substrate - approximately a layer of 3-5 centimeters, so that there is still a lot of space to the edges of the pot, at least 7-10 centimeters.
Transplant Preparation
To know how to properly transplant an orchid into a new pot, you need to understand the intricacies of preparing for this important operation.
First of all, you should remember - three to four days before the transplant, and preferably a week, you need to stop watering. If only the house is not too hot - in this case it is advisable to rearrange the pot in a shaded place where it is not so hot. Experienced florists recommend replanting orchids when their roots are slightly dry on the outside (but not dry!). When the substrate in the pot is completely dry, go to the next step and try to figure out how to transplant the orchid into another pot.
We transplant the plant correctly
First you need to carefully extract the plant from the pot. Often this has to be done with the earth. Take a long, flat object (for example, a kitchen oil knife) and carefully separate the soil from the walls of the pot, while loosening it slightly, making it more crumbly. If the earth has dried up enough, then there will be no problems. Then, lifting the earth from different sides with the same knife, carefully remove the orchid from the pot. Surgical care must be taken so as not to damage the roots.
Now you need to thoroughly rinse the root system - for example, use cool water from the shower. It will cause many problems to other plants, but orchids tolerate such washing without harming themselves. Carefully laying it on a paper towel, inspect the roots. They must be green. Brown and gray, pay special attention. Carefully probe them along their entire length - it is highly probable that they have already died and are completely unnecessary. In this case, carefully trim them with sharp scissors or secateurs. It is desirable to process the slice - crushed activated carbon is suitable.

Now carefully spread the roots so that they look in different directions, and set the plant in a new pot. Add some residual substrate - as a result, they should not reach the edges of about 2-3 centimeters. Tamp the soil slightly with your hand. At the same time, remember that only the roots themselves should be buried. The base of the plant does not need to be buried - on the contrary, it should be slightly elevated above ground level.
The main work is done! But do not think that you have finally figured out how to plant an orchid in a pot. There are additional nuances that you definitely need to know about.
Strengthen the orchid
Unlike many other ornamental plants, the orchid does not have thin root processes that would quickly develop and fix it in the ground. Therefore, you need to help her in this matter. After all, even shifts of several millimeters will inevitably lead to the fact that the orchid temporarily stops growing. This is especially noticeable in cases where sensitive tips are damaged due to movement.
There are many ways to cope with a task. For example, in stores there is a special fastener in the form of a thin wire. It is fixed on the pot, after which it fixes the plant.
You can also stick into the ground (carefully, without damaging the roots) a long, durable stick (like those that are sent complete with rolls and sushi) and attach an orchid to it.
Some flower lovers wrap the plant with nylon tights several times, fixing them relative to the pot. Yes, not too pretty. But this is a temporary measure - after a few weeks, the tights can be safely removed, since the orchid will already be fixed in the pot.
Transplant Care
Any florist who knows how to care for a purchased orchid in a pot, it will not be out of place to know about what care she needs immediately after transplantation.
First of all, it is recommended to refuse watering. It is advisable not to water the orchid for 5-10 days, and in some cases even two weeks. The roots develop rather slowly and excess moisture will do more harm than good. The main thing - make sure that the plant feels normal - if the leaves begin to fade, the substrate must be moistened. Of course, all this time the pot should stand in a well-lit, but at the same time cool place. The plant must be protected from direct sunlight so that it does not dry out.
At the same time, it is advisable to spray leaves from a spray bottle. It will also be nice to humidify the air around the plant. This will have a positive effect on growth rates.
At the first watering, experts recommend dissolving a little Fitosporin in water.
When will it bloom?
Growing home orchids in a pot, florists appreciate them for their beautiful flowers. Of course, they are interested in how long after the transplant the plant begins to bloom.
In fact, orchid transplants are easier to tolerate than most home plants. Therefore, if everything was done correctly, then it will bloom in due time. An exception may be cases when the transplant was carried out shortly before the buds opened. At the same time, the orchid will certainly throw off the buds so as not to spend excess moisture and nutrients on the flowers.
Is it possible to plant two orchids in one pot?
Of course, a flowering orchid in a pot looks gorgeous. But some florists go further and plant two or even three plants in one pot, creating a truly magnificent picture.
However, experts recommend not doing this. In a small pot, two orchids will be crowded. And in large ones, they take root poorly - the roots grow quite slowly and it will take a long time before the orchids bloom. In addition, there is another threat - with the active development of root systems, they will surely intertwine. As a result, it is very difficult to separate them during transplantation - the roots will have to be cut, which will strike a plant health, and may even lead to its death.
Conclusion
On this our article comes to an end. Now you know how to transplant an orchid into a new pot. So, you can easily cope with this task, and home plants will feel just fine.