Do you know Kapitoshka? This is a kind and cheerful drop of pure spring rain, which was invented by Natalya Guzeeva. The cartoon with this character was liked by both children and adults, and many educators often invite the hero to their classes. The children are happy to come up with all kinds of fun, where the main character is Kapi, as his friends call him.
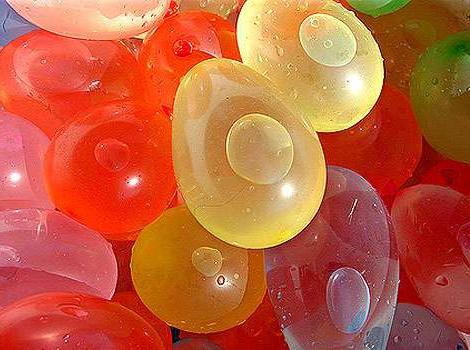
So today we will see how to make Kapitoshku at home. To begin with, there are quite a few such toys that can be invented. And the first one is probably familiar to everyone. Of course, she is more like naughty boys, but the girls, I think, are not behind them. All over the world, this summer fun is known as water bombs, and in our country they are called precisely the capitals. This name has already become a household word. Remembered? You, too, in childhood threw them out of the window at people passing by? Of course, it’s better not to do this, but on a hot summer afternoon, the kids may well play the “war game”, throwing the enemy with impromptu “grenades”. In this case, the question of how to make a capital at home does not seem complicated. All you need is balloons and water. The ball in this case will be a "vessel". Fill it with liquid, tie the tail tightly. The "projectile" is ready. For smaller children, you can come up with another toy - for the development of motor skills. However, many adults will play with her with pleasure. And all because this is a real anti-stress toy that can take any form. We will get the real Kapitoshka. The same as in the cartoon: kind, friendly, always ready to help. So, how to make Kapitoshku from a ball and flour.

- Take a balloon. Better tight.
- Insert the funnel inside. If not, you can cut the plastic bottle and pull the tail of the ball on the neck. Pour flour through this funnel.
- Press the contents of the ball tightly. This can be done with a pen, pencil, or a wand. The main thing is not to tear the ball itself.
- The size of our Kapitoshka may be different. It depends on the amount of flour.
- When the ball has become the size we need, release the excess air and tie the tail onto a knot (without using threads). The excess can be cut off if desired.
- It's time to make our Kapitoshka face. For this, draw a marker with eyes, nose, and mouth. You can glue the "hair" of woolen threads.
- Here you go! Homemade transforming toy is ready.
Tips and Variations on the Theme
- Before you make Kapitoshka at home, think about who you are doing this for. Flour is an excellent filler if a small child plays. Even if the ball breaks and the baby tastes the filling, nothing bad will happen. You can also use starch. If you want to make an anti-stress toy for yourself, you can use sand or talc. You won’t eat them, right?
- To Kapitoshka was stronger, you can use two balls, inserting them into each other.
- Eyes, nose and mouth can not be drawn, but made in the form of an application or take a ready-made ball with smiling faces.
But this is not the last option, how to make Kapitoshku at home. Such a toy is nevertheless small in size. But if, for example, the teacher needs an “assistant” to conduct the lesson, he must be such that all children see him. How to make Kapitoshku so? Very simple. The ball needs only to be inflated. To make eyes, nose, and mouth out of colored paper, and pens, legs, and a hat on cardboard. So it turned out a fun little bit, so beloved by the children.