Monitoring of lighting devices today is carried out using a variety of devices. Conveniently enough, when you can turn on and off the same light source from several different points. This is what cross-switches offer.
Design description
Most standard modern control units today have three contacts. The cross type of switches has four contacts in its design. The peculiarity of such an assembly is that it closes or opens under two contacts at once with one click. This action allows you to close or open several power lines with one click (in this case, two).
The main difference between cross switches and walk-through switches is another. The second category of devices can be used independently, unlike the first. You can use the cross type only complete with a walk-through. Despite the differences in design and application possibilities, in the diagrams the switch is denoted identically to the passage.
The two-key cross-over switch is essentially two paired single-key switches. The contacts of such a device are connected using special metal jumpers. The main feature and convenience of this design is that, if necessary, it is assembled independently without much labor. Such models are equipped with only 1 button, which is responsible for the operation of pairs of contacts.
Classification
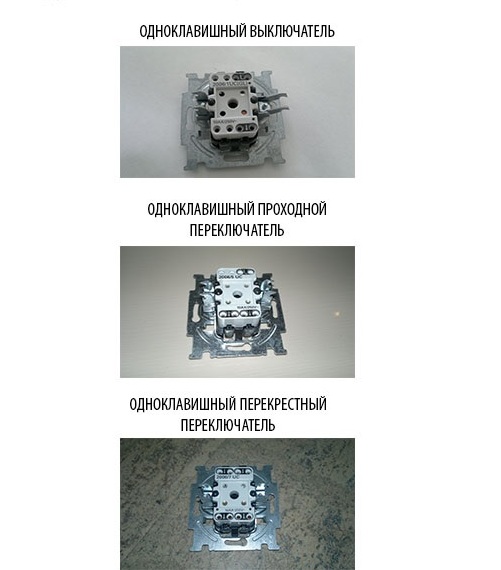
The cross switch can be not only two-key, but also one-key. By the principle of operation, all models can be divided into two categories - rotary and keyboard. The only difference is that in rotary, contact closure is carried out with the help of a rotary handle. It costs a little more than keyboards, and also have a wider selection in terms of design.
According to the connection scheme of the cross switches and the installation method, they can also be divided into two classes: consignment note and built-in.
Consignment note and integrated switch
The outer switch is mounted on top of the wall. For its installation, there is no need to hammer the wall, to install an additional unit in the wall. This difference plays a key role if there is no desire to re-decorate a room or if it is necessary to carry out only cosmetic design improvements. However, in terms of operation, overhead switches are inferior to the built-in ones, since they are quite susceptible to mechanical stress and other aggressive environmental influences.
Connecting the cross switch to the network requires the installation of a special switch block, which is usually installed in the wall. Because of this, the scale of work is increasing. However, it is precisely such switches that are used for wiring in all types of buildings.
What features do switches have?
These devices have several features that distinguish them from other products:
- The cross-over circuit can only be connected to the network using a four-wire cable. In its absence, experts allow the use of two two-wire cables, but this is considered an inappropriate connection method.
- The switch can be not only a single-key or two-key, but also a three-key. However, the installation of such a device is advisable only in case of urgent need to turn off the light in two or three different places. In other cases, it is still better to install a through-type switch.
- One of the main drawbacks of the switches is that it can be installed exclusively at the stage of wiring in the living room. In addition, to connect it requires the connection of a large number of wires, which increases fire hazard.
- If you note the positive qualities, it is worth highlighting a high level of resistance to wear. Due to the fact that the contacts of the cross-type switches are closed much more often than at the walk-through, their metal jumpers are made of corrosion-resistant metal. Usually, copper or alloy steel is used for this. Almost all switch options are additionally equipped with protection against dust, moisture, condensate.
Connection
To connect a switch of this type you need to follow certain instructions:
- The first stage of the connection is identical to connecting the passage switch. A zero wire is drawn from the shield into the box. From the splitter, it should be transferred to the lamp contacts.
- Next, a phase wire is drawn from the shield. But after installing it in a box, the wire will not be led away to the lamp, but to the contacts of the switch.
- Through the box you need to make a serial connection of contacts. The phase should be thrown to the cross-over switch, which is located between the two passage. After that, the wire extends to the second passage.
- Only after that, from the common contact of the second pass-through switch, the wire is connected to the lamp. The junction box itself is installed only after connecting the lamp.
Specifications
You can consider the technical parameters based on standard switches from different manufacturers. For example, the ABB Basic 55 model:
- The operating voltage of the network is 220-250 V.
- The maximum current for operation is 10 A.
- Network frequency - 50 Hz.
- Case material - thermoplastic.
- The contacts themselves are silver plated and are resistant to moisture and steam.
Specifications will naturally vary from manufacturer to manufacturer. However, a list of key parameters will always be kept.