Incandescent lamps are almost a thing of the past, giving way to more high-tech and low-power LEDs. Now they are used everywhere: in home, street, industrial lighting, in the automotive industry. But, like any equipment, such elements can burn out. What to do if one of them fails in the circuit? Do not change the whole chain! In fact, this is not required. It will be about checking the LEDs with a multimeter, methods for its implementation and determining the anode and cathode using a tester.
Types of multimeters and their features
Similar testers can be divided into 2 types: digital and analog. The second appeared much earlier and have a lower cost, but their error is much higher. Externally, an analog device can be easily distinguished from a digital one by the presence of a scale with an arrow. To check the LEDs with a tester, the error value does not matter, but if high-precision measurements are required, it is better to arm yourself with a more expensive device equipped with a liquid crystal display.
Working with such devices is quite simple. Having connected the wires with probes to the corresponding sockets, it is necessary to set the measured parameter using the switch on the front panel. Some models require separate activation by a button or toggle switch.
How to check the LEDs in the tape? Step-by-step instruction
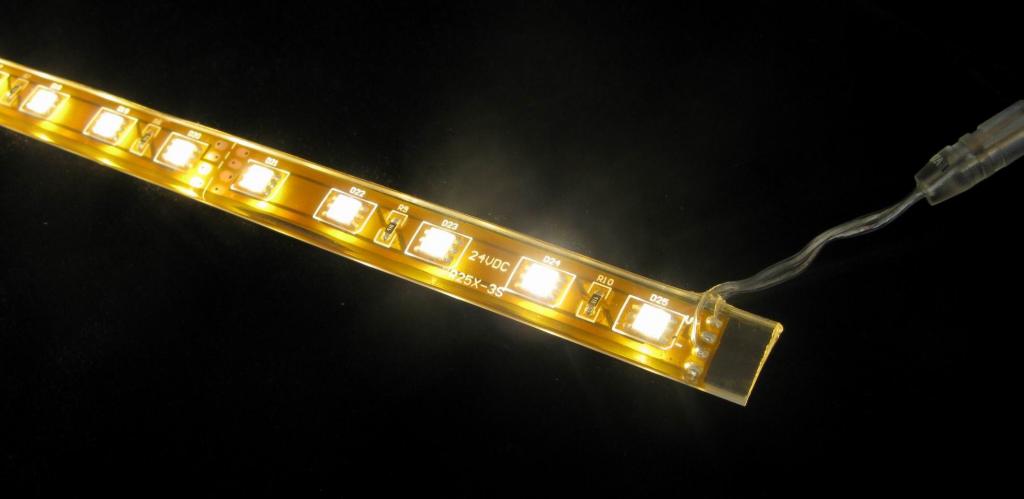
Recently, highlighting two-level ceilings or furniture has become quite common. And it’s rather unpleasant when part of the surface or all of the tape goes out. To act in this case should be phased.
As always, start with the simplest. And only then move on to the more complex. The first thing to check is the voltage output from the power supply. For this, the PSU is connected to the network, the tester switch is set to the corresponding constant voltage. Measurements are made between the positive and negative outputs. Next, you need to check all the wires for integrity. To do this, use the short circuit mode, in which the wire break is the easiest to find. Touching the probes to the two sides of the core, you can hear a beep that indicates that there is no break. Otherwise, the wire will have to be replaced. If everything is in order here, you can proceed to checking the LEDs with a multimeter, without evaporating them from the tape.
The switch remains in the same mode. It is necessary to check each LED by touching the red probe on the plus side and the black on the minus side. The work item should light up. However, it happens that this does not happen. In this case, you have to look at the screen and remember the data that appears on it. A check with a polarity reversal is required - it will show a breakdown (the readings will be the same in both directions). On a faulty SMD component, they will differ significantly. After going through all the elements and finding the faulty ones, they are evaporated, exchanging for new ones. After that, checking the SMD LEDs with a multimeter can be considered completed.
What to do if the tape is coated with silicone?
In this case, it is necessary to slightly modify the probes. To do this, you will need:
- two ordinary needles;
- insulating tape.
We apply needles to the probes so that they are in contact with the metal. Next, you just need to fix them with insulation tape. Now it will be quite simple to pierce the silicone in the right places.
Features of ordinary elements
Simple LEDs with legs are also easy to check. The only question that a novice master raises is how to determine the anode and cathode. If they were not “bitten off,” then the longer leg is the anode to which the red probe should be attached. Accordingly, a black probe is switched to a short (cathode). Provided that the legs are the same size, the connection is made in random order. If the connection is correct, the element will light up. However, it does not always work out as intended. Here, too, a situation may arise when, when checking the LEDs with a multimeter, they do not light up. In this case, the numbers on the screen should be as follows:
- the correct connection of the probes - 100-800;
- the reverse is not more than 1.
If the indicators do not change when the polarity is changed, then the LED is defective. When the unit is completely closed, when 100-800 is broken. It remains to simply throw such an element. More about this in the next video.
Additional features of digital testers
Checking the LEDs with a multimeter can be done in another way, without the use of probes. But this is only available if the device is equipped with a transistor testing function. On a special (usually blue) round platform of such devices, there are holes that are divided into 2 parts - NPN and PNP. To check a normal LED, it is necessary to insert the legs into the NPN sockets in the following order: anode in C, cathode in E. If the PNP platform compartment is used, the connection will be reversed.
LED test with multimeter without continuity function
If the tester switch does not have the required position, you can use other methods. If you have a 5V power supply and a resistance of 100 ohms, the circuit shown in the figure below is assembled. The instrument switch is set to constant voltage. Here, in case the LED is working, a glow will appear.
You can also use the ohmmeter mode. If the screen displays the same indicators in both positions (when changing polarity), then it is faulty. A similar check will have to be performed if there is no digital device at hand or it has been produced for a long time. Modern devices, even the cheapest, are equipped with the necessary functions.
In case you need to check very powerful LEDs, such as a zener diode, you should use a 12V power supply or a 9V battery, such as Krona, as the power supply for the circuit indicated above.
Conclusion
Quite often, people who do not know how to check the LEDs with a multimeter throw out another suitable tape, although only one chip needs to be replaced in it. This is pretty irrational. In addition, such work will not take much time, and the savings are quite sensitive. So, this is worth doing. Moreover, such an activity does not require experience.