What can be compared with knitwear on large knitting needles? Any product created with your own hands carries our energy in it, making things even more comfortable and warmer. In the assortment of knitted products, such as scarves, sweaters, socks or mittens, use all kinds of knitted needles, elastic bands. They are transverse and longitudinal, elastic and decorative. Perform them using different knitting techniques.
Consisting solely of front loops and wrong ones - simple elastic bands, are indicated by numbers that determine the number of loops that make up the pattern: for example, an elastic band 2 x 2 or 3 x 1, where the first number marks the front loops, the second - the wrong ones. More complex gums - shaped, as a rule, have their own name. English knitting is easy and simple, and your finished product is very effective, thanks to the volume that is created in this way. Perhaps that is why, for many years, English knitting has been almost the most favorite and popular knitting pattern. Its other name is patent gum.
Especially chic look hats and scarves tied with English rubber. Sweaters and sweaters are knitted with this pattern, and sweaters are especially good. It must be borne in mind that the English knitting in the finished product is greatly stretched in width, so when washing such products, it is worth using the gentle mode.
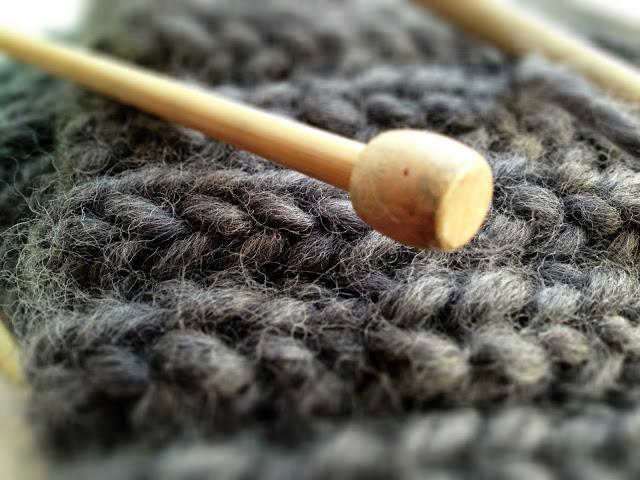
Knitting. A set of loops for English gum.
For scarves and hats, we take knitting needles of at least 4.5 or 5.0 sizes. The thicker and coarser the yarn, the larger the number of knitting needles we need. Subject to such simple rules, our product will turn out to be soft, and the picture is pronounced and more voluminous.
We collect an odd number of loops.
We knit the first row - front:
- the edge loop will be removed untied;
- one loop - front, one - wrong (1 x 1).
A row is knitted to the end according to a given pattern. Edging.
2nd row - wrong side:
- the edge loop is removed untied;
- the front loop is knitted with the front loop;
- The wrong loop is removed without tying.
And again, to the end of the row. Edge
3rd row - front:
- the edge loop is removed untied;
- the front loop together with the yarn is knitted with the front, a new yarn is made;
- The wrong loop is removed without knitting.
Observe this sequence until the end of the row. Edging.
A clear pattern will appear after a couple of three repetitions.
The description looks complicated to understand. Just following the sequence, you will find that in the third row the wrong loop, which we removed without tying, on the other side of the canvas is located along with the yarn - the front. By this feature, you will understand that everything was done right.
Then everything is easy and simple - we remove the back loops, making a double crochet in front of them, and we knit each front with a single crochet. And so on until the end of knitting.
In order to see what the knitting pattern looks like in work, simply gently pull the fabric you have already connected in length, and then in width and one more time in length. All the strings will fall as needed, and you can see what the English knitting in the finished product will be.