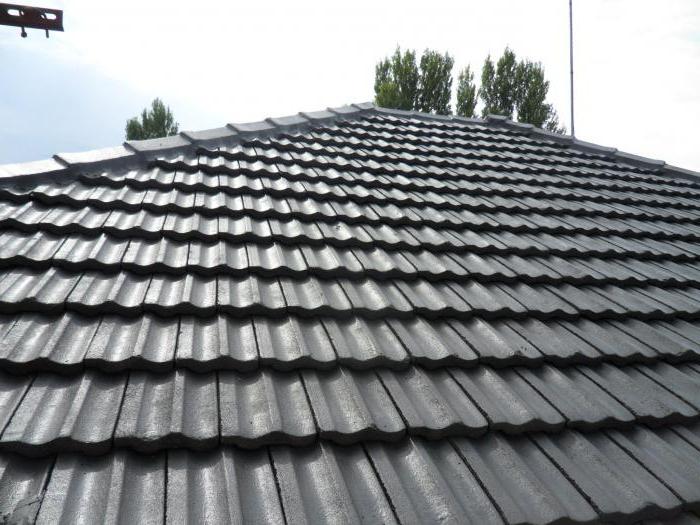
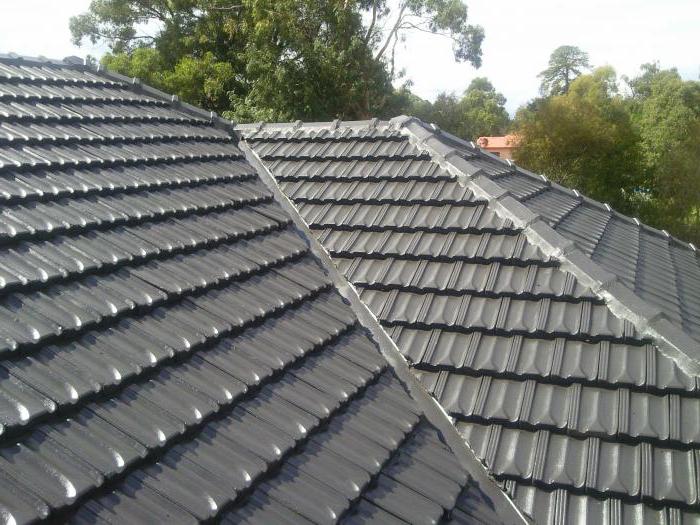
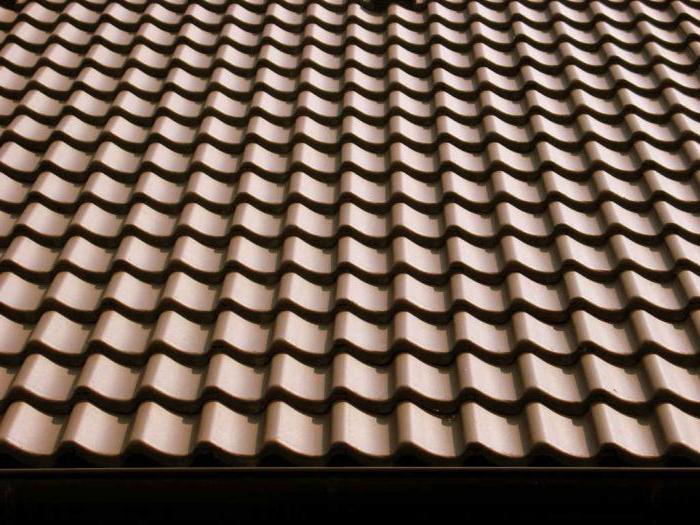
A metal roof , the installation instructions of which will be presented in the article, is becoming more and more popular today. This is due to the fact that the mentioned material is universal and suitable for installation of almost any roof. It is characterized by high reliability, long life, and ease of installation. The manufacturer gives a guarantee for it for 50 years. Not only professionals, but also beginners will be able to carry out installation work. The metal tile is quite easy to transport, it has a small weight.
Preparation of tools and materials
A roof made of metal, the installation instructions of which will be presented below, should be installed using some tools and materials, among which we can distinguish an electric drill, screwdriver, electric jigsaw, marker, tape measure, as well as pincers. To equip the cornice and the rafter system, you will need lumber, the master will have to stock up with slats, as well as fasteners. Before starting work, the master should familiarize himself with the roofing device, it should include not only the finish coating itself, but also the waterproofing, the crate system, as well as the supporting structure.
Preparation for work
If you will be equipped with a roof made of metal, the instructions presented below will allow you to carry out the process correctly. At the initial stage, it is necessary to mount the rafter system, which will serve as the supporting system. It is on it that the roof of the metal tile will be installed. It is important to prepare the material, for this the rafter system, or rather its individual elements, must be treated with special mixtures that will provide fire resistance and protect the material from the effects of harmful insects. It is important to check the moisture content of the material before use, lumber should not be used if the humidity level exceeds 20%.
Specialist advice
Before starting work, it is important to check what angle the roof slopes. When using a metal tile, this indicator should not be less than 14 degrees, otherwise the roof will not have the ability to fully protect the building from moisture. The roof is made of metal, the installation instructions of which will help you in carrying out the work, should be equipped using the rafter system, after its installation, you can begin to install the cornice boards. This element will allow to achieve more impressive structural strength. After the holes are made in the rafters using an electric drill, you need to attach a board to them. For this, you can use screws or nails, the master can choose the fasteners independently. We should not forget that a hole should be left for ventilation, this is true if it is supposed to hem the roof with an additional coating. After you can begin to strengthen the crate, which will be between the beam and the board, fixing can be carried out to the transverse rafters. At the next stage, you can proceed to work on fastening sheets of metal.
Material determination
If you will be equipped with a roof made of metal, the instructions presented in the article will allow you to carry out the work correctly. In order to determine the amount of material, it is necessary to measure the surface of the roof. It is important to include slopes and diagonals in the calculations. If the roof structure is quite simple, then you can divide the area of the surface being trimmed by the area of one sheet of metal tile. In the market of building materials you can find a covering sheet, the dimensions of which differ from different manufacturers. But for convenient and quick installation, manufacturers try to produce canvases with dimensions equal to 0.5x1.2x2.25 or 3.65 meters. If the roof is multi-pitched and has a large number of irregularities, it is necessary to draw a drawing and lay out the sheets on paper. Now it is important to depict each plane of the roof, determining how many solid sheets will be able to place on the base. Now you need to figure out how many incomplete parts will be needed to carry out the work, as well as how many whole sheets will be spent on these manipulations. The master must remember that the useful dimensions of the canvas are less than the full dimensions. The overlap will depend on the size, it can reach 15 cm. If you do the roofing of the roof with your own metal tile, the installation instructions will help you in carrying out the work. During the process, there will be a need to cut the canvas, for this it is convenient to use scissors for metal. If it is possible to exclude the need for cutting metal, then it is worth resorting to such a solution. This will preserve the protective coating, which extends the life of the device.
Technology of installation of metal
If you will be equipping a roof with a do-it-yourself metal roof , it is important to think through each stage. For example, lifting sheets on the roof is most easily done using two guide rails. At the same time, one cannot do without the help of a second master. One specialist from below will wrap the canvas with rope, the second should climb the roof and pull up the tied sheet, using the bars. The difficulty of installation is that the canvas will need to be adjusted as accurately as possible. Flush with the bottom edge, reinforce the next sheet. The ends of the sheets should be joined with an overlap. You can purchase the required number of fasteners, the estimated consumption of screws per square meter of surface is 8 units. It must be remembered that self-tapping screws with a drilling tip should be used for metal tiles. Installation of the self-tapping screw should be carried out in the deflections of the waves, thus, the fixture is installed in those places where the sheet is closest to the elements of the crate. Installation of metal is recommended to be carried out using a screwdriver. In order to ensure reliable installation of the front and extreme sheets, the mount should be installed in each wave. When roofing the roof with a metal tile with your own hands, the instruction, photos presented in the article should help the master. When installing the screws that come with the covering material, it is important to exclude pulling, otherwise the cap may rinse, this will cause cracks in the places where the connection was made. Such errors can cause roof leaks. The installation of screws at a certain angle should be excluded.
Features of the work
Installation of sheets should be carried out so that air can circulate freely from the eaves to the ridge of the system. Such ventilation eliminates the accumulation of condensate under the surface of the covering material. For this, an additional crate system should be used. If you have to work with a triangular slope, it is important to pay special attention to the direction of the location of the metal tiles. It is necessary to lay sheets from the central part of the ramp. At the same time, to perform work as smoothly and accurately as possible, it is necessary to mark the right angle, which is located between the cornice and the ridge.
Chimney bypass
If you are thinking about how to properly roof a metal tile, the step-by-step instructions presented in the article should help you. In order to ensure a high-quality bypass of the chimney pipe, it is necessary to plaster the latter, and also check how tight the waterproofing is to the edges. Sheets of covering material that will be located on the sides of the pipe should be cut off following the stamping line. The step from the sheets to the chimney should not be more than 15 cm. The next step is the installation of aprons. Initially, you need to work on the side, and then move on to the lower and upper. When handling side aprons, make sure that they overlap one crest of the wave or more. For this reason, the side that is adjacent to the roof must be equal to 20 cm or more.
Installation of cornice strips
If the roof is roofed with metal, the instructions presented in the article should help the master. At the stage of installation of the cornice strips, which are used to protect the crate from external influences, nails should be used. It is with their help that the strap is attached to the crate. The fasteners should be installed in a checkerboard pattern, the distance between the nails should be 30 cm. As for the end strips, which are called wind plates, they should be installed on top, bending to the cornice. The distance between them should be equivalent to 35 cm. These elements protect the system from rainfall under the covering material. Along the cornice for ventilation under the roof should be installed spotlights that have perforation.
Features of installation of endows
When roofing the roof with a metal tile with your own hands, the instruction helps the master, who does not have enough experience, to perform work without errors. As one of the most common roof nodes , the valley acts. It represents an internal corner, which is formed by two slopes. Use cornice strips for installation. The latter are stacked with an overlap, the width of which is 30 cm. In this case, the formed joints should be treated with sealant, glue the edges with a sealant. From above it is necessary to mount the trimmed cloths of a metal tile. In order to get an aesthetic appearance, overhangs are overlaid on the metal tile, and it is important to ensure an overlap of 30 cm wide.
Breaks in the roof
If a roof with a do-it-yourself metal roof is equipped with a four- pitched roof , you will have to spend only on the purchase of materials. However, if such works seem rather complicated to you, then you can order them from professionals. At the same time, it is necessary to be prepared for the fact that the work will cost about 900 rubles per square meter. Do-it-yourself installation of an external roof break will not be difficult if you use a cornice strip or a mating element. The last of them has a slightly larger size compared to the cornice strip. A seal should be laid between the webs by the mating element.
Installation of snow retainers
If you will be covering the roof with metal, the instruction will certainly come in handy. If you want to exclude unforeseen snow from the roof, you can install snow retention. These elements are based on pipes. Their number and supports depend on the slope of the roof and the length of the ramp. In addition, it is important to take into account the snow load, which can be completely different in different regions. If the roof has a slight angle, then the described elements can be made of sheet metal. If you are interested in the construction of a roof made of metal, the installation instructions are presented in this article, it suggests the need to install supports for snow retainers. Fastening is done on the screws, the distance from which to the edge of the crate should be 2 cm or less.
Nuances when laying roofing sheets
If you are thinking about how to cover a roof with a metal tile, the instructions presented in the article will allow you to carry out work on the technology. The length of the paintings is determined by the length of the ramp. If the last parameter is more than 6 meters, then the coating must be divided into 2 parts. Work can be done in any direction, everything will depend on the type of roof. If it is gable, installation should start from one of the ends, if you have to work with a tent structure, then the manipulation should begin from the highest point, moving in both directions. Each subsequent sheet fits into the wave of the previous one, the edge of the coating is exposed along the line of the cornice. For work, it is preferable to choose white self-tapping screws, the heads of which are designed for an octagonal key. It is important to purchase fasteners that are equipped with a rubber washer, it eliminates the possibility of moisture penetration under the coating. The lower part of the sheet should be strengthened in steps through one wave, then the self-tapping screw is screwed through the wave, only in this case the installation is made in a checkerboard pattern.