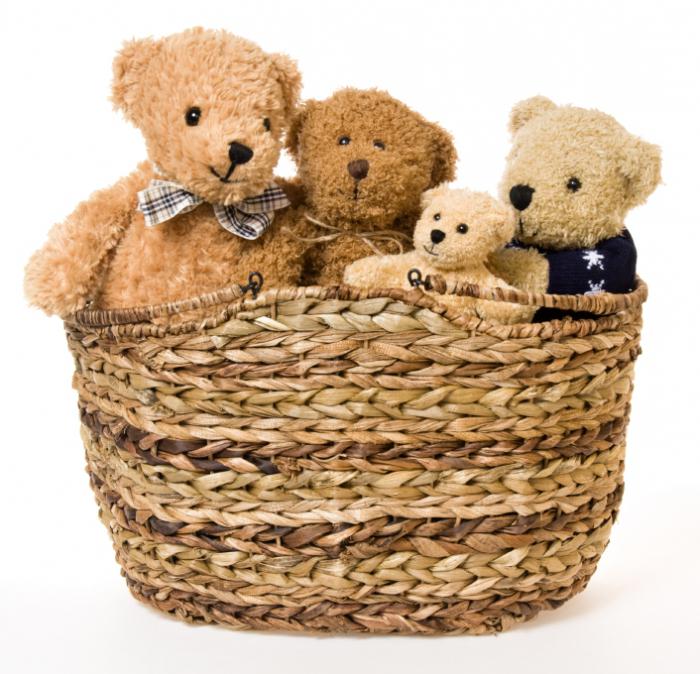
All the girls loved toys in childhood. Dolls, teddy bears and bunnies, sweeties, strollers - the game of girls' daughters and mothers over time develops into caring for loved ones, and in the future, for their own children. And so does every generation. However, in the adult period, their love of toys does not fade. They accept them as a gift from their suitors, and can even sew them on their own. One of the classic toys is the familiar Teddy Bear. Pattern, master class - all this you will find in our article.
What should it be like?
Currently, a whole community of "teddist" artists has emerged. They create both classic and original versions of this toy. If we talk about the standard Teddy bear, then he must have strict proportions. To do this, its entire height should be divided into 4 parts, of which 1 is the head, 2 is the body, and 1 is the legs, but due to the fact that they must be mounted slightly higher, as if in the area of the hip joint, their length will be approximately 1 , 4 parts, and the upper paws - 1.6. The classic teddy bear pattern was originally developed by German artists. Such a bear is similar to a real bear in that it has bends on its back: a hump, then a depression in the lumbar region and again a protrusion. It is usually made of brown faux fur, adding nose and eyes with thread. But the parts of the body are connected, if you look at the patterns for Teddy bears, with the help of bolts, nuts and discs. That is, the toy turns out to be hinged. Thus, her head and all 4 legs are mobile for turns.
Difficulty of work
As mentioned earlier, the standard Teddy bear must be made using metal fasteners so that its limbs and head are movable. Only experienced craftsmen are capable of tailoring such a toy, and therefore it is better to do it by video master classes. However, the initial stages are similar for them, the main thing is to correctly manufacture the parts for the pattern. At the same time, you should carefully look at the finished toy in order to understand how to correctly sew the muzzle and trunk - they are the most complex. However, if you master this technique by trial and error, then in the end you will beat your hand and you will be able to realize your own ideas of toys. Who knows, maybe you will invent a completely new Teddy Bear that will become known to the whole world, unlike any other? And so boldly invent, dream, implement your ideas and share them with the same creative people.
Other options
Unlike its classic ancestor, the author’s pattern of a Teddy bear can be of any kind, of any proportions, involving the use of a variety of materials, manufacturing methods and design details. So, for example, toys can be crocheted or made using the technique of felting wool. Therefore, any of those who wish can create their own teddy bear pattern . Such products are very much appreciated at exhibitions and competitions. They use plastic or glass eyes and noses, come up with clothes, new materials for work. So, for example, you can make such toys from down scarves, organza, silk, or even newspapers and candy wrappers, as one artist showed everyone at an exhibition in Germany. In this article, you will learn how to sew the simplest version of a Teddy bear yourself. Patterns are very clear and accessible even to beginners, let's get to work.
Teddy "Splyushka"
For the youngest lovers of soft toys, you can make such a Teddy bear so that you can easily and comfortably fall asleep with it. It is flat and lacks movement in detail, but this is exactly what the kids need. For this toy, you should choose exclusively natural fabrics, preferably without lint. That is, you can use linen or cotton, satin and natural silk.
For starters, you just need to fold the fabric in half, translate or redraw the Teddy bear pattern on it, then sew along the contour, leaving a hole for stuffing with cotton, felt or sintepuh on one side of the foot. The material will need to be evenly distributed over all parts of the body of our bear, and the hole should be closed with a blind seam. Now you just have to embroider him with the help of thread floss eyes, nose and smile. Voila, our bear for the kids is ready!
More difficult
For older children it would be more interesting if the details of the toys rotated. Therefore, we will make our bear a little more complicated, and attach the limbs to the body on the buttons so that they are movable. So, we repeat all the above steps, only making it a little more complicated: we print the pattern of the Teddy bear and transfer it to a double folded fabric, then cut out all the details, sew their edges, fill, close the holes left. In this case, it would be better if we first decorate our toy, and then attach the limbs to it. So, let us have a Teddy bear dressed in a vest.
Decor
We cut out two bright rectangles from bright fabric that fit the body in size. We sew them on both sides, that is, on the chest and back, and in front we additionally fasten two or three colored buttons to simulate the fastener. Next, we make from a different fabric, preferably velvet, a small bow - this will be a bow tie. Sew in the area of the neck of the bear. So, we can only attach limbs to the body with the help of buttons on the legs - and that's it, meet a new friend, the cute Teddy bear. You can always come up with your own toy, making it copyrighted. But never forget the main rule: every Teddy bear should be made with a love of creativity. Good ideas!