Perhaps, it is flowers that serve as a traditional, invariable and always welcome addition to a woman’s gift for any occasion. Unfortunately, this beauty does not live in a vase for very long. However, if you show a little diligence, diligence and, of course, imagination, then in a few minutes you can create a beautiful and original flower from a sheet of ordinary colored paper. This is a unique gift made with a soul and do it yourself. It will be pleasant not only to the recipient, but also to the donor. Origami will help in this . How to make a tulip using this ingenious Japanese art? Very simple. You only need to learn the basic steps and rules.

First of all, you need to choose the material. For any flower, a paper that does not crack on folds is ideal. In addition, it should be clean, dumb. Perhaps it is best to take plain white paper for photocopiers or a piece of colored paper (sold in kits for children). Well, for entwining stems, it is recommended to buy crepe paper. By the way, if you want to make unusual tulips, origami allows you to take corrugated paper, as well as create not one flower, but whole bouquets or armfuls. If loved ones love these flowers, you get a great gift.
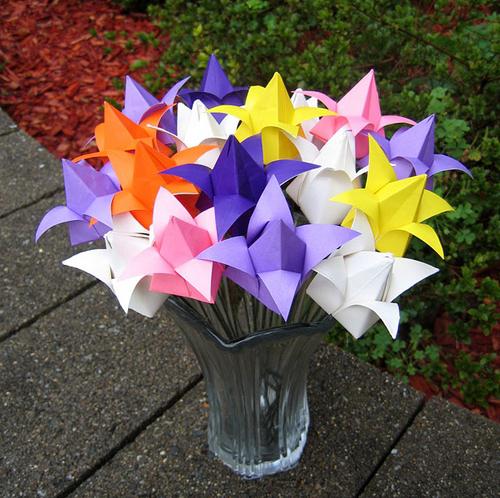
So, with the material sorted out. Now the flowers themselves , tulips. Origami makes it possible to convey through paper all the beauty and romance of this flower, which blooms in spring as one of the very first. I must say that, according to tradition, it is he who is considered a symbol of longevity and youth. That is why both children and even adults are so fond of drawing, cutting, and also folding these flowers.
To start folding the flower, you need to take a square sheet of colored (crepe or corrugated) paper, a pencil and, of course, glue. The color of the paper is a matter of taste, the concept of crafts and preferences, however it is better to choose a natural shade close to real vibrant colors. Tulips (origami makes it possible to create a variety of sizes) can be white, red, pink and yellow. First, the sheet taken is folded on one diagonal, then on the second, so that folds appear between the corners. Now the figure needs to be expanded and folded exactly in half. The result is a rectangle.
The next step needed to make tulips: origami prescribes to fold the corners of this rectangle inward along the folds. As a result, a triangle will come out. Now you need to bend up the lower corners from the front. then the flower is shifted so that the free edges lie on the left and on the right, and an uneven triangle remains below. On the reverse side, the same thing is done. The result is a rhombus. Now you just need to stick loose petals into each other, inflate the flower, straighten the whole craft.
The last stage is the manufacture of a stalk with a leaf. In origami, flowers (including a tulip) are created as follows: first we make a flower, and only then move on to the rest. So, for the stem, a rectangle of green paper is taken, put upside down, the left and right corners are bent to the middle. Now you need to bend the lower corners of the resulting figure so that they are in contact in the middle. The result is something that resembles a rhombus. The upper corners are again bent to the middle, the whole figure is folded in half (horizontally, and then vertically), and then reaches for the inner triangle (this is the stem). Well, the external is pulled to the side, getting the shape of a leaf. The stem and bud are connected with glue, and that's it - the work is finished.