The widespread replacement of energy metering devices of class 2.0 with 1.0 raised many questions. At first, due to the lack of necessary information, the owners used paid services for installing meters - it was believed that installation should be carried out only by qualified specialists. However, time has put everything in its place, and today almost everyone knows that such work can be done independently. Today we will talk about how to connect the meter "Mercury-201" - one of the most common of the line of brands of electricity meters.
Product line "Mercury": what labeling means
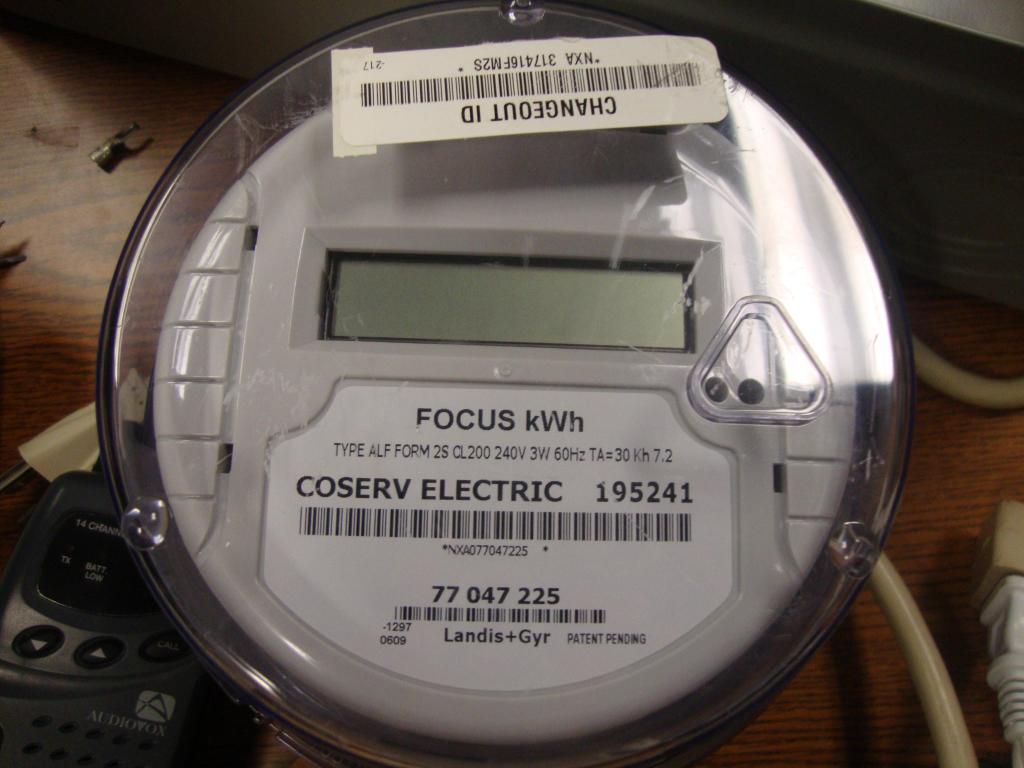
Incotex products appeared on Russian shelves in 2001 and almost immediately began to conquer the market, gradually displacing other brands. Today it is one of the best-selling among electricity meters. The Mercury-201 model range includes products with markings from 201.1 to 201.8, which differ slightly from one another. For example, 201.5 is electromechanical, its readings are displayed on rollers with numbers, while 201.8 is already equipped with an electronic liquid crystal display.
Now it’s worthwhile to figure out how to connect the Mercury-201 counter. And most importantly, is it possible to do this without having any experience in such work? After all, this question excites many home masters.
Connection "Mercury-201": pitfalls and features of the model
The vast majority of users do not note any problems with the installation of these electricity meters. As for isolated cases, these are rather exceptions that confirm the rule. The counter is quite convenient to install. In the absence of a DIN rail, for which there is a special seat on the case, the kit comes with a special galvanized plate that allows you to fix the device to the regular places of old disk devices. This is very convenient, especially when installed in distribution boards of old-built apartment buildings.
And if you reverse the counter "Mercury-201"? How will this affect his work? Many believe that in this way it will begin to “twist” in the opposite direction or simply burn out. As it turned out, everything is completely wrong. All models in the Mercury line are protected from reverse connection. This means that if you switch it on the contrary, changing the phase with zero, it will not count in the opposite direction, as was the case with old devices of accuracy class 2.
Instructions for installation
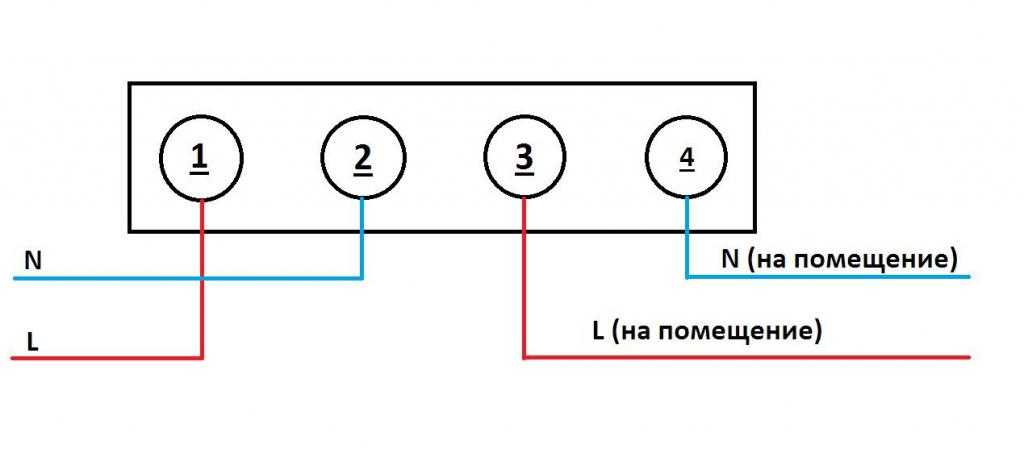
Many are now wondering how to properly connect the Mercury-201 counter. In fact, everything is quite simple. Under the display or dial there is a removable panel hiding 4 terminals. Each of them has 2 fixing screws, which allows a more tight contact and avoid heating during operation. The first terminal is powered, to the third zero. The second and fourth are designed to output phase and neutral to the apartment, respectively. For those who want to better understand how to connect the Mercury-201 meter, the diagram below will explain everything more clearly.
As you can see, even a home master without any experience or skills can do such a job, however there are some nuances that should be paid special attention. The most important thing is not to forget about electrical safety technology. And here is a moment that not everyone knows about. If a person drank alcohol, even the day before, he was strictly forbidden to approach the electrical panel. In this condition, electric shock will be much stronger and more dangerous for the body. The same applies to people with fever due to illness. All such work is carried out with the mandatory disconnection of voltage using an input machine or feeder.
And one more tip. When dismantling an old electricity meter, it makes sense to mark each wire with a marker with any symbols that are clear to the fitter. This will help to connect the new device correctly.
How to connect the Mercury-201 counter with automatic devices
Here, all work is performed exactly as in the above version. The only difference is that the output wires do not go to the room, but are distributed as follows:
- from the contact 4 lived - directly to the apartment or to the UZO (AVDT), if such protective automation is present;
- 2 - to AB, or residual current device, from where further distribution will be made.
The wires go to terminals 1 and 3 from the input two-pole automatic, feeder or batch switch, with which the general removal of voltage from the apartment, private house will be carried out.
Final word
As Dear Reader surely was convinced, the answer to the question of how to connect the Mercury-201 counter is quite simple. The main task of a home master in performing such a job is attentiveness and accuracy. Do not forget that jokes with electricity can end pretty badly.