Despite the fact that the shelves of modern souvenir shops are full of numerous interesting items, often needlewomen have a desire to make something with their own hands. Recently, twine crafts have become very popular. This is due, firstly, with the original appearance of the finished product, and secondly, with the ability to successfully combine this material with many others to get a more interesting little thing. The needlewomen are also attracted by the fact that they can make objects with their own hands, both solely for decorating the house and for practical use.
Twine Bow: Material Preparation
One of the easiest to make are twine crafts such as bows. You can decorate a hairstyle with a finished product, and attach it to a dress or jacket in the form of a brooch, and decorate with it various objects, such as vases, caskets, bags, etc.
So, to create a bow you will need a glass or tin can with a diameter of 8-15 cm, depending on the expected length of the finished product, silicone glue, scissors, and of course, twine. When all the materials have been prepared, you can begin to create a bow.
Making a bow from twine
It is necessary to reel the twine on the existing container so that the turns are as even as possible and in contact with each other. It is necessary to do these actions to achieve the desired width of the future product. Next, the thread must be cut, holding both ends, cover all the turns with a layer of silicone glue and allow to dry.
After the necessary period of time has elapsed for drying, the twine should be removed from the can and slightly squeezed in the middle, forming a bow. Then, in the center of the product, make several turns of the same thread and fix them with glue on the back side. You can decorate a hairstyle or any crafts with a finished bow. From the twine with your own hands you can make the number of bows necessary for a particular purpose.
Twine Vase and Wine Bottle
A vase made of a glass bottle and twine can be an equally interesting craft that has a practical purpose. In addition to these materials, you will also need a glue gun. To begin the manufacture of this craft from twine should be from the bottom of the bottle. To do this, its surface must be evenly coated with glue, and then twine the twine around the container. It is important that the turns are smooth and fit snugly together. The indicated actions should be done until the upper edge of the neck of the bottle is reached. The thread should be cut and left for some time to dry.
If desired, you can decorate the finished vase with rhinestones or dried flowers, or you can leave it as is, it even has a rather original appearance. Believe me, the attention of all your guests will be attracted by such crafts from twine. You can see the photo of the vase below.
Twine basket: making walls
Among the useful gizmos that can be made from twine, a basket also deserves attention. To make it, you will need to prepare the following materials: glue, a crochet hook, a plastic jar, the volume of which corresponds to the size of the future basket, and twine. First, on the top side of the container, used as the basis for do-it-yourself twine crafts, it is necessary to make small notches that will be at the same distance from each other. Next, the rope should be vertically and wound crosswise on the jar, passing it through the notches, thanks to which it will remain in its place. When there is twine in each notch, the thread should be cut and temporarily fixed with glue. Next, the twine must be twisted between vertical threads, achieving maximum contact between the turns. Work should begin from the bottom, gradually moving to the top. To facilitate the weaving of the walls, you can use the hook.
Twine basket: making the bottom and decorating
After covering the plastic jar with twine, you can proceed to the manufacture of the base. To do this, turn the container upside down and grease the threads on it. Further, starting from the center and gradually moving to the edge, you should fill the surface with twine, laying it in turns in a circle. After this stage, you need to wait a bit to dry the glue, and you can proceed to the design of the upper part of the twine crafts. All the threads should be cut at the place of weaving and, grasping the adjacent ropes with your fingers, twist them with force until they form a curl, at the base of which a drop of glue should be applied to prevent it from unwinding, and attached to the base. The result is a small rosette. A similar operation should be done with all threads. After that, the plastic base can be pulled out. In the resulting basket, you can put various small items or set a pot of flowers.
Turtle from twine and coffee beans: a master class
There are exclusively decorative twine crafts. A master class on making turtles of their jute twine and coffee beans will certainly come in handy for those who like to decorate their home with all kinds of souvenirs. To make this craft, you need foam rubber, scissors, paints, cardboard, Moment glue, coffee beans and twine. Start by creating a cardboard template. To do this, on the sheet you need to draw the contours of the body of the turtle and cut it out.
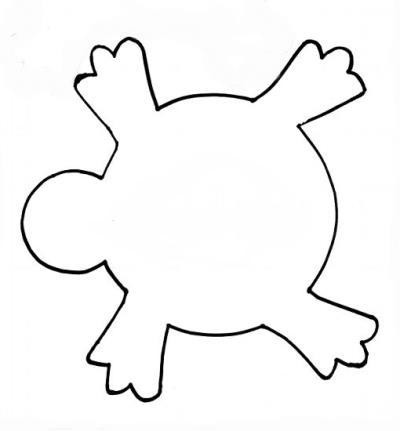
Next, using the template, make a similar blank from foam and glue the existing parts. Then twine should be wound on the legs, muzzle and tail. To continue the manufacture of this craft from jute twine, it must be installed in such a way that the cardboard side is on top, and, having smeared the surface with glue, paste over it with the same thread laid in coils. Glue coffee beans in two layers on top, forming a carapace. At the final stage, it is necessary to make eyes. To do this, glue two grains in appropriate places and paint the missing parts with paint. Here you are ready to decorate your home or office! Such a turtle can also be a great gift.