A children's tent is an interesting and necessary thing in the house. And pleasure for children, and help parents. Children love to play games in their own houses and shelters. Even if it is not possible to purchase a children's tent in the store, it is not difficult to make it with your own hands.
What is a tent for children for?
Children's tent - a necessary item in the house in which the children are brought up. Firstly, you can play it. Secondly, a small tent will not take up much space in the children's room, and there will be no limit to the delight of children from its appearance. They play it with pleasure, hide toys. In the hot season, a small tent is a good help for parents. Having established a “durable hut” in the country house, garden, beach, parents can be calm that the child will be protected from the rays of the scorching sun. Children really like to spend time in a private house.
Fabric house
It will not be difficult to create a children's play tent with your own hands. With the help of the necessary materials and tools, every hardworking dad will be able to make for his crumbs an amazing, cozy and small tent.
Self-made children's tents have a special charm. The color scheme, sizes, additional details are selected in accordance with the taste and age of your own child. In addition, children's tents are not cheap, and their own construction is a more budgetary and interesting option.
The first way to create a house
Before you make a children's tent with your own hands, you should decide on the shape and parameters of the product. It is advisable to find an image of the tent or make your own sketch.
Before you make a children's tent with your own hands, you need to prepare the related materials:
- dense fabric, plain or colored, of the same color or different colors;
- an old, unnecessary hoop;
- scissors;
- pins
- needle, thread, sewing machine;
- tent pattern.
The algorithm for working on a children's tent with your own hands is as follows:
- To create a bright little tent, a flick of 2 colors is suitable. One fabric will need about 3 meters, another - 4.5 meters. The first detail in the children's tent with their own hands will be the "structure" of the dome.
- We cut out 6 triangles. We sew the details. Put a hoop on top of the workpiece, outline it and cut it out. In order for the roof of the children's tent, made with our own hands, to hold well, we sew a thin metal rod or thick wire to each seam of the triangle. If such items are not at hand, it will be convenient to fix the top of the tent with the help of a sewn tight loop. It is sewn onto the pointed top of the tent and mounted on a hook previously screwed to the ceiling.
- We draw windows on the walls of the tent, cut and make out with a fabric of a different, contrasting color.
- The tent entrance is decorated with Velcro, zipper or buttons so that the child can close in his house.
The second way. Making a wigwam
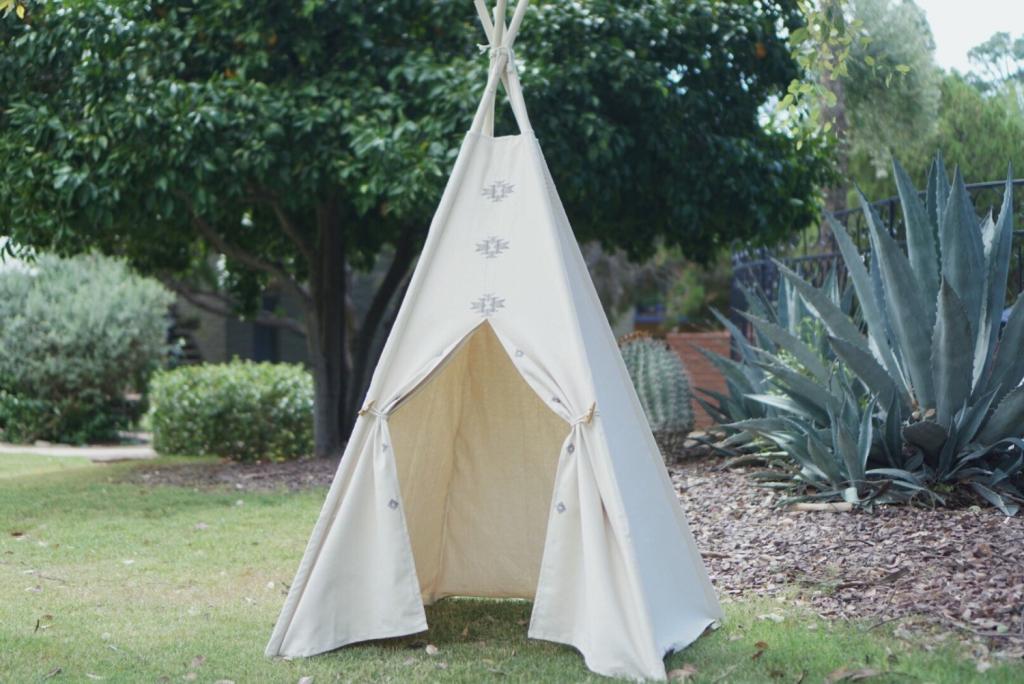
It’s not difficult to make a children's tent for the wigwam with your own hands, besides it is interesting. In summer, children can play in such a hut in the courtyard, portraying the indefatigable Indians.
Before sewing a wigwam, we first prepare a drawing and a diagram with an image of a tent. To complete the job accurately, important details must not be missed.
We will prepare the following materials:
- PVC pipes or sticks of circular cross section of approximately 180 cm;
- dense, not synthetic fabric;
- strong rope;
- scissors, threads, needle.
Stages of creating a children's tent with your own hands:
- We make the body of the wigwam. We take 5 sticks. On each, stepping back from the edge of 30 cm, we drill holes.
- We skip the ends of the ropes and tightly connect the parts together. Having strengthened the top of the hut, firmly set the workpiece. There should be the same distance between the sticks.
- For the strength of the structure, we connect the vertical sticks from below with a horizontal stick, tied with ropes. We do this around the tent, leaving the entrance to the future wigwam empty.
- We measure the fabric on the wigwam, making allowances of 5-7 cm to the seams. You can build an outer cover from the pattern of a solid canvas or cut from several parts. In every detail we make ties. Pulling the prepared canvas, we fix it with ties to each wooden plank and top. A removable cover provides thorough care for the cleanliness of the tent.
- On the side of the wigwam, make a window, and decorate the entrance with a pretty curtain. Wigwam can be decorated with sequins, buttons, beads and feathers. A small house of Indians is ready to accommodate the "redskins."
The third way to create a tent
Making a simple children's tent with your own hands is not difficult. This option is quite simple.
Necessary materials:
- 4 wooden blocks of 130 cm;
- fabric (approximately 115x215);
- wooden round crossbars;
- drill;
- marker;
- elastic;
- roulette;
- scissors, needle, thread.
Work algorithm:
- We measure 15 cm from the edge of the bars, make marks with a marker and drill small holes.
- We connect two strips with round bars. We get two structures in the shape of the letter "L".
- We process the canvas with a seam. On the edges of the fabric we sew loops of elastic bands.
- We stretch the canvas on the frames, fixing the gum to the wooden structure.
- A simple children's tent with your own hands is ready.
A small own house is a joy for every baby. Do not deny your child such pleasure!