If people suddenly ask what the name of Napoleon’s cap is, then nine out of ten will surely answer: a cocked hat. And they will be wrong. And if not a cocked hat, then what then? We will talk about this in this article, as well as tell you how to do it yourself.
What is the name of Napoleon's hat
Bonaparte's headdress is correctly called a two-cornered head. It is also called bicorn, which literally translates as "two-horned." This type of headgear appeared at the end of the 18th century, becoming a replacement for the more bulky and non-functional cocked hat. It was supposed to wear such a hat so that the corners were parallel to the shoulders. Only on a march or in a military campaign was it possible to deploy a two-cornered corner 90 degrees. Later, this style of wearing a hat became a hallmark of the military, close to the imperial court.
But calling Napoleon’s cap a two-cornered one is also not entirely correct. The fact is that the emperor himself was the designer of his hats. That is, they were not part of the military uniform of any of the military branches and were essentially unique. From a scientific point of view, it is most correct to call a hat " Napoleon's hat ".
In the photo, Napoleon’s hat sold at an auction in 2014 for 1.9 million euros (about 145 million rubles).
French artist Charles de Steyben painted the painting “Eight Napoleon's Hats”. In this work, with the help of images of hats alone, he symbolically depicted the emperor's main victorious and tragic milestones from the first three Italian companies to the link to the island of St. Helena.
How to make a Napoleon hat with your own hands?
We will consider two options for making hats. One of them is classic, and the other in haste. This is in case the holiday is tomorrow, and you did not even start making a costume.
Classic version
The picture shows a diagram of the original military hat of the 1811 model "in the context" with an indication of all sizes and elements. We suggest stitching a two-cornered hat, very close to the original.
We will need:
- black felt;
- sewing kit: thick thread and needle;
- black edging tape or velvet ribbon;
- non-woven;
- decorative elements for decoration;
- iron.
Steps:
- First of all, we make a pattern: side walls, central part, tulle and top. The photo shows a replica of the original pattern of Napoleonic times.
- We transfer the pattern to the fabric, fasten it with pins and circle with soap. In order for Napoleon's hat to subsequently hold the forum, each of the parts must be cut in two copies. That is, there should be 4 pieces in the side.
- We spread 1 copy of each detail on the table. We put the non-woven on top, cut off the excess, cover with a second similar detail.
- Iron the iron through a cloth to glue the parts together. The result should be 2 pieces of the side parts of the hat and one at a time - the rest.
- We trim all the details around the edge with tape or velvet. So they will look neater.
- We begin to collect our cap of Napoleon. First of all, we sew the tulle and sew the top to it. We grind the resulting cap to the part with a hole.
- Next, we sew the fields. The picture clearly shows what we should get in the end.
Now comes the fun part - creative time. It all depends on your imagination. Given the fact that the two-cornered hats were part of the military uniform of various branches of the armed forces in many countries, even within the framework of reconstructing the historical appearance of the hat, there can be a lot of variations: gold cords and brushes, pompons, feathers, sockets and ribbons of various colors - individually or all together.
Well, you can even move away from the historical theme and decorate the hat to your taste.
Whip up hat
If you don’t have the time, desire and energy to observe historical authenticity, then here is a version of the hat that does not require special time and labor.
We will need:
- cardboard;
- black cloth;
- faux fur or ribbon for trim;
- scissors;
- glue;
- clothespins.
Steps:
- First of all, we cut an oval out of cardboard, and then a hole that will correspond to the size of the head from its own center of a similar shape.
- We bend the cardboard up along the lines running along the edges of the inner oval. We try to make the corners not too sharp, but rather rounded.
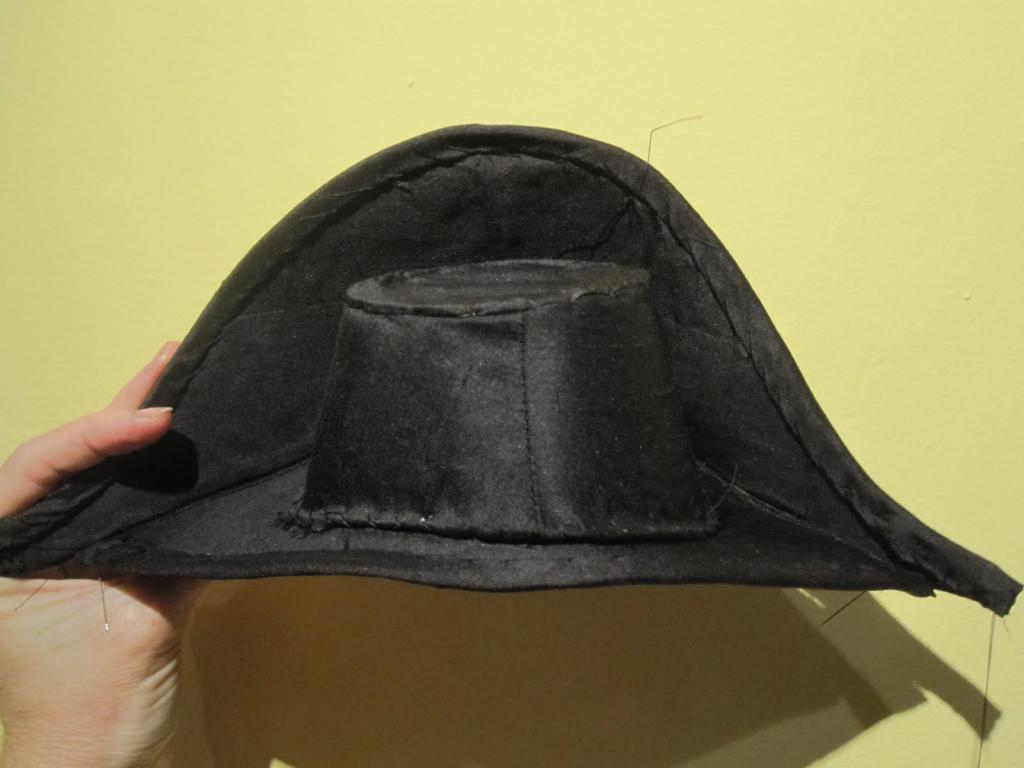
- We glue the base of the hat with black cloth, as shown in the photo.
- We bend the cardboard, glue the upper parts together, fix on top with clothespins or stationery clips. Leave to dry completely.
- We glue the hat around the edges with faux fur, ribbon or other edging.
- Everything, the hat is ready.
As we see, the two-cornered, sewn according to the classical canons, can become quite a fashionable and relevant accessory, adding a bit of shock to your image. A "quick" hat of Napoleon can save a costume party, even if you thought about it the day before.