The question of what can be made of cardboard and paper arises quite often. There are several reasons for this. Firstly, these materials are available. It is worth noting that this is not only about paper and cardboard, which can be bought at office supply stores, but also about newspapers, magazines, boxes and boxes available in every home. Secondly, these materials are easy to use, so even the smallest craftsmen can be used to make various crafts. Thirdly, despite the numerous products sold in modern stores, I want the house to have original and unique things, and their full uniqueness can only be claimed if the item is made with your own hands.
How to get “designer” from ordinary cardboard and why is it needed?
If you start listing what you can do out of cardboard with your own hands, then a few pages might not be enough. First of all, these are interesting things, among which there can be either home decorations (garlands, lanterns, toys, etc.), and useful objects (caskets, vases, furniture for dolls, etc.). However, each of these crafts will look much more interesting if it is not just white, but has an interesting design, which, by the way, is not difficult to get.
For the manufacture of designer cardboard, sheets of cardboard, kitchen three-layer napkins of interesting colors (actually only the top decorative layer will be used), cling film, scissors, gauze and iron will be needed. First you need to iron the napkin thoroughly, there should be no wrinkles, and then separate the top layer from it. Next, put cardboard on the ironing surface, which should be covered with cling film over the entire area, then with a napkin, and then with gauze. After this, all the layers are ironed with a heated iron to maximum temperature, special attention should be paid to the edges. Then the cardboard must be turned over, cut the edges of the napkin and film to the level with the sheet and iron it from the wrong side, and then again from the front. The result of the work will be a beautiful blank. But what can be made of cardboard of this kind will not be difficult to come up with.
Festive Cardboard Hat
Neither adults nor children can imagine their life without a holiday. This is a new year, and birthday, and anniversaries, and many others. And what is a holiday without special attributes? One of the most popular items with which holidays are associated are caps, which is especially true for children, although adults often do not refuse these peculiar hats, especially if they are decorated in the theme of the holiday. But first things first.
For people who have decided to give their holiday more brightness, the question of what can be made of cardboard and paper with their own hands no longer arises, but another appears in its place - how to make a cap out of cardboard? For work, you need thick paper or cardboard, glue, scissors and an elastic band or a narrow tape. These materials for making the cap are quite enough, but others will be needed for decoration, depending on the subject and age category of the people present at the celebration.
Roll a sheet of paper or cardboard measuring 30x45 cm in the shape of a cone, cut off the excess paper, and glue the edges together. In order for the product to better stick to the head, it is necessary to attach a tape or elastic to it, breaking through on both sides in the lower part of the hole cone. You can decorate the cap at your discretion with corrugated paper, rhinestones or various figures cut out of colored paper.
Cardboard box
Each house has a lot of little things that are often in a mess, because there are not enough for them all separate boxes. However, everything changes after a child or an adult finds out that an original box can be made of cardboard. To do this, you will need cardboard, pencil, scissors, adhesive tape, glue and fabric.
First, using a pencil and a ruler, draw on the cardboard a quadrangle, which will be the bottom of the future box. Then continue each side of the square as high as the finished product should be. Draw the same size on cardboard for the cover for the future box, except that the sides extending the quadrangle should be 2 cm. Cut both patterns. And draw and cut four rectangles that would have the same width as the sides of the future box, but were 2 cm higher. Next, you need to bend the sides of the drawn square and fasten them together using tape, do the same with the lid. Cover both products, as well as 4 rectangles with a cloth. After that, insert the last into the box around its perimeter and fix it with glue, after that the box can be closed with a lid. To decorate the product, you can use various applications, rhinestones, lace and other decorative materials.
Paper Circle Appliques
Of course, making boxes, caps and many other useful things can be difficult for a child. Therefore, parents often ask themselves what can be made of cardboard and paper so that the baby can do it. A very interesting occupation may be making appliqués from circles. So, you need to stock up on cardboard, standard white sheets, colored paper, scissors, glue and compasses or objects that can be put on a sheet, circle and get circles of various sizes. First you need to draw and cut out circles of different diameters from different paper, and then, taking a sheet of cardboard, give free rein to imagination and create all kinds of pictures and whole figures or their halves.
For example, if you fold the halves in a circle and stick to the cardboard, and attach a small circle in the middle, you can get a flower. The leaves of this plant can serve the same figures, only green. The stems can also be folded from very small circles or their halves, and as a pot use half a large circle, gluing it upward with a slice.
Cardboard sofa for Monster High dolls
Monster High dolls today are one of the most beloved toys of many girls. They can play with them for hours without a break. Therefore, it is not at all surprising that children are wondering what can be made of cardboard for Monster High dolls. A great addition to this toy will be homemade furniture for her, for example, a sofa.
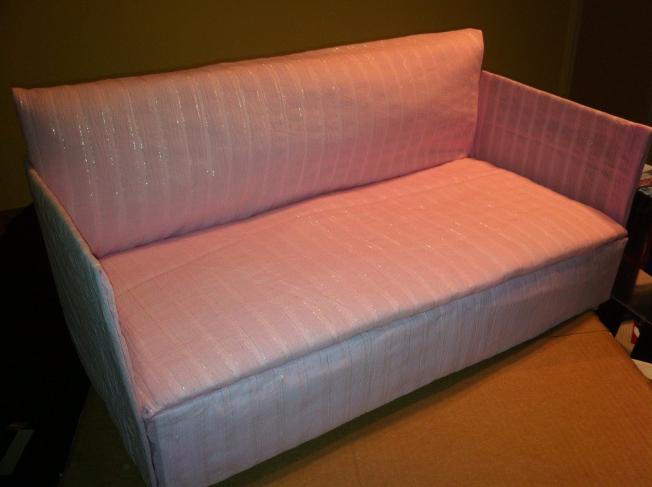
For the manufacture of this type of furniture you will need a cover from a small cardboard box, glue, cardboard, scissors, a cloth, sponges for washing dishes and sponge wipes. The surface of the lid from the box must be covered with cloth. Then glue together all the jaws needed to cover the box area and also glue with a cloth. Then attach the "mattress" to the "frame". Cut the back and sides of the required height out of cardboard and “drape” them with sponge wipes with glue, then with a cloth, and then glue the back and sides to the base of the future sofa (cover with sponges). At the discretion of each owner of the Monster High doll, the sofa for her can be decorated in the desired manner, for example, with beads, sequins or embroidery.
Frame for photo or picture from paper and cardboard
To decorate a room, modern people often use photographs or paintings. The latter can be embroidered, made of beads or painted, but in order to hang them on the wall or put on the table, you need a frame. I am glad that you can make a very original frame from cardboard and paper with your own hands. So, you need cardboard, glue, pages of a glossy magazine.
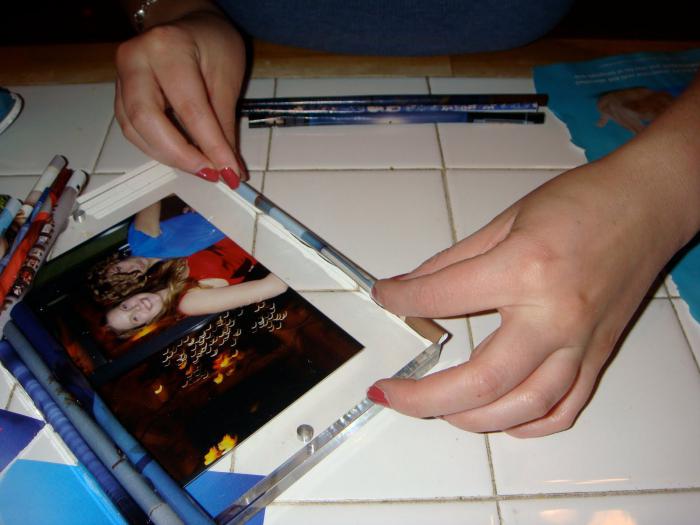
First, a sheet of cardboard - the basis of the future framework - must be pasted over with magazine pages. While the base will dry, you can start making tubes for decorating it. To do this, use a pencil to twist a sheet of glossy paper into a tube and glue it so that it does not unfold. Next, you need to glue the finished tubes to the edge of the base around the perimeter, cutting their edges at the junction at 45 degrees. Similarly, you need to stick the following rows. There should be so many rows until the entire surface is covered by them, except for that part of it where the picture or photo will be placed. The finished frame, if desired, can be coated with acrylic paints.
Paper and cardboard snowman
Almost every child loves to sculpt a snowman in winter, but few people know what can be made of cardboard and paper no less beautiful figure, and this is possible not only when the snow is on the street.
For the manufacture of crafts, you will need cardboard, standard white paper, glue and scissors. First, from white paper, it is necessary to cut three strips of the same width and glue them into a ring, with each circle slightly decreasing in diameter compared to the previous one. Next, cut a slightly larger square from cardboard than the largest cylinder - this will be a stand for the future snowman. Then glue the largest paper ring to the cardboard, turning it in a horizontal position, glue a little smaller on top and on the top - the smallest - the snowman's head. Hands can serve as thin branches, which must be attached to the middle cylinder. Eyes, mouth, nose and buttons can be drawn with a felt-tip pen. Now the child will know what can be made of cardboard with his own hands. A photo of the finished snowman can be seen a little lower.
"Paper" sun - an interesting craft for children
An interesting and easy to manufacture craft is the “paper” sun. It will be an excellent choice for those who have long been thinking what can be made of cardboard and colored paper with their own hands. So, you need glue, yellow colored paper, thread, scissors and cardboard, preferably yellow, if it is white, then it will have to be glued with colored paper or painted.
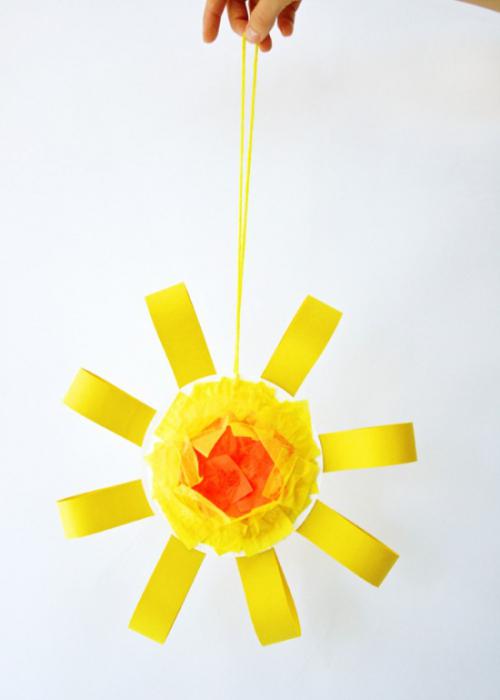
To begin with, it is necessary to cut out two identical circles from cardboard, with a diameter of 6-7 centimeters. Next, cut 20-25 strips of yellow paper 12-14 cm long and 1 cm wide from yellow paper. Bend each strip in half and glue the ends. The resulting elements should be voluminous, and not flat, that is, at the top point, the strip does not need to be doubled by smoothing. The blanks must be glued along the entire length of the circle next to each other - these will be rays, and from above close the surface with a second circle. With a felt-tip pen, you can draw a mouth and eyes for the sun or decorate it in any other way. For one of the rays, fix the thread and hang the craft in the desired place.