Nowadays, a high-quality and beautiful photo is very much appreciated. In order to achieve the desired result, during shooting, not only a professional or amateur camera is needed, but also additional photographic equipment and devices. Now many are fond of taking pictures: for some it’s a hobby, for someone it’s work. But both of them cannot do without the necessary equipment. A useful acquisition will be a softbox for camera flashes. With it, you can achieve the result of shooting, as in a professional studio.
Of course, you can go to any specialized store and purchase it there. But this is an option for those who have extra money. For those who prefer to save, you can make a softbox with your own hands.
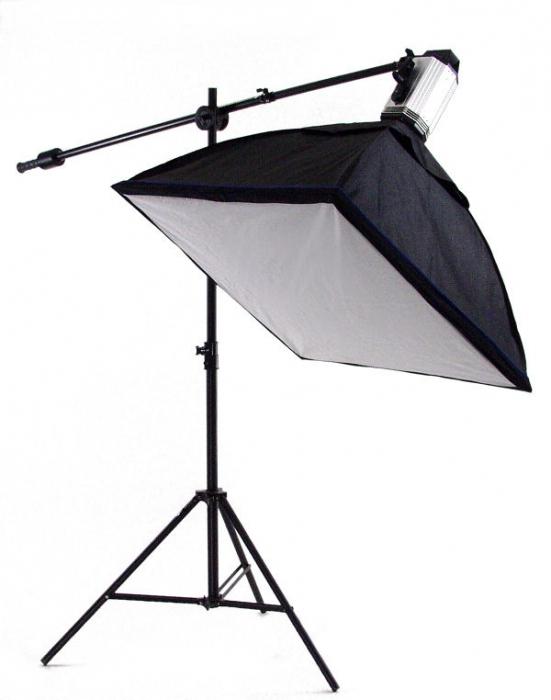
First you need to understand why you need a softbox. With it, with any shooting (portrait, child or wedding) you can put high-quality light. The result is soft and diffused light, the subject is well lit, the volume is not distorted, and there are no clear shadows. Therefore, it is recommended that all those who want to receive high-quality photos have such a thing in stock.
To make a softbox with your own hands at home, it will take a little time and materials. To do this, take:
- White colored paper (the choice of format depends on the size of the proposed softbox). For large sizes, you can take either a white cloth or a white translucent piece of plastic. Paper is needed as a scattering material.
- Self - adhesive black film .
- Self - adhesive silver film or foil.
- Thick cardboard.
- Reinforced double adhesive tape.
- Scissors.
All this is easy to purchase in hardware stores.
We begin to make softbox with our own hands. On a sheet of cardboard, we draw the basis for the softbox, taking into account the size of the light scattering surface, as well as the size of the flash. It is necessary to draw so that the upper, lower and side parts coincide. The result is two pairs of parts. The next step will be pasting on each side of all the parts with black film. At the same time, from the side where the flash will be, make a small ledge (3-5cm). Then we glue the other side of all the parts with silver film and bend the protrusion with a black film.
Next, we take a double tape and continue to make softbox with our own hands. With it, we connect all the details so that our future device for reflecting light is securely fastened, remove the stickers from the adhesive tape and glue the strips of black film on top. This is to make the softbox look aesthetically pleasing. In conclusion, you need to attach a white sheet, that is, a scattering part, and fix it with strips of black film 3-4 cm wide.
We fix the finished softbox on the flash with our own hands and install it on a rack - the thing is ready for work! In this way, you can make different sizes of softboxes and have more than one copy.
This will allow you to achieve an excellent and professional setting of light. Of course, softboxes are needed, as well as other professional equipment for filming, for all photographers.