There were times when paintings made with paints and brushes were in incredible demand. However, now they are much less in demand. They create a competition of paintings from shreds of fabric. With their own hands, even those who have never been familiar with this technique will be able to make such a masterpiece. The main thing is to carefully study the material presented below.
A few words about the story
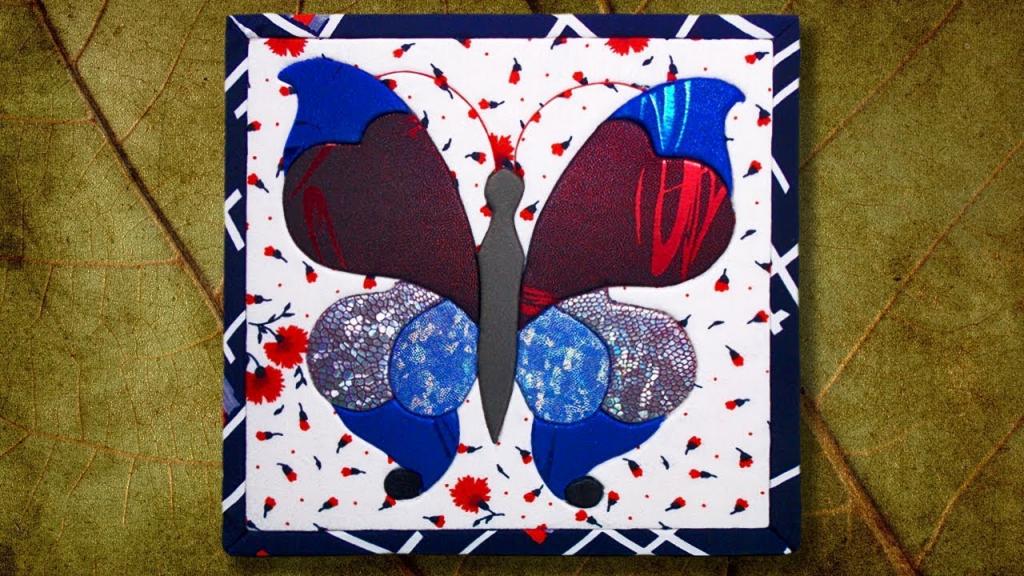
The technology, the features of which will be presented later, appeared relatively recently. But quickly gained popularity. The Japanese came up with it and called it Kinusaiga. This creative technique involves working with scraps of fabric and allows you to create original crafts from what is often thrown into the trash. It is also worth noting that it includes several subspecies. The first is called a patchwork, and the second is quilting or, in simpler terms, sewing from shreds. The main difference is in the principle of work or the specifics of creation. And the material is common - various types of shreds or tissue residues. In any case, the creative process allows not only to have an interesting time, but also to create a very beautiful and original picture from scraps of fabric with your own hands. If the needlewoman has the imagination and is properly executed, it will be possible to complete a craftsmanship that will decorate any room, become a wonderful accent and create a cozy and comfortable atmosphere.
Reasons for the popularity of the technique
Scientists have long come to the conclusion that a person needs to be engaged in creative work. Otherwise, it can be so difficult to cope with the hustle and bustle of workdays that depression will begin or various ailments and illnesses will appear on the nerves. Professional needlewomen do not insist, but they advise the craftswomen to at least try to make a picture of shreds of fabric. This process is really exciting! In addition, you can decorate absolutely any kitchen with a finished product. Or a room decorated in country style or Provence. You can also give a picture made by yourself to relatives, close friends, acquaintances for a birthday or other holiday. And for a housewarming party, such an original gift will be especially useful! And all this despite the fact that work will require accessible materials, and the creative process will not take much time.
Patchwork technique
Experienced needlewomen, talking about the features of this technique, note that it is unique, that is, one of a kind. And all because at work neither a sewing needle nor a thread is used. It is believed that the main advantage of the patchwork is its simplicity, simplicity, and simple execution. However, regardless of this, the paintings made by hand from scraps of fabric look interesting and original. It is also noteworthy that the patchwork is ideal for beginners, because it allows you to create spectacular crafts for those who have no experience in needlework.
Patchwork tools and materials
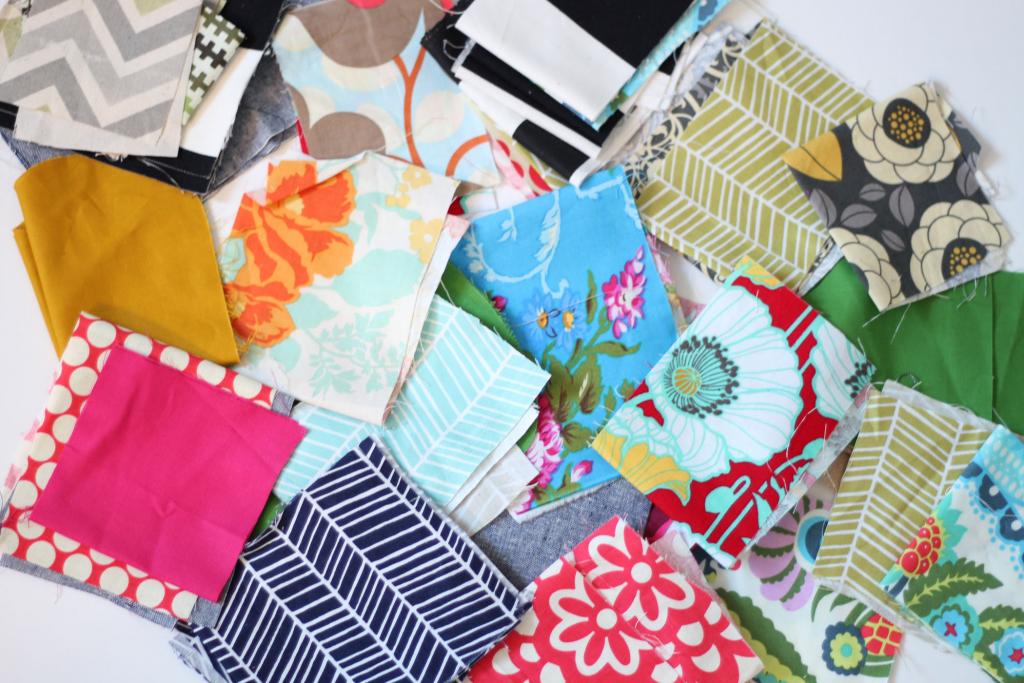
In order to bring your idea to life, first of all, it is necessary to prepare various rags and remnants of fabric of various sizes, colors and textures. Professional craftswomen recommend using finer material. Because working with him is much simpler and more convenient. In addition, you should prepare:
- stationery knife for cutting paper;
- wooden ruler;
- comfortable scissors;
- black marker;
- buttons.
It is also necessary to purchase a spreader at the needlework store - a tool for opening seams. If this cannot be found, it is permissible to use a regular nail file. The basis for creating a picture of shreds of fabric using the patchwork technique is a rectangular or square piece of foam. And you can take the one that is used to protect household appliances from damage. Experienced needlewomen say that if you have to cut the polystyrene yourself, you should go to a room in which there is no carpet or rug. Otherwise, subsequent cleaning will turn into a real nightmare.
Since we will not stitch the craft, glue is required. However, it is important to immediately note that it is worth choosing PVA glue or other clerical glue, because various types of superglue can melt the foam. Also for work it is necessary to print an image of a picture or prepare a drawing, which we will use as a template for creativity.
Features of the choice of drawing
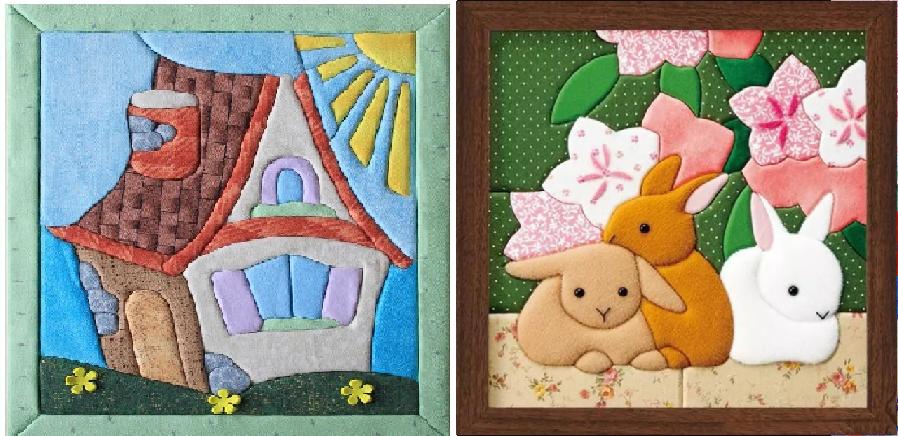
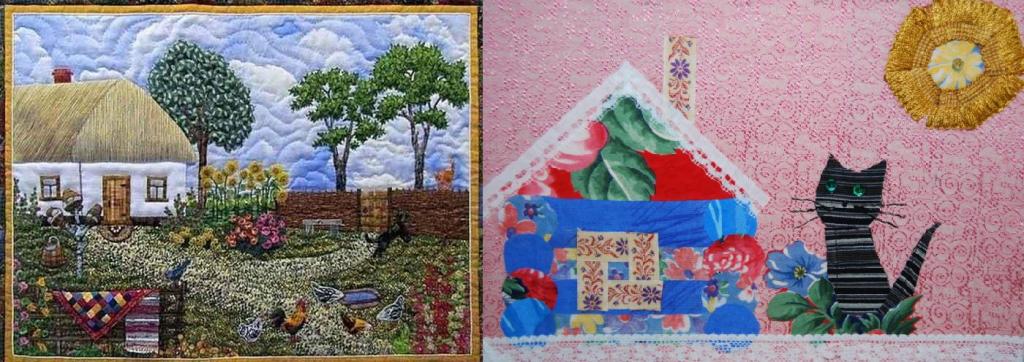
If you consider a photo of paintings from shreds of fabric, you will want to make the most interesting and original crafts with your own hands. However, experienced masters do not recommend beginners to immediately take on a difficult option. Kinusaiga technique allows you to perform very simple, but at the same time attractive pictures. Therefore, at first it is better to choose a simple image. If the reader wants to do a unique job, he can draw a picture. But in this case, you should also not add miniature elements, and it is better to make the lines as straight as possible. Only after mastering the technology and making a few pictures, you can begin to perform large and complex images, as well as modular ones. In addition, it is important to note that if the reader can not choose the best option for the picture, professional craftswomen advise to consider the pictures presented in children's coloring. These images are maximally simplified and adapted for children. Therefore, it will be easy for beginners to turn them into a patchwork picture.
How to make patchwork paintings
When everything you need is at your fingertips, we proceed to do-it-yourself painting from shreds of fabric.
- First of all, we take a prepared piece of polystyrene and, stepping back two centimeters from each edge, draw a frame using a ruler and marker.
- We sell the resulting lines with a clerical knife. We don’t lower too deep, enough - half a centimeter “grooves”.
- Then we take a drawing or picture. Put in the center of the foam and attach the buttons at the four corners.
- Using a knife, very carefully make indentations along the contour of the image.
- At this stage, the preparatory phase is completed, and we proceed directly to the instructions on how to make polystyrene paintings from shreds of fabric.
- In fact, this process does not involve difficult actions. We take prepared material and a sprayer or nail file.
- We determine the area of the picture that we will decorate, and put a little glue on it.
- We cut or select the flap of the right size.
- We attach to the desired area of the image and begin to gently push the edges of the flap into the "grooves".
- If there is excess tissue, they should be carefully trimmed with scissors and tucked out. Experienced needlewomen recommend using slightly curved manicure scissors for these purposes.
Here, in fact, the whole essence of the technique of performing paintings from shreds of fabric. Further work involves filling all areas with tissue as previously described. Then you need to draw a picture frame. To do this, cut out the whole frame or individual pieces. On the front side, fill the edges into the "grooves", and slightly bend on the sides and fasten with buttons. In conclusion, we complement the finished crochet artwork so that it can be hung on the wall.
Quilting technique
The next type of art for creating surprisingly beautiful patchwork paintings involves stitching various materials on a typewriter or manually. Moreover, it is important to note that this technique allows you to create three-dimensional or three-dimensional paintings from fabric with your own hands. Experienced craftsmen believe that this version of needlework is difficult for beginners. However, if you wish, you can still try to make a simple and original picture. In addition, many craftswomen can turn to their grandmother for advice and help. After all, decorative products made in the studied technology were very popular in the last century. Perhaps someone even preserved a blanket collected from shreds, or multi-colored pillows. As we mentioned earlier, such crafts are still popular. Especially often they decorate the interior in the Provencal style or country. Designers propose to complement the interior in a minimalist style with patchwork paintings to create a warmer and more homely atmosphere.
Quilting Layering
Professional needlewomen, explaining the principle of composing a picture of scraps of fabric for beginners, note that in the technique layers are of great importance, the sequence of which is important to observe. Therefore, the article should study in detail this feature of the technology. The base material or the first layer is cotton material. It serves as a lining. The second layer is necessary to create volume, so the next is a sintepon or batting layer. The third is canvas. It can be purchased at any needlework store. The fourth and last layer is also called the front. It, in fact, is a decorative finish with stripes, appliqués, various patterns and more. It is extremely important to note that needlewomen must stitch all layers so that the finished picture from scraps of fabric for children or adults is complete. At the same time, if they work manually, they make a seam in the form of stitches.
Tools and materials for quilting
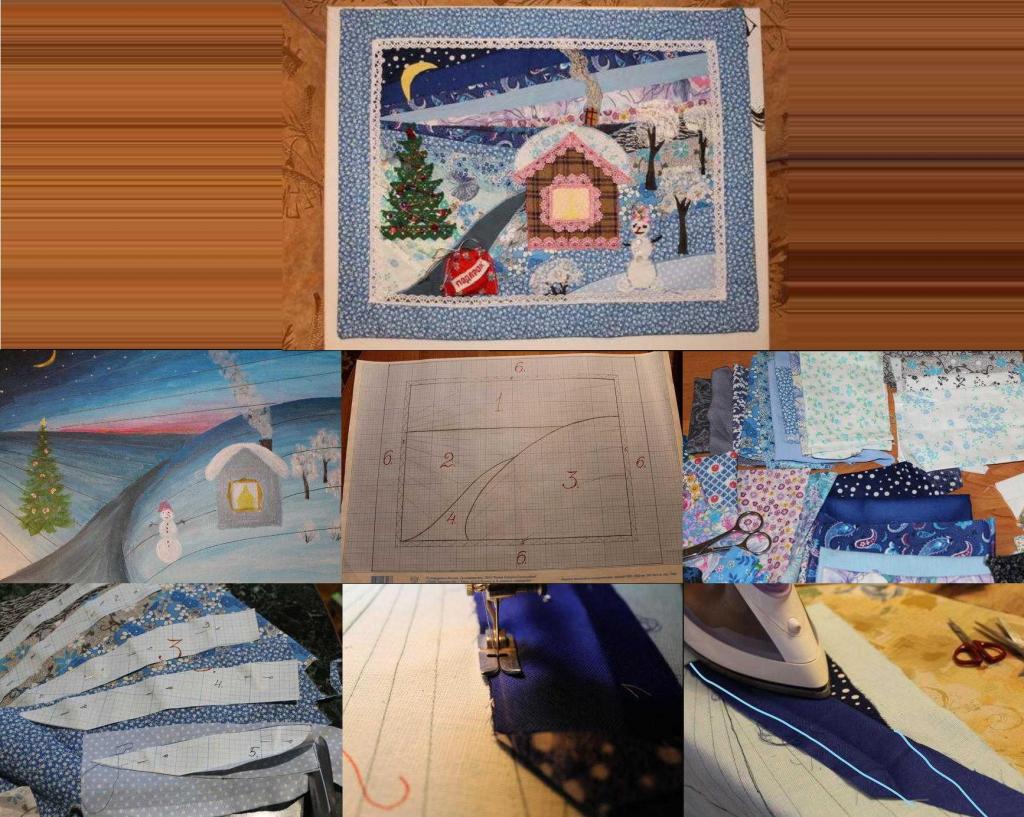
An attentive reader could already notice that this technology involves working with a needle and thread or a sewing machine. Therefore, the first thing we are preparing is these tools. A picture or drawing is also needed, according to which we will build our crafts. In addition, scissors, an iron or a steam generator, several sheets of cardboard, carbon paper, a lot of multi-colored rags and, if necessary, thimbles are required. Experienced craftswomen recommend planning your work in advance. To do this, you need a simple pencil. They should draw lines on the prepared image, thus marking the lines of the seams.
How to make quilting paintings
Having prepared everything you need, we proceed to the instructions on how to make a picture of shreds of fabric.
- First of all, we transfer our drawing to the prepared cardboard sheet. We do this with a simple pencil and carbon paper.
- Then we carefully outline the contours of all the fragments, outline the seam lines.
- We number all the details.
- We select from the prepared shreds those that most correspond to the color design of the intended picture. We are especially carefully looking for material with which it will be possible to create transitions from one shade to another.
- We spread the prepared flaps in the way they will be located in the idea. This is necessary in order to finally make sure the right choice.
- We expand all approved patches, and then steaming thoroughly.
- Cut out all the numbered fragments from the cardboard.
- We use them as templates in order to cut out details from fabric.
- In addition, we prepare a cotton base (you can use an old sheet), a dense lining and canvas. The dimensions of the three layers should be the same.
- Next we work with the details that serve as the background. Fold the adjacent face to each other and carefully sew on manually or using a machine.
- We cut off the excess, turn it on the face and steam it well. The last action is necessary so that the flaps do not move and the picture does not turn out to be a curve.
- Having collected the background of the picture, we “revive” it with the help of the remaining fragments.
- Then we sew to the base a lining, and then a canvas with applique.
- We decorate the panel with a trim line.
- And once again we thoroughly steam off all the work.
Master class for beginners and children
Earlier it was said that at first it was better to choose simpler paintings from shreds of fabric. Photo professional work, of course, attracts attention. However, for their implementation it is necessary to have at least basic skills in the kinusaig technique. As you know, mastery comes with experience, so you should first practice on the most elementary sketches in the style of children's drawings. At the same time, patchwork, as a kind of methodology being studied, is best suited for beginners and children. Below is a video tutorial prepared by a professional master. It will be possible to follow the entire creative process and, if desired, following the steps of the workshop, repeat the picture.
Now you should be aware of the specifics of creating original paintings from fabrics with your own hands. Photos of the finished work and a detailed description will help the reader determine the most suitable and interesting technique, and then realize any of their ideas. Experienced needlewomen note that the creative process is so addictive that training will pass quickly and bring a lot of pleasant emotions. After some time, experience is gained, and even then the former beginner will be able to make real masterpieces.