Everyone in the wardrobe has things that you don’t want to wear anymore, but it’s a pity to throw it away. They can be given a second life. Any item of clothing is easy to complement with small decorative ornaments. For example, stripes are used to design jeans, jackets, trousers, backpacks and hats.
Work with stripes
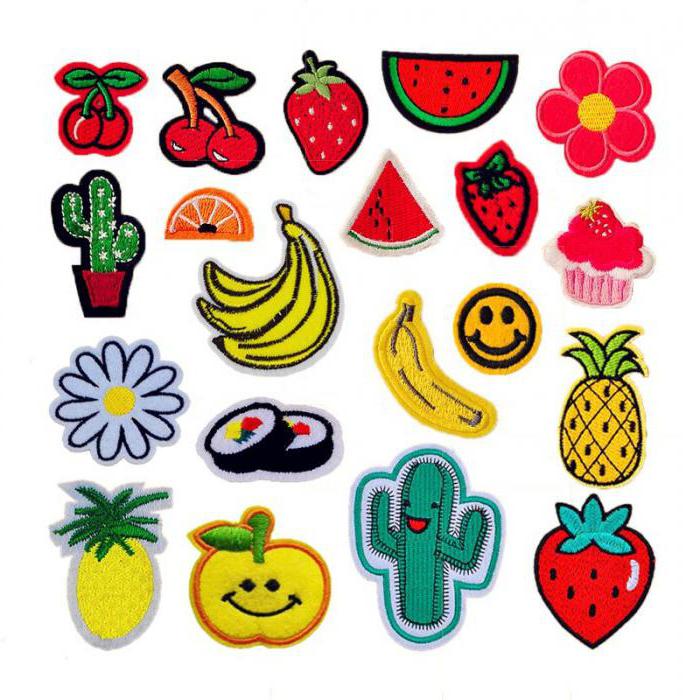
There is a huge selection of ready-made stripes, which allows you to work with clothes of different styles. For sports and jeans products, felt, leather, metal stripes are suitable. For children's things, you can use bright felt, plastic jewelry in the form of flowers, butterflies, small animals and fruits.
Often you can see clothes that already have such decorations, but making a patch with your own hands without even having a typewriter is quite realistic.
Sew the decoration manually
There are a number of stripes on the wrong side of which special glue is applied. It is enough to attach them with the adhesive side to the fabric, iron them with a hot iron, and they will stick. But after a few washings, you can notice that the edges have come unstuck. The appearance of such a product will not be very neat. These patches on clothes can be immediately sewn, and not glued, then a similar problem will not arise.
The selected picture can be stitched along the contour on the typewriter, picking up a thread to match the picture. If the product is lined, then the line will lie right through the main fabric and lining, and this is not very beautiful. In this case, it is better to sew the patch with your own hands. To do this, you need to pin it to a selected place on the product, select a thread to the tone of the sewing element, fix it on the wrong side and sew the selected pattern along the contour with a hidden seam. We fix the knot under the patch, if the product is unlined, then on the wrong side.
Homemade Patches
Having a large selection in the store, you can not always find the "exclusive" for yourself. A person always imagines what he wants, and when he comes to buy, he does not find the right thing. There is always the opportunity to make a patch with your own hands. For this, it is not necessary to have outstanding talent. You can use your imagination and think about how to use what is at hand.
Patches on clothes can be made of thick felt, faux leather glued to doubler, which will allow you to hold the shape and make it denser. You can use denim, which also previously need to be glued with glue. So you can cut the contour of any image from plain material and sew to the product manually or on a typewriter.
You can draw the main drawing on paper, adjust the desired size, attach to the product and see how it looks from the side. If everything fits - transfer to the selected material, cut and sew on the thing.
Layered stripes
It’s not difficult to figure out how to make stripes of the same color - circle the selected sketch and cut it out. But there are more refined options. Making them is somewhat more difficult, but if all the actions are performed slowly and accurately, then the result will please.
One of the best materials for work is felt. There are advantages to working with it: the fabric does not crumble, the parts can be glued together with silicone glue using a heat gun. Do-it-yourself patches made of felt are no worse than the goods presented in the store. Or maybe even better, and you yourself can see for yourself.
All steps in order
Let's see how to make these wonderful umbrellas? First of all, you need to draw the outline of the umbrella cap, and on the side - a small heart. It needs to be cut so that a hole is obtained.
We select the felt, which will become the base of the patch, circle a paper pattern on it. With curly scissors, we cut out the umbrella dome, retreating 0.4-0.5 mm from the outline of the figure.
We take a felt of a different color and circle our pattern on it, but now do not forget about the heart - it is also necessary to circle it. We cut parts from felt along the contour with ordinary scissors. In order to cut small workpieces, you can use manicure scissors. It remains to cut off a piece of leather cord, it will become the handle of an umbrella. All details should look proportionally.
Between two fabric elements of an umbrella we put a leather lace exactly in the middle, vertically. He should peek a couple of centimeters above the dome of the umbrella, and the leg, respectively - below. Details are fixed with pins, the top of them should be with a carved heart. A seam is laid along its edge, which will connect all the elements together. DIY patch is ready! You can make a composition of several multi-colored umbrellas. Animals can be made in the same way.
The sketch also needs to be previously drawn on paper, cut the pattern into elements. The felt base is completely cut out along the contour, and the rest of the parts can cover only parts of the base. For elements, felt of different colors is used, and hot silicone or machine stitch is used for the connection. In one product, these two assembly methods can be combined. You can sew or glue beads, guipure pieces, beads, ribbons and other beautiful little things onto finished fabric stripes.