Atmega8 microcontrollers are the most popular representatives of their family. In many ways, they owe this, on the one hand, to the simplicity of operation and an understandable structure, and, on the other, to quite wide functional capabilities. This article will cover Atmega8 programming for beginners.
general information
Microcontrollers are everywhere. They can be found in refrigerators, washing machines, telephones, factory machines and a large number of other technical devices. Microcontrollers are both simple and extremely complex. The latter offer significantly more features and functionality. But to understand immediately in a complex technique will not work. Initially, you need to master something simple. And Atmega8 will be taken as a sample. Programming on it is not complicated due to its competent architecture and user-friendly interface. In addition, he is the owner of sufficient performance to use in most
amateur devices. Moreover, they are used even in industry. In the case of Atmega8, programming involves knowledge of languages such as AVR (C / Assembler). Where to start? Mastering this technology is possible in three ways. And everyone chooses where to start working with Atmega8:
- Programming through Arduino.
- Buying a finished device.
- Self assembly microcontroller.
We will consider the first and third paragraph.
Arduino
This is a convenient platform made in the form of an
electronic designer, which is suitable for quickly creating various devices. The board already has everything you need in the form of the microcontroller itself, its binding and the programmer. Following this path, a person will receive the following benefits:
- Low threshold requirements. No need to have special skills to develop technical devices.
- A wide range of elements will be available for connection without additional training.
- Quick start to development. With Arduino, you can immediately move on to creating devices.
- The presence of a large number of training materials and examples of implementations of various designs.
But there are certain disadvantages. So, Arduino Atmega8 programming does not allow you to plunge deeper into the world of the microcontroller and understand many useful aspects. In addition, you will have to learn a programming language, which differs from that used by AVR (C / Assembler). And more: Arduino has a fairly narrow line of models. Therefore, sooner or later there will be a need to use a microcontroller, which is not used in boards. But in general, this is a good option for working with Atmega8. Programming through Arduino will allow you to get a confident start in the world of electronics. And a person is unlikely to lose their hands due to failures and problems.
Self assembly
Thanks to the friendliness of the design, they can be made by yourself. Indeed, this requires cheap, affordable and simple components. This will allow a good study of the Atmega8 microcontroller device, the programming of which after assembly will seem easier. Also, if necessary, you can independently choose other components for a specific task. True, there is a certain minus - complexity. It is not easy to assemble a microcontroller on your own when there is no necessary knowledge and skills. We will consider this option.
What is needed for assembly?
Initially, you need to get Atmega8 itself. Programming a microcontroller without it, you know, is impossible. It will cost several hundred rubles - while providing decent functionality. There is also a question about how Atmega8 programming will be implemented. USBAsp is a pretty good device that has proven itself from the best side. But you can use some other programmer. Or assemble it yourself. But in this case, there is a risk that with poor-quality creation, it will turn the microcontroller into an idle piece of plastic and iron. Also, the presence of a breadboard and jumpers does not hurt. They are not necessary, but will save nerves and time. And finally - you need a 5V power supply.
Atmega8 programming for beginners with an example
Let's look at how, in general terms, the creation of a device is carried out. So, let's say that we have a microcontroller, an LED, a resistor, a programmer, connecting wires, a
breadboard, and a power source. The first step is to write the firmware. By it is meant a set of commands for the microcontroller, which is presented as a final file in a special format. It is necessary to register in it the connection of all elements, as well as the interaction with them. After that, you can start assembling the circuit. The VCC foot must be powered. To any other, designed to work with devices and elements, a resistor is connected first, and then an LED. Moreover, the power of the first depends on the nutritional needs of the second. You can navigate by this formula: R = (Up-Ups) / Is. Here p is the power, and s is the LED. Let's imagine that we have an LED that consumes 2V and requires a supply current of 10 mA, we translate it into a more convenient form for mathematical operations and get 0.01A. Then the formula will look like this: R = (5V-2V) /0.01A=3V/0.01A=300 Ohm. But in practice, it often turns out to be impossible to find the perfect element. Therefore, the most suitable is taken. But you need to use a resistor with a resistance above the value obtained mathematically. Thanks to this approach, we will extend its service life.
What next?
So, we have a small diagram. Now it remains to connect the programmer to the microcontroller and write the firmware that was created in its memory. There is one point here! When building a circuit, it is necessary to create it in such a way that the microcontroller can be flashed without soldering. This will save time, nerves and extend the life of the elements. Including Atmega8. Intracircuit programming, it should be noted, requires knowledge and skills. But it also allows you to create more advanced designs. After all, it often happens that the elements are damaged during desoldering. After that, the circuit is ready. You can apply voltage.
Important points
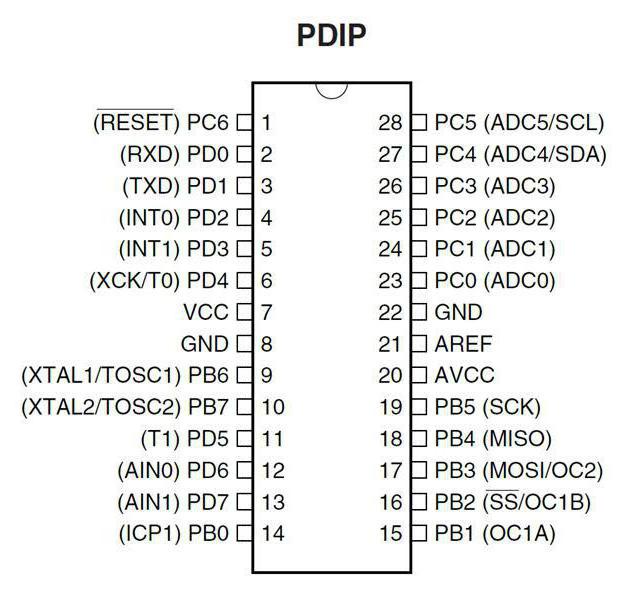
I would like to give beginners useful tips about programming Atmega8. Built-in variables and functions do not change! It is advisable to flash the device with the created program after checking it for the absence of “perpetual cycles”, which will block any other interference, and using a good transmitter. In the case of using homemade products for these purposes, one should be mentally prepared for the failure of the microcontroller. When you flash the device using the programmer, you should connect the corresponding outputs VCC, GND, SCK, MOSI, RESET, MISO. And do not break safety precautions! If the technical characteristics provide that there should be 5V power, then it is necessary to adhere to just such a voltage. Even the use of elements on 6V can negatively affect the performance of the microcontroller and shorten its service life. Of course, 5V batteries have certain discrepancies, but, as a rule, everything is there within a reasonable framework. For example, the maximum voltage will be kept at 5.3V.
Training and skills development
Fortunately, Atmega8 is a very popular microcontroller. Therefore, it will not be difficult to find like-minded people or simply knowledgeable and able people. If there is no desire to reinvent the wheel, but just want to solve a certain problem, then you can search for the required scheme in the vast network of the world. By the way, a little hint: although robotics are quite popular in the Russian-language segment, but if there is no answer, then you should look for it in English - it contains an order of magnitude more information. If you have any doubts about the quality of the available recommendations, then you can look for books where Atmega8 is considered. Fortunately, the manufacturing company takes into account the popularity of its developments and supplies them with specialized literature, where experienced people tell what and how, and also give examples of the operation of the device.
Is it difficult to start creating something of your own?
It is enough to have 500-2000 rubles and a few free evenings. This time is more than enough to get acquainted with the architecture of Atmega8. After a little practice, you can safely create your own projects that perform certain tasks. For example, a robotic arm. Atmega8 alone should be more than enough to convey the basic motor functions of the fingers and hands. Of course, this is a rather difficult task, but quite feasible. In the future, in general, it will be possible to create complex things that will require dozens of microcontrollers. But this is all ahead, before this it is necessary to get a good school of practice on something simple.