Today we will consider methods that allow you to make a photo black and white. I want to say right away that there are many ways to perform this operation. And no matter how strange it may seem, a black and white photo can be different in hue. We will take our picture in soft and bright colors.
Training. First you need to know that you can make a photo black and white using only three keys. Press the combination: “Ctrl + Shift + U”, and then the picture will lose color. Or through the top control panel: "image - correction - discolor". Then the picture will consist only of black and white shades. But we are trying to achieve the highest possible amount of light tone. Next, you will learn how to achieve this.
This manual is intended for beginners. Therefore, each step will be detailed in detail.
- First you just need to take a black and white photo. In Photoshop, open the desired image. And immediately copy it to a new layer. You can do this using the keys Ctrl + J.
- We use the combination of the following keys: "Ctrl + Shift + U". As you already know, this operation will discolor the image.
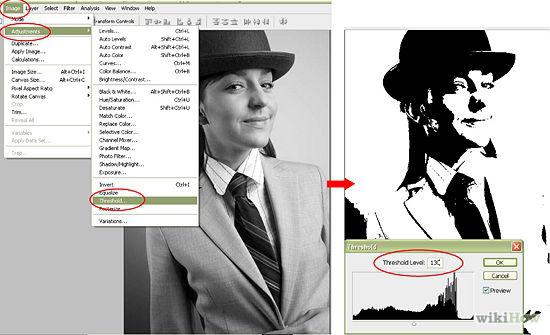
- We make the predominant amount of white shade. For this we need the option “Levels”. To call it, you can use the keyboard shortcut Ctrl + L. Or open the tab “image” (in the toolbar), select “correction” and find the item “levels”.
- Here we need to change the position of the sliders. Drag them to the left. The most important thing here is not to overdo it and not to light up the image completely. Change the position until the picture begins to lose its basic appearance.
- Next, go to the “filters” tab (in the upper panel), select “sharpening” - “contour sharpness”. The values are left unchanged.
- Copy the black and white layer.
- For a new layer, select a new blending method. There is a special drop-down menu in the layers panel; this parameter is controlled through it. There you need to find the “overlap” item. Or use the keyboard shortcut "Shift + Alt + O".
- On the new layer, go to the “filters” tab, where we select “blur” - “Gaussian blur”. We set a fairly high value (from 20 to 50).
- Take the eraser tool (hotkey E). With it, we will highlight places such as eyes, lips, hair and other areas that have become almost invisible. In the eraser options, reduce the value of "rigidity" to zero. Size is customizable depending on the situation.
- It is necessary to wash on the last (third layer). Perform this process slowly. If you accidentally erase the desired area, you can use the undo Ctrl + Z.
Additional information. Using this instruction, you can take a beautiful photo in Photoshop, and it will differ significantly from the simple discoloration of the picture. You can experiment using different filters and values. After all, Photoshop is a huge platform for creativity and experimentation.
Conclusion You can make a photo black and white in seconds. And if you don’t need more, then perhaps this instruction will be useless for you. But if you want to make the photo black and white, where certain parts of the image will stand out in a special light, then do all these 10 simple steps. Moreover, it takes only 15-20 minutes.